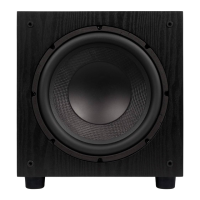
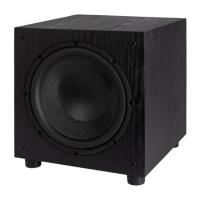
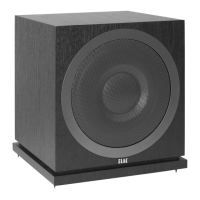
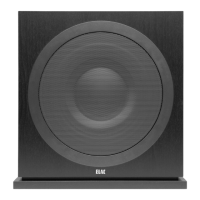
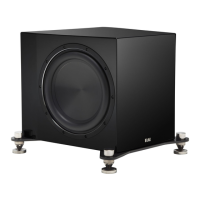
ELAC SUB1010 Subwoofer | www.elac.com | Page 4
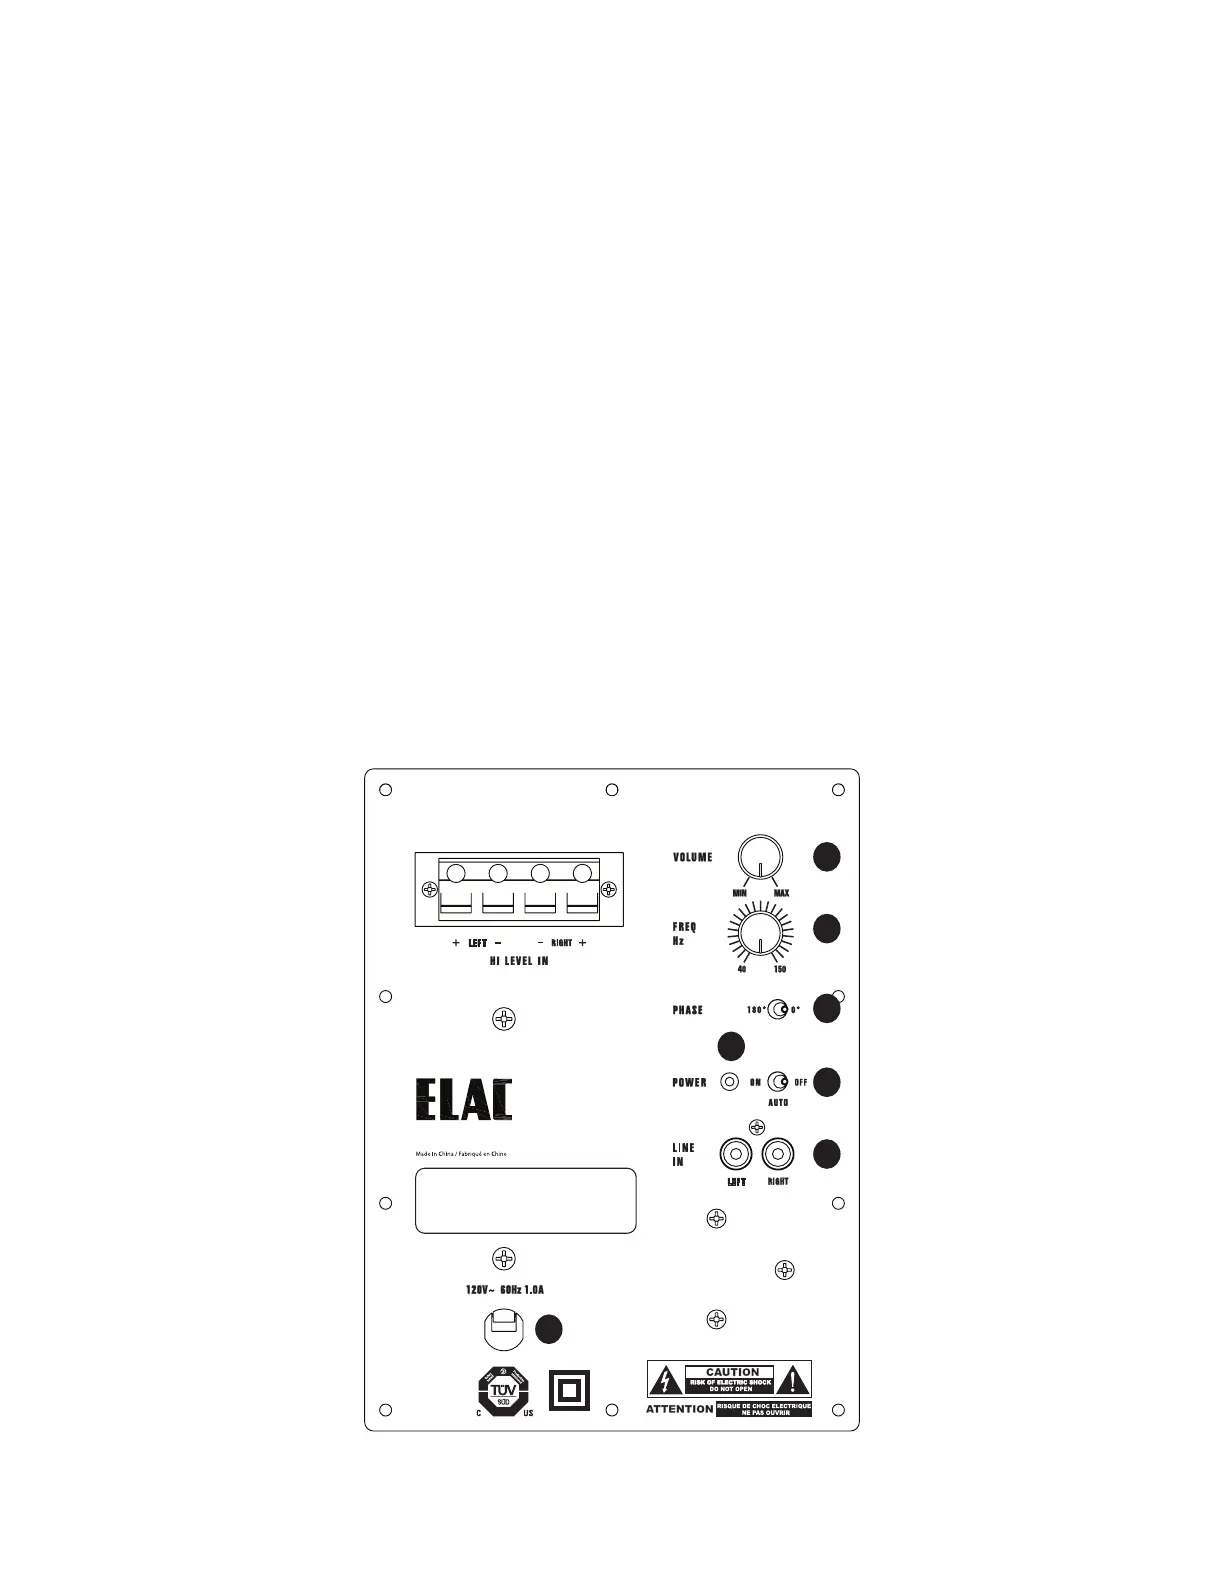
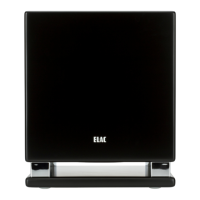
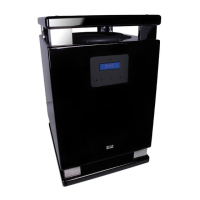
Controls and Indicators
1. Level — This control allows you to adjust the output of the subwoofer. The level should be adjusted so
that it properly blends with the rest of your audio system.
2. Low pass (Hz) — This control adjust the crossover frequency or low-pass filter of the subwoofer. The filter
can be set between 40 Hz and 150 Hz.
3. Phase — The phase switch allows you to invert the polarity (180 degrees) of the subwoofer to match the
polarity of your main speakers and help blend the subwoofer signal.
4. Power — The power switch allows you to change the power mode of the subwoofer between “On”
(Always on), “O” (Always O), or “Auto” which will automatically sense if an audio signal is present to
turn the subwoofer on. After several minutes of inactivity the subwoofer will switch to standby mode to
conserve power.
5. Line In — These line level inputs are used to connect the subwoofer to your pre-amp/AV receiver.
When connecting to an AV Receiver with a single Subwoofer/LFE output, connect the RCA cable (not
supplied) to the Left input. If you are connecting your subwoofer to a pre-amp or stereo system without a
dedicated subwoofer output connect both the Left/Right inputs using stereo RCA cables (not included) to
the stereo pre-outs on your pre-amp.
6. Captive power cord — Use the power cord to connect the subwoofer to an available AC outlet.
7. Bi-color LED — The LED indicates the status of the subwoofer:
— The LED is red in two power modes:
“O” power mode - shows that the subwoofer is in “O” (Always O) mode and there is no audio output.
“Auto” power mode - shows that there are several minutes of audio input inactivity (see above item 4.)
— The LED is green - shows that the subwoofer is in “On” (Always On) power mode.
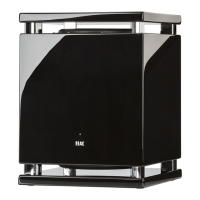
SUB1010-BK
1
2
3
4
5
6
7