42
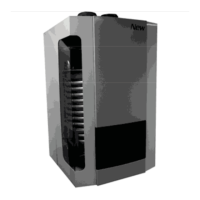
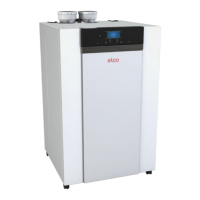
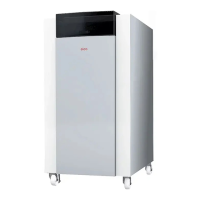
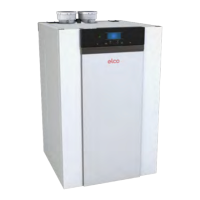
Installation
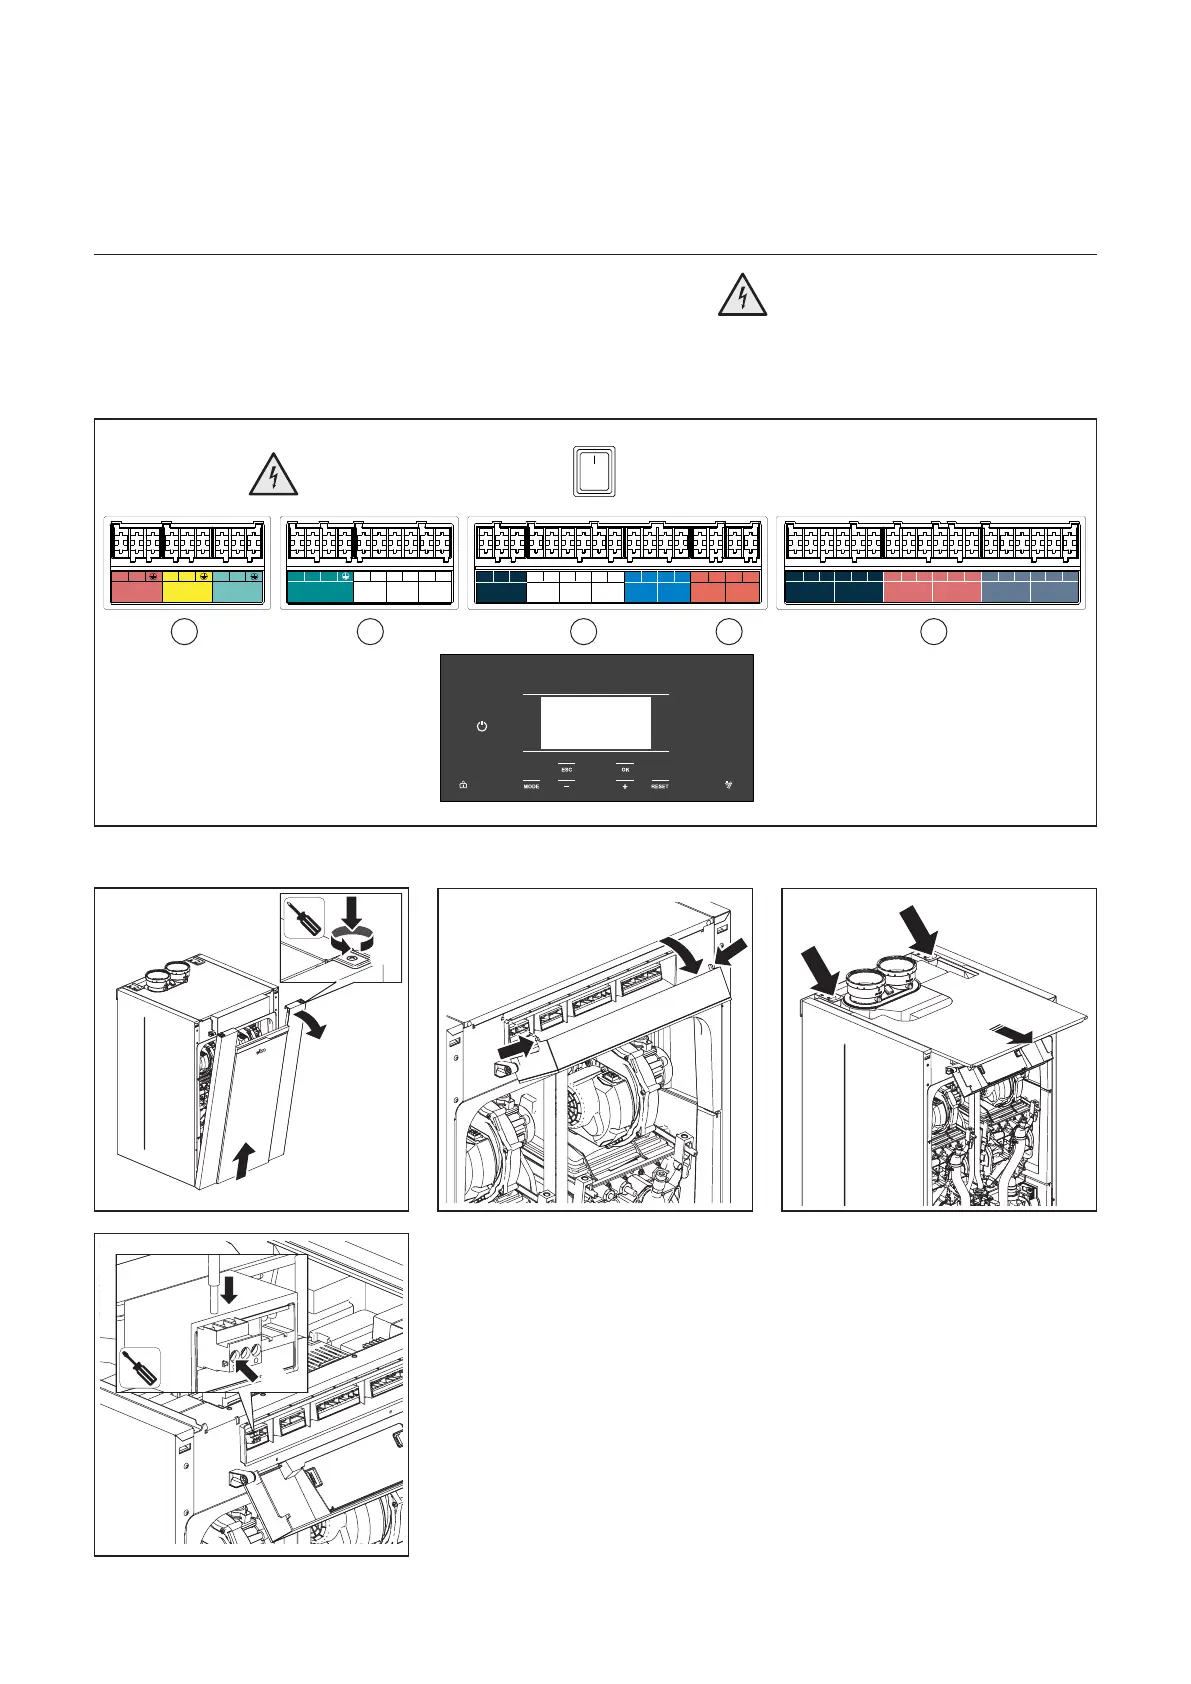
Electrical connection
The boiler has 4 socket blocks for all electrical connections:
1. High voltage supply (230V)
2. Voltage free switches (230V relays)
3-4. Low voltage sensors and I/O
5. Communication bus for cascaded THISION L PLUS boilers
Electrical connections above can be reached following the steps below:
1. Remove the front panel.
2. Press both external sides of the control unit HMI (E) and rotate the display (F).
3. Slide the top panel to the front and use the entrance at the back of the boiler
to insert the cables (H1 for high voltage cable, H2 for low voltage cable).
4. Connect the cable with screw connectors already in the socket blocks.
(2x)(2x)
A
C
B
D
E
G
H1
H2
J
I
F
Caution:
After removing the panels 230V
parts cab be reached.
Electrical connections are only to
becarriedoutbyqualiedsta.
1
2
3
4
0
PWM
L1 N L2 1.1 1.2 2.1 2.2 3.1 3.2
3 WV/DHW pump (AC) VFR3
VFR2VFR1
Output Output
Output Output
L N L N L N
Input Output Output
PWM 0-10V GND 5VNTC 5VNTC 5VNTC 5VNTC 5VNTC
Signal
GND
Signal
GND
MO1 (0-10V output) MTS1 (T10) MTS2 MTS3
NTC 7
(outd. sensor)
NTC 3 (DHW/
Tank sensor)
eBus eBus
Input OutputOutput Input Input Input Input Input
GNDPWM 0-10V 24VSignalGND 24VSignalGND Signal 24VGND 24V 5VSignalGND GND Signal
PADIN 3 PADIN 4PFDIN 1 PADIN 1 PADIN 2MO2 (0-10V output)
InputInput Input InputOutput Input
1 2 5 43
 Loading...