4
• Polypropylene Carrying Case
• Operating Instructions
2 USING YOUR TESTER
2.1 SECURING THE DOLLY - HORIZONTAL SURFACES
The surface of the dolly and the test area should be abraded and be free from oil, moisture and dust to
ensure a good bond between the dolly face and the coating.
1. Prepare the surface of the dolly and the coating where the dolly is to be applied by roughening with an
abrasive paper. Then de-grease these areas by using a suitable solvent to clean both surfaces.
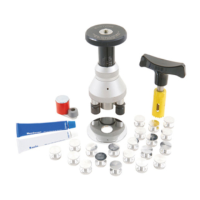
2. Mix a small quantity of adhesive and apply an even film to the prepared surface of the dolly.
3. Place the dolly onto the prepared test surface and apply pressure to squeeze out excess adhesive
which should then be removed. Allow the adhesive to cure for the recommended time - see
“Adhesives” on page 6.
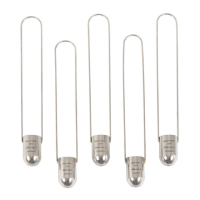
Dollies can be re-used after cleaning. Additional dollies are available from Elcometer or your local supplier
- see “Spare parts and accessories” on page 11.
2.2 SECURING THE DOLLY - VERTICAL SURFACES
A magnetic dolly clamp is included with your Elcometer 106 kit of parts.
Follow the instructions given in section 2.1 above, but use the magnetic dolly clamp to hold the dolly in place
while the adhesive cures. Ensure the ‘keeper’ disc is removed from the magnet prior to use.
The magnetic dolly clamp will only work on ferrous substrates.
106_TMA_0003_00_06.fm Page 4 Wednesday, January 21, 2009 3:21 PM