www.elcometer.com
en-17
R
A.5 CREATING A NEW TEMPLATE
A template combines logger settings, paint type and product
information for upload to the logger. Any combination of the three
settings can be used to create a template.
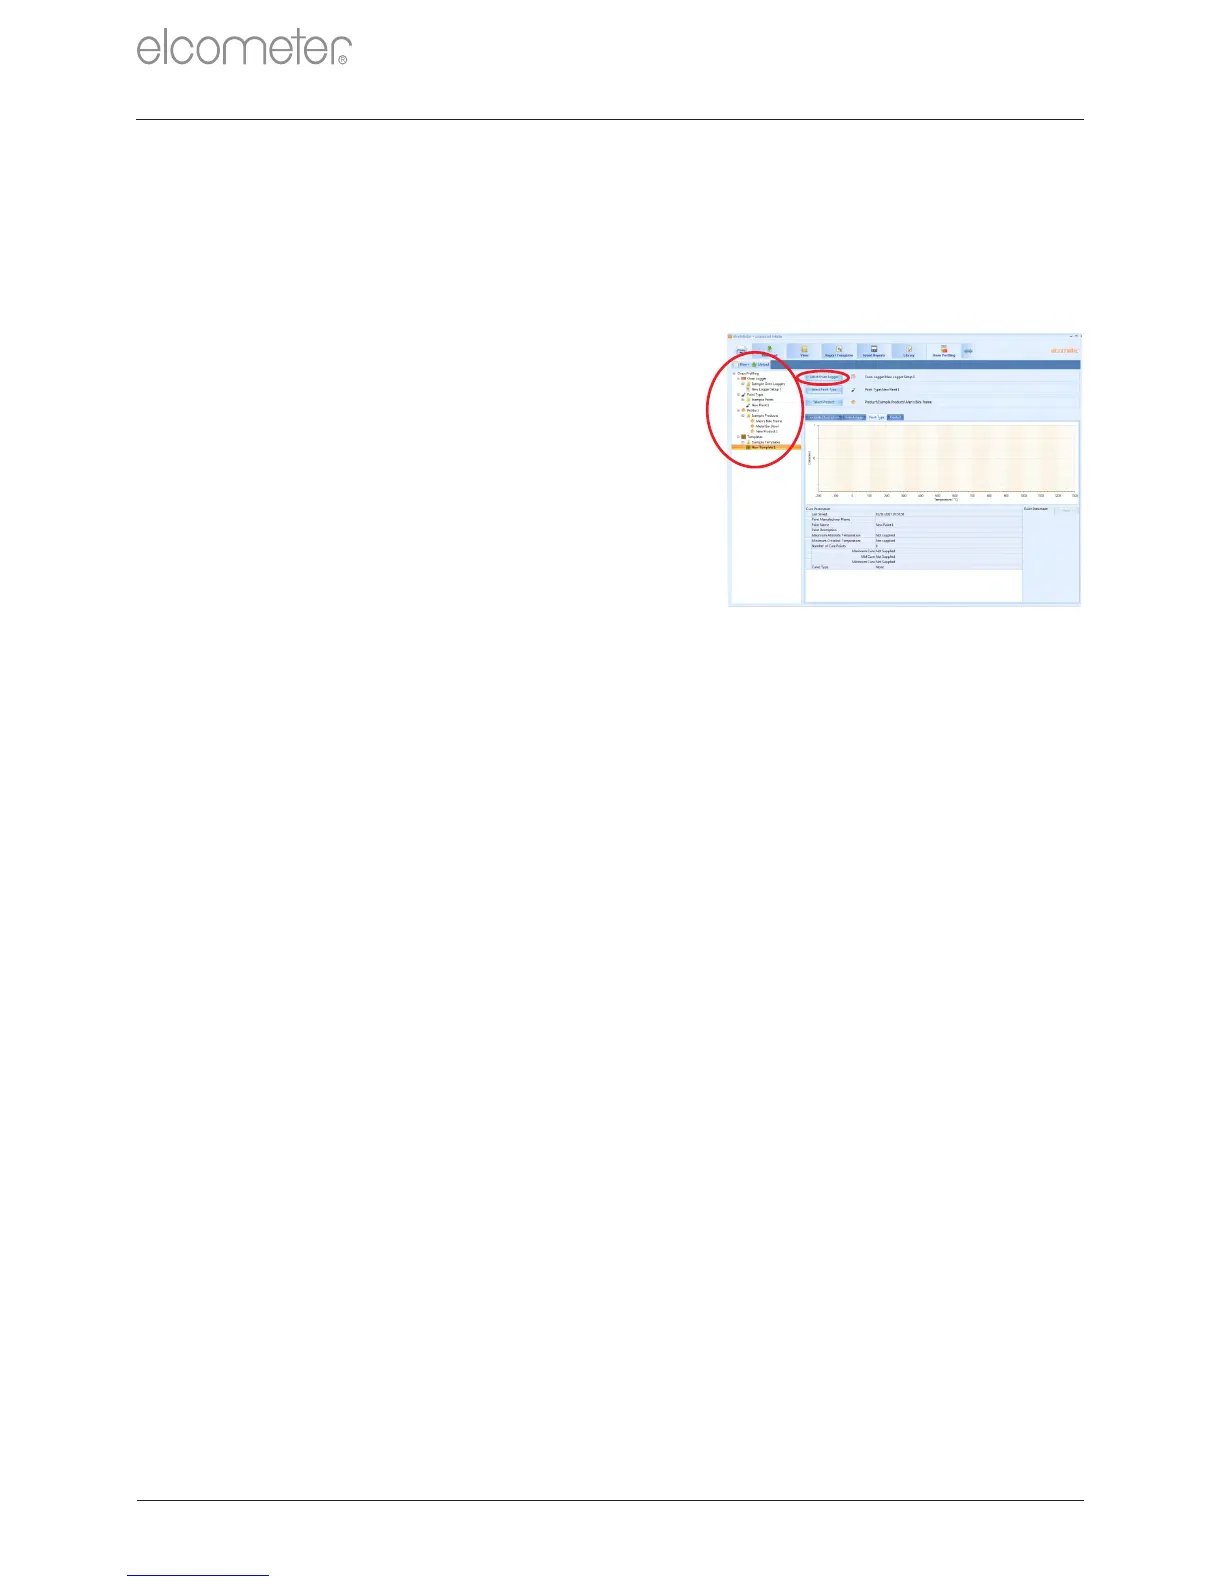
To create a new template:
1 Click on the ‘Oven Profiling’ tab.
2 Click ‘New’’Template’. A new file
is created labelled ‘New Template
x'. To rename file, right-click and
select ‘Rename’.
3 Click ‘Select Oven Logger’ and
select the required oven logger
settings file. Repeat for ‘Select
Paint Type’ and ‘Select Product’ if
required.
4 Add descriptive text under
‘Template Description’ if required.
Once the template has been created, click ‘Upload’ to upload the data
directly to the logger and follow the on-screen instructions.
A.6 UPLOADING SETTINGS AND TEMPLATES
®
Settings and templates created in ElcoMaster can be uploaded to the
Elcometer 215 ensuring that all runs through the oven have the
correct calculations performed and the correct supplementary data
recorded against them. Different paint types, products and templates
can be applied at a later date to each batch but logger settings cannot
be changed.
To upload via the ‘Oven Profiling’ Tab:
1 Connect the logger to the PC using the USB cable supplied and
click on the ‘Download’ tab.
®
2 Connect the logger to ElcoMaster using the ‘Connect Gauge’
wizard.
3 Click on the ‘Oven Profiling’ tab and select the required oven-
logger settings file or template.
4 Click ‘Upload’ and follow the on-screen instructions to connect the
logger.
®
APPENDIX A: USING ELCOMASTER (continued)