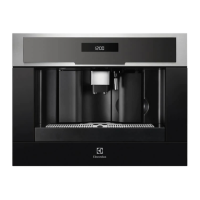
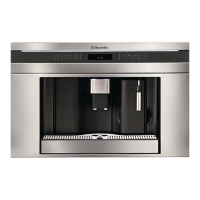
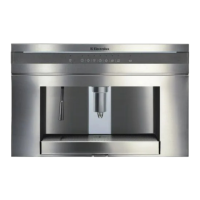
17. CLEANING
17.1 Cleaning the coffee maker
Do not use solvents or abrasive deter-
gents to clean the coffee maker. A soft
damp cloth will suffice.
Never wash any of the components of
the coffee maker in the dishwasher.
The following parts of the machine must
be cleaned regularly:
•Wastecoffeecontainer(A4).
• Driptray(A14).
• Watertank(A12).
• Coffeespouts(A13)
• Pre-groundcoffeefunnel(A21).
• nsideofthemachine,accessibleafter
opening the service door (A2).
• Brewingunit(A5).
17.2 Cleaning the waste coffee
container
When “EMPTY WASTE COFFEE CON-
TAINER” is displayed, the waste coffee
container must be emptied and cleaned.
To clean:
• opentheservicedooronthefrontof
the appliance (fig. 26), extract the drip
tray (fig. 27) and clean.
• Cleanthewastecoffeecontainerthor-
oughly (fig. 28).
IMPORTANT!
When extracting the drip tray,
the waste coffee container must
always be emptied.
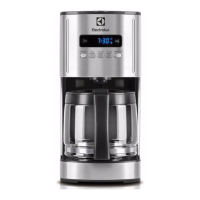
17.3 Cleaning the drip tray
IMPORTANT!
If the drip tray is not emptied the
water might overflow. This could
damage the machine.
The drip tray is fitted with a level indica-
tor (red) showing the level of water it
contains.
The jug programme is factory set with
default values.
These can be modified to suit your per-
sonal taste and saved.
You can select 5 different types of coffee
from extra-mild to extra-strong and, with
the aid of a graphic bar, 10 quantities of
coffee.
To make these adjustments, proceed as
follows:
• Pressthe icon (B2) to enter the
menu. Press the icons (B7)
and (B8) until “PROGRAM JUG” is
displayed.
• PresstheOKicon(B9)andthenthe
icons (B7) and (B8) until “JUG
COFFEE TASTE” is displayed.
• PresstheOKicon(B9).
• Pressthe icons (B7) and (B8)
to select a different coffee taste from
extra-mild to extra-strong.
• Confirmtherequiredtastebypressing
the OK icon (B9).
• Tochangethequantityofcoffee,press
the icons (B7) and (B8) until
“JUG LEVEL” is displayed.
• PresstheOKicon(B9)toconfirm.
• Abarrepresentingthequantityofcof-
fee delivered for each cup is displayed
and can be made shorter or longer.
A completely full bar corresponds to
the maximum quantity of coffee per
cup.
• Whenthebarindicatesthequantityof
coffee required, press the OK icon (B9)
to confirm.
• Tochangethequantityofcups,press
the icons (B7) and (B8) until “NR
OF CUPS IN JUG” is displayed.
• SelecttheOKicon(B9)andthenpress
the icons (B7) and (B8) to select
the number of cups required (4, 6).
“JUG 4 CUPS” or “JUG 6 CUPS” is
displayed.
• PresstheOKicon(B9)toconfirm.
• Pressthe icon (B6) to exit the
programming menu.
16. CHANGING JUG FUNCTION PARAMETERS