4.1 Controls after transport
After removing the packaging, make sure
the product is complete and undamaged
and that all accessories are present.Do
not use the appliance if it is visibly dam-
aged. Contact Customer Services.
4.2 Installing the appliance
IMPORTANT!
• Installationmustbeperformedbya
qualified professional in compliance
with legislation in force in the country
of installation (see Built-in installation).
• Thepackingelements(plasticbags,
polystyrene foam, etc.) should be kept
out of reach of children.
• Donotinstalltheapplianceinrooms
where the temperature may drop to
0°C or lower.
• Customisethewaterhardnessassoon
as possible following the instructions in
the “Setting water hardness” section.
4. PRELIMINARY CHECKS
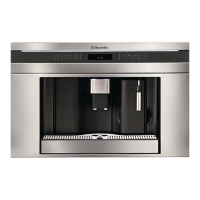
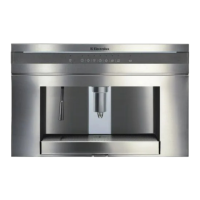
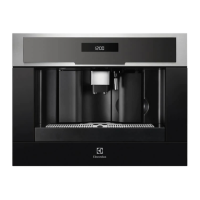
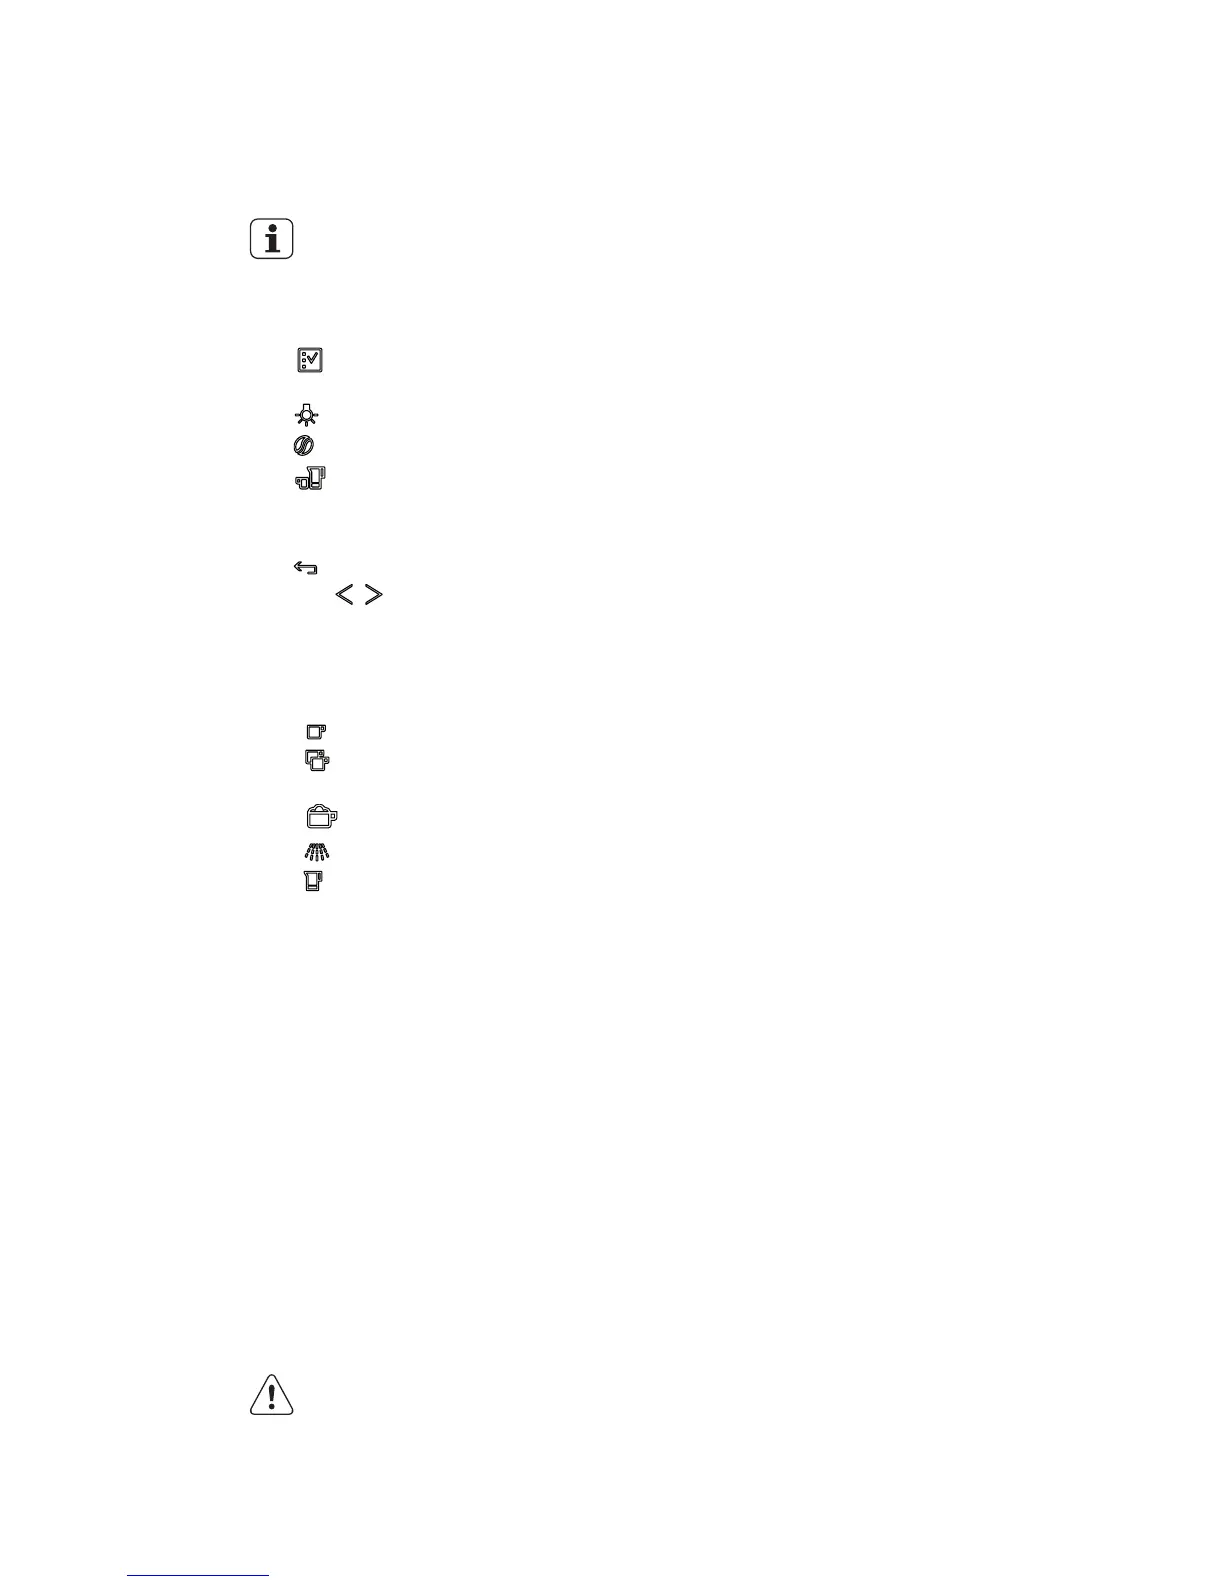
3.2 Description of the control
panel
(page 3 - B)
A light touch is enough to activate
the icon.
B1. Display: guides the user in using the
appliance.
B2. icon to activate or deactivate
menu parameter setting mode
B3. icon to turn lights A6 on and off
B4. icon to select the coffee taste
B5. icon to select the type of coffee
(espresso, small cup, medium cup,
large cup, mug)
B6. icon to exit the selected mode
B7-B8. icons to scroll forwards or
backwards through the menu and
display the various modes
B9. OK icon to confirm the selected func-
tion
B10. icon to deliver a cup of coffee
B11. icon to deliver two cups of
coffee
B12. icon to deliver cappuccino
B13. icon to deliver hot water
B14. “jug” icon to make a certain
number of cups of coffee directly in
the jug in one shot
3.3 Description of milk
container and accessories
(page 3 - C)
C1. Frothed milk regulator
C2. Milk container handle
C3. CLEAN button
C4. Milk intake tube
C5. Frothed milk spout
C6. Milk frother
C7. Hot water spout