Page 21
EA Elektro-Automatik GmbH
Helmholtzstr. 31-37 • 41747 Viersen
Germany
Fon: +49 2162 / 3785-0
Fax: +49 2162 / 16230
www.elektroautomatik.de
ea1974@elektroautomatik.de
PS 2000 B Triple Series
3.4.4 Adjustment limits
Adjustmentlimitsonlyaectthesetvalues,nomatterifduringmanualadjustmentorremote
control!
Defaults are that the set values of voltage and current are adjustable
from 0 to 100% of the rated value. This may be obstructive in some
cases, especially for protection of applications against overvoltage
which may occur when accidentally adjusting the voltage too high.
Therefore upper limits for current (I) and voltage (U) can be set which
limit the range of the set value adjustment.
► How to congure the adjustment limits
1. WhiletheDCoutput(1or2)isswitchedo,pressbuttonSettings.
2. In the menu use the left knob to navigate to Settings and press the left knob.
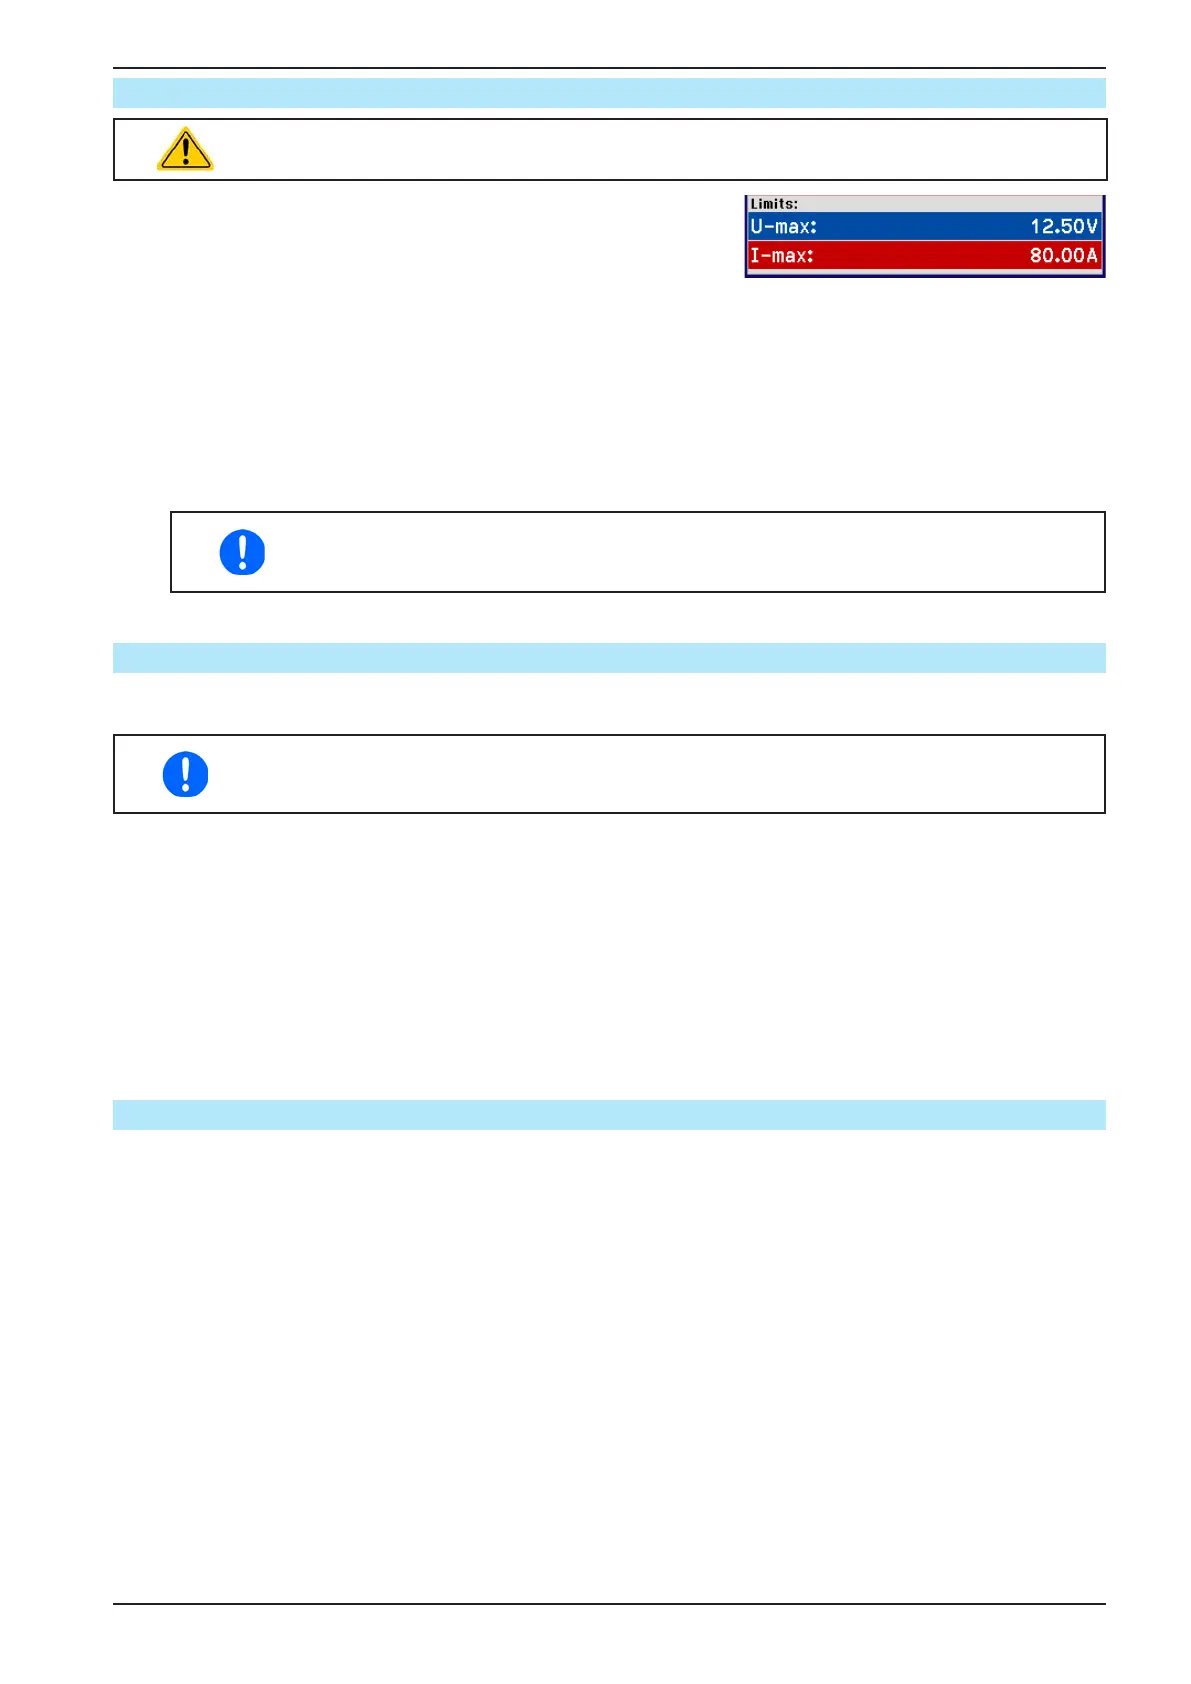
3. In menu Settings use the left knob again to select U-max (upper limit of voltage) or I-max (upper limit of
current). Adjust the value as desired.
The limits can only be equal to or higher than the related set value. Thus it might be re-
quired to turn down the set value before you can nally turn the limit down to the desired
level. The set values are accessible on the same menu page.
4. Leave the setup menu.
3.4.5 Manual adjustment of set values
Adjustment of voltage and current is the fundamental operation of this series’ power supplies. In manual control,
the set values can only be adjusted with the rotary knobs.
When adjusting the set values, an upper limit could interfere. Also see section «3.4.4. Adjust-
ment limits». Once a limit is reached, the main screen will show a note like “Limit: U-Max” for
1.5 seconds above the set value.
► How to adjust values with the rotary knobs
1. With the main display being shown, it means no menu mode is active, turn the left-hand knob to adjust
the output voltage and the right-hand knob to adjust the output current. This doesn’t depend on DC output
condition.Bothsetvaluesaecteachother(seesection«3.2.3. Power limitation» for the background). If
you would, for example, turn up the voltage then the current value would automatically start to decrease at
some point until the max. adjustable voltage is reached. The same would happen vice versa when starting
to turn the current set value again. The voltage value would then immediately start to decrease while the
current value increases at the same time.
2. Selecting a digit is done by pushing the rotary knob which shifts the cursor from right to left (selected digit
will be underlined).
3.4.6 Switching the DC output on or o
TheDCoutputofthedevicecanbemanuallyorremotelyswitchedonando.Inmanualoperationthiscanbe
restricted by the control panel being locked.
► How to manually switch the DC output on or o
1. As long as the control panel (HMI) isn’t fully locked (see «3.4.7. Control panel (HMI) lock» about the HMI lock
options) press button On/O. Otherwise you are asked to disable the HMI lock, which is done by pushing
theknobasconrmation.IfthePINhasbeenactivatedinmenu“HMI Setup”, you would then be asked to
enter the PIN to complete the unlocking process.
2. The On/ObuttontogglestheDCoutputconditionbetweenonando,aslongasachangeisn’trestricted
by any alarm or the device being in remote control. The DC output condition is indicated by the LED and a
text(green=on,red=o)inthestatusareaofthedisplay.
► How to remotely switch the DC output on or o via the digital interface
1. See the programming guide on the included USB stick if you are creating custom software or refer to the
documentation of the included LabView VI set or further documentation provided by EA Elektro-Automatik.

 Loading...