8
Venting outside through the wall
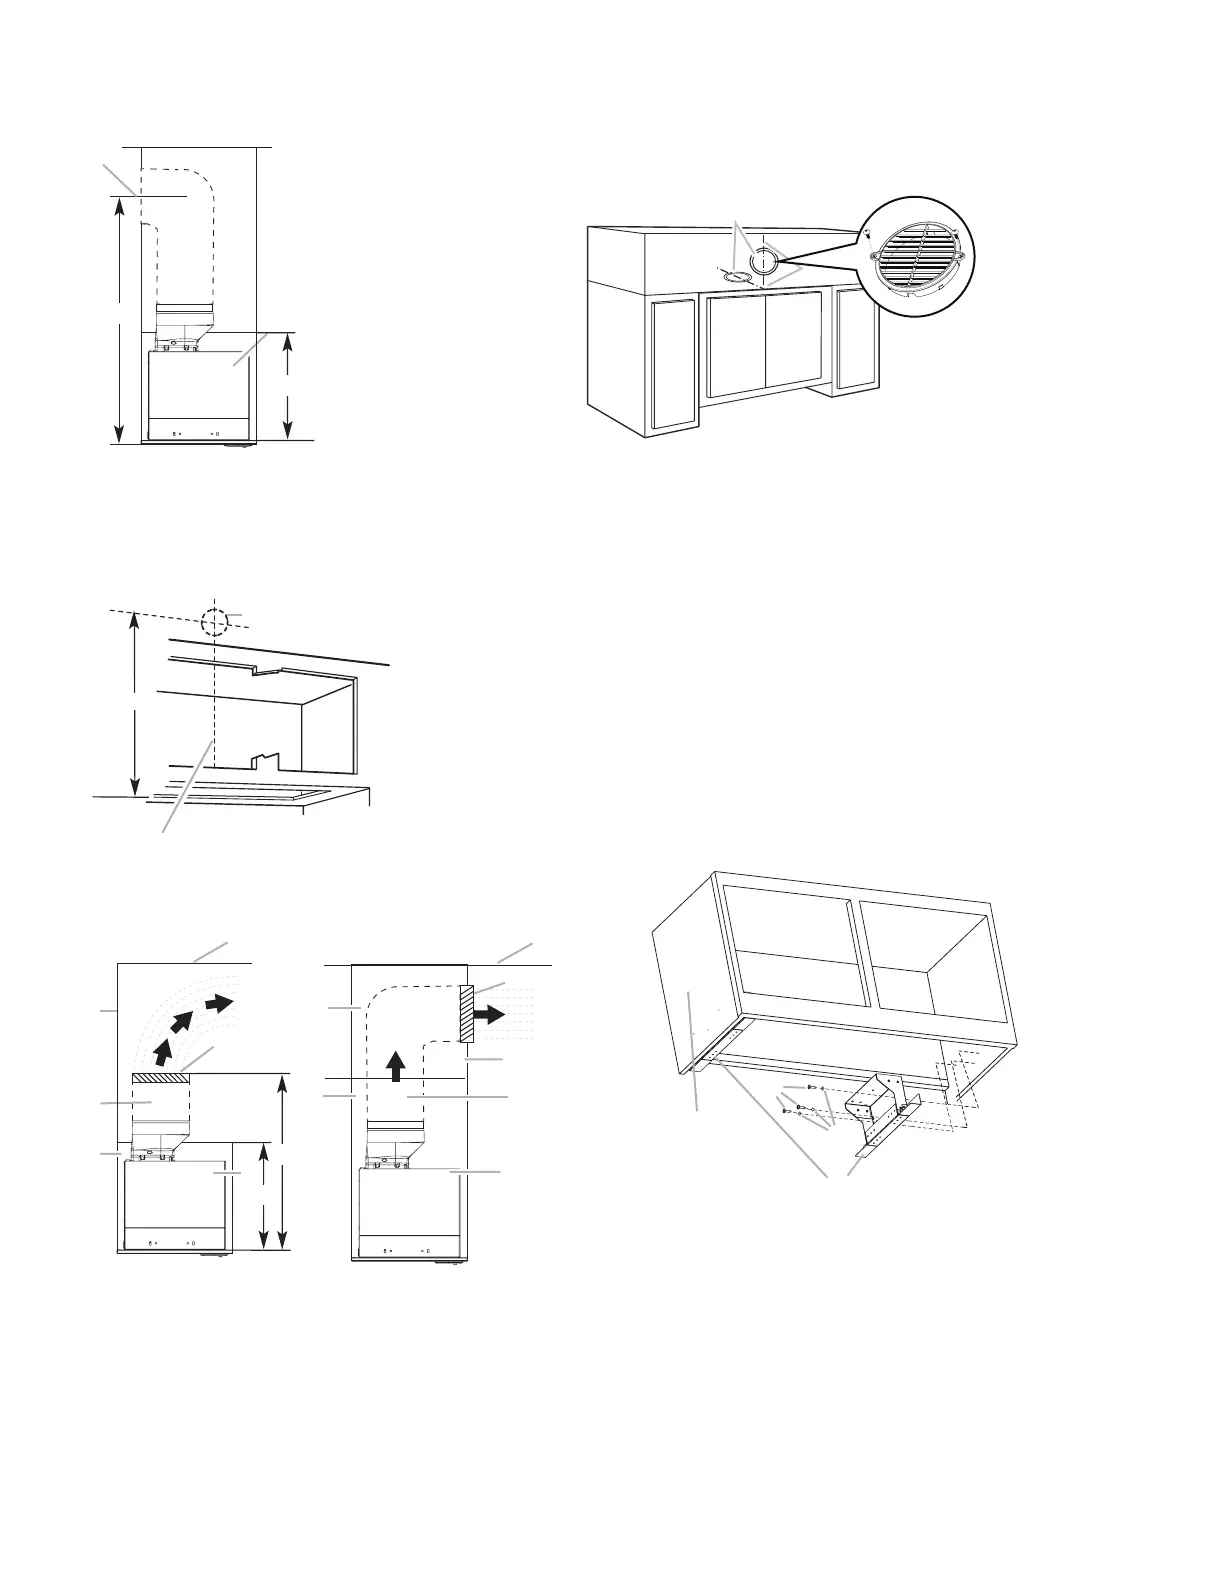
1 Measure from the bottom of the range hood liner to the
horizontal centerline of the vent opening (A).
A
B
C
D
A. Measurement A
B. Horizontal centerline of vent
opening
C. Range hood liner
D. 12” (30.5 cm) min. cabinet height
5 Remove the vent duct from the range hood liner. Transfer
measurement A to the cabinet back wall. Measure from the
underside of the cabinet.
6 Mark the cutout as shown. Use a saber saw or keyhole saw
to cut a round opening through the back of the cabinet and
the exterior wall for the vent.
A
B
C
A. Measurement A
B. Centerline
C. 6¼” (15.9 cm)
round cutout
Non-vented (recirculating) installation through the soffit/
cabinet
E
A
B
G
D
F
H
I
A
B
G
F
C
D
E
A. Ceiling
B. Vent cover
C. Sot
D. 6” (15.2 cm) vent
E. Range hood
F. Cabinet
G. Wall
H. 12” (30.5 cm) min. cabinet
height
I. 17” (43.2 cm) min. vent cover
height
1 Measure and mark the centerline of the cabinet to the sot
above.
2 Measure from the bottom of the cabinet to the centerline
of the where the vent will come through the sot. Mark the
location and use a saber saw or keyhole saw to cut a 5¾”
(14.6 cm) hole for the vent cover.
A
B
A. Vent cover
B. Centerline
*NOTE: For 12” (30.5 cm) high cabinets a 6¼” deep x 8” wide
(14.6 cm x 20.3 cm) rectangular opening in the cabinet top is
required for damper transition clearance.
3 Consider the cutout chart measures to make the openings
on the cabinet.
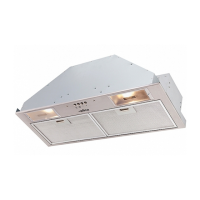
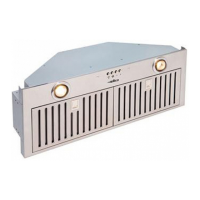
Complete preparation
1 If not yet attached, install the 6” (15.2 cm) vent transition
the top of the range hood liner using two 3.5 x 9.5 mm screws.
2 Locate side mounting bracket flush 1 cm to the bottom of
the cabinet side and against the inside of the front cabinet
face. Orient the bracket depending on the width of your
cabinet as depicted in the diagrams below. Drill
1
⁄8” (3 mm)
pilot holes in 6 places, attach a bracket using three 4.5
x 13 mm screws to each side of the cabinet, and tighten.
Additional washers in hardware package are supplied as
spacers for cabinet walls thinner than ½”(13 mm).
Bracket Orientation for 30” (76.2 cm) Cabinet
A
B
C
D
A. 30” (76.2 cm) cabinet
B. Screws - 4.5 x 13 mm (8)
C. Washers (optional)
D. Mounting bracket (2) (position for 30” [76.2 cm]
cabinet)
 Loading...