8
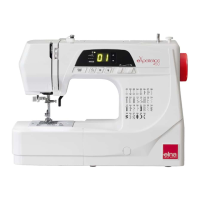
Foot Pressure Dial
Align the foot pressure dial q with the setting mark w at
“3” for regular sewing.
Reduce the pressure to “2” for appliqué, cutwork, drawn
work, basting and embroidery.
Velours and knits with a lot of stretch may require a “1”
setting.
q
w
q
w
e
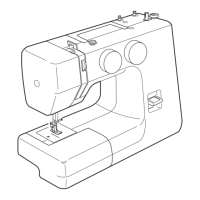
Presser Foot Lever and Additional Presser Foot
Clearance
Before sewing can occur, the presser foot must be
lowered to close the tension discs.
Raise and lower the foot with this lever q.
You can raise the presser foot about 6.5 mm (1/4˝) higher
than the normal up position for easy removal of the
presser foot or to place heavy fabrics under the presser
foot. Pull the presser foot lever up beyond the normal up
position.
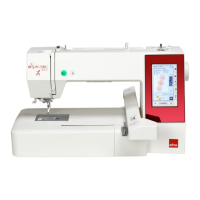
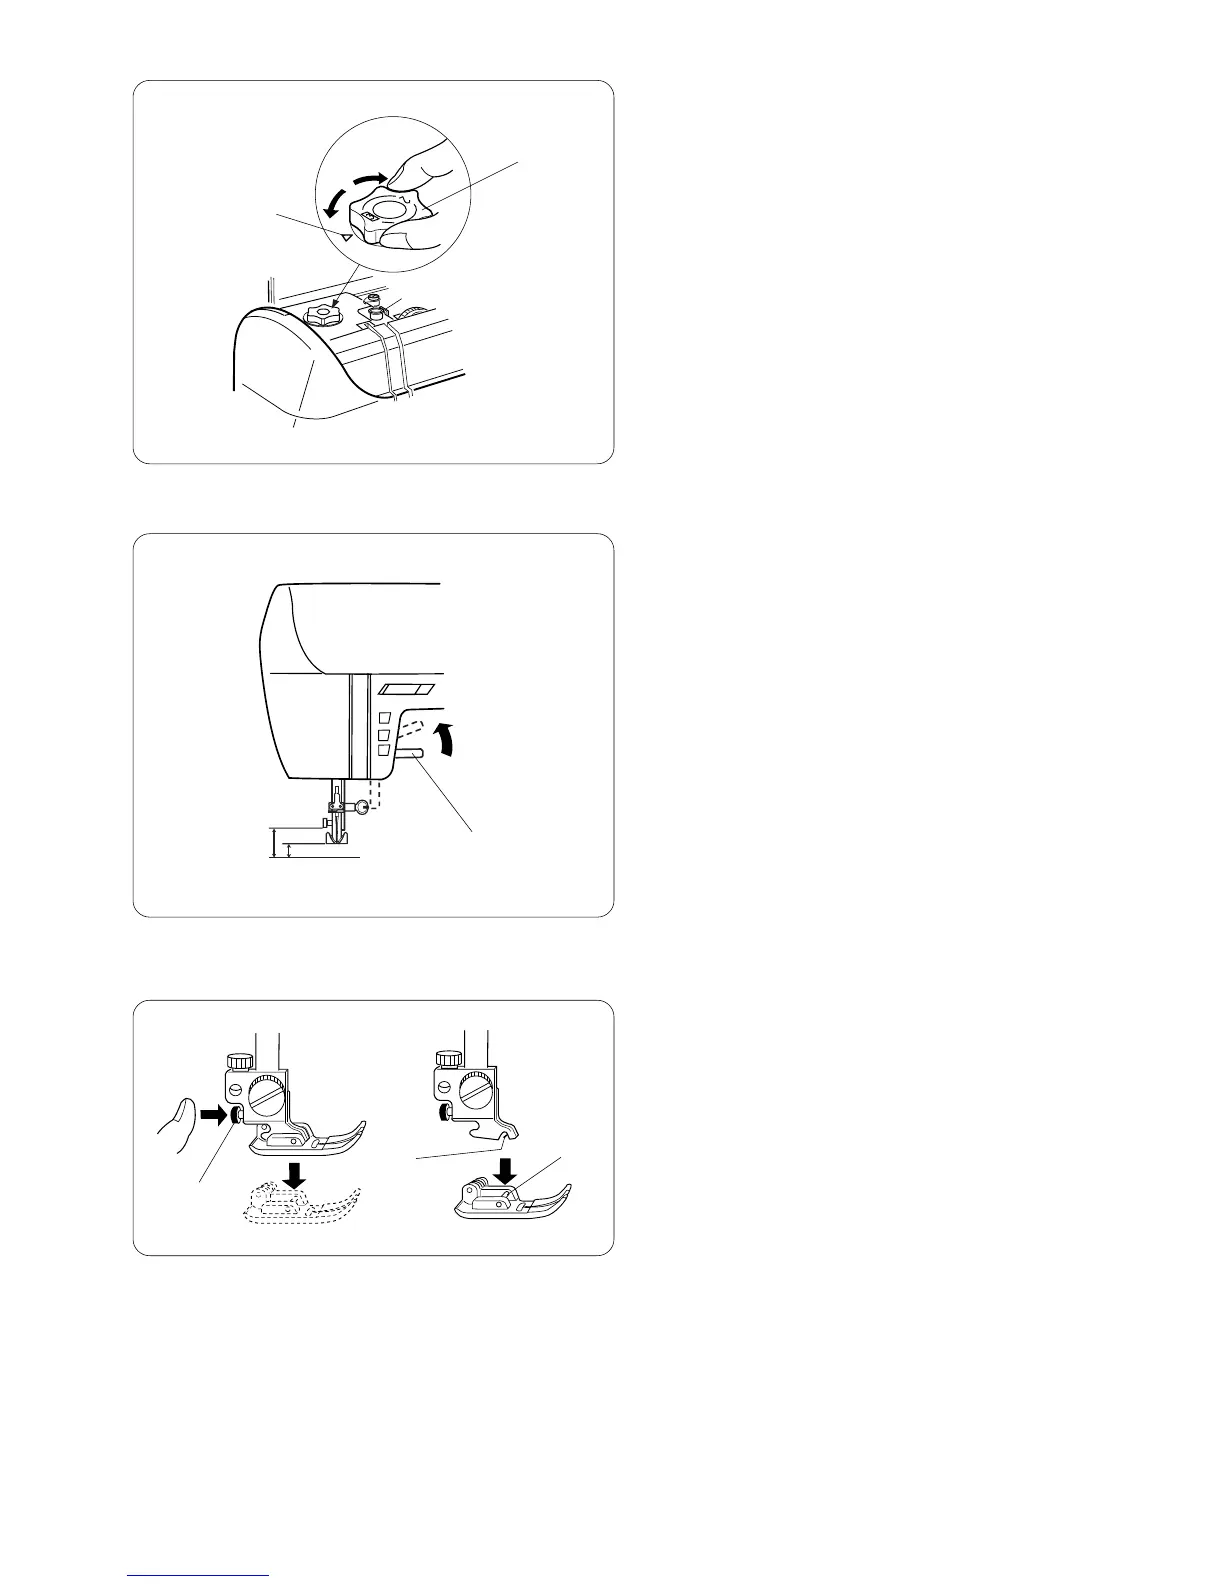
Attaching and Removing Presser Feet
Press the “Up/Down Needle” key until the needle is in
the raised position.
Turn OFF the power switch. Raise the presser foot and
press the red button q on back of the shank. The
presser foot will drop off. Place the selected presser foot
so the pin e on the foot lies just under the groove w of
the shank. Lower the presser bar and attach the foot.
q