7
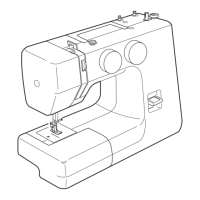
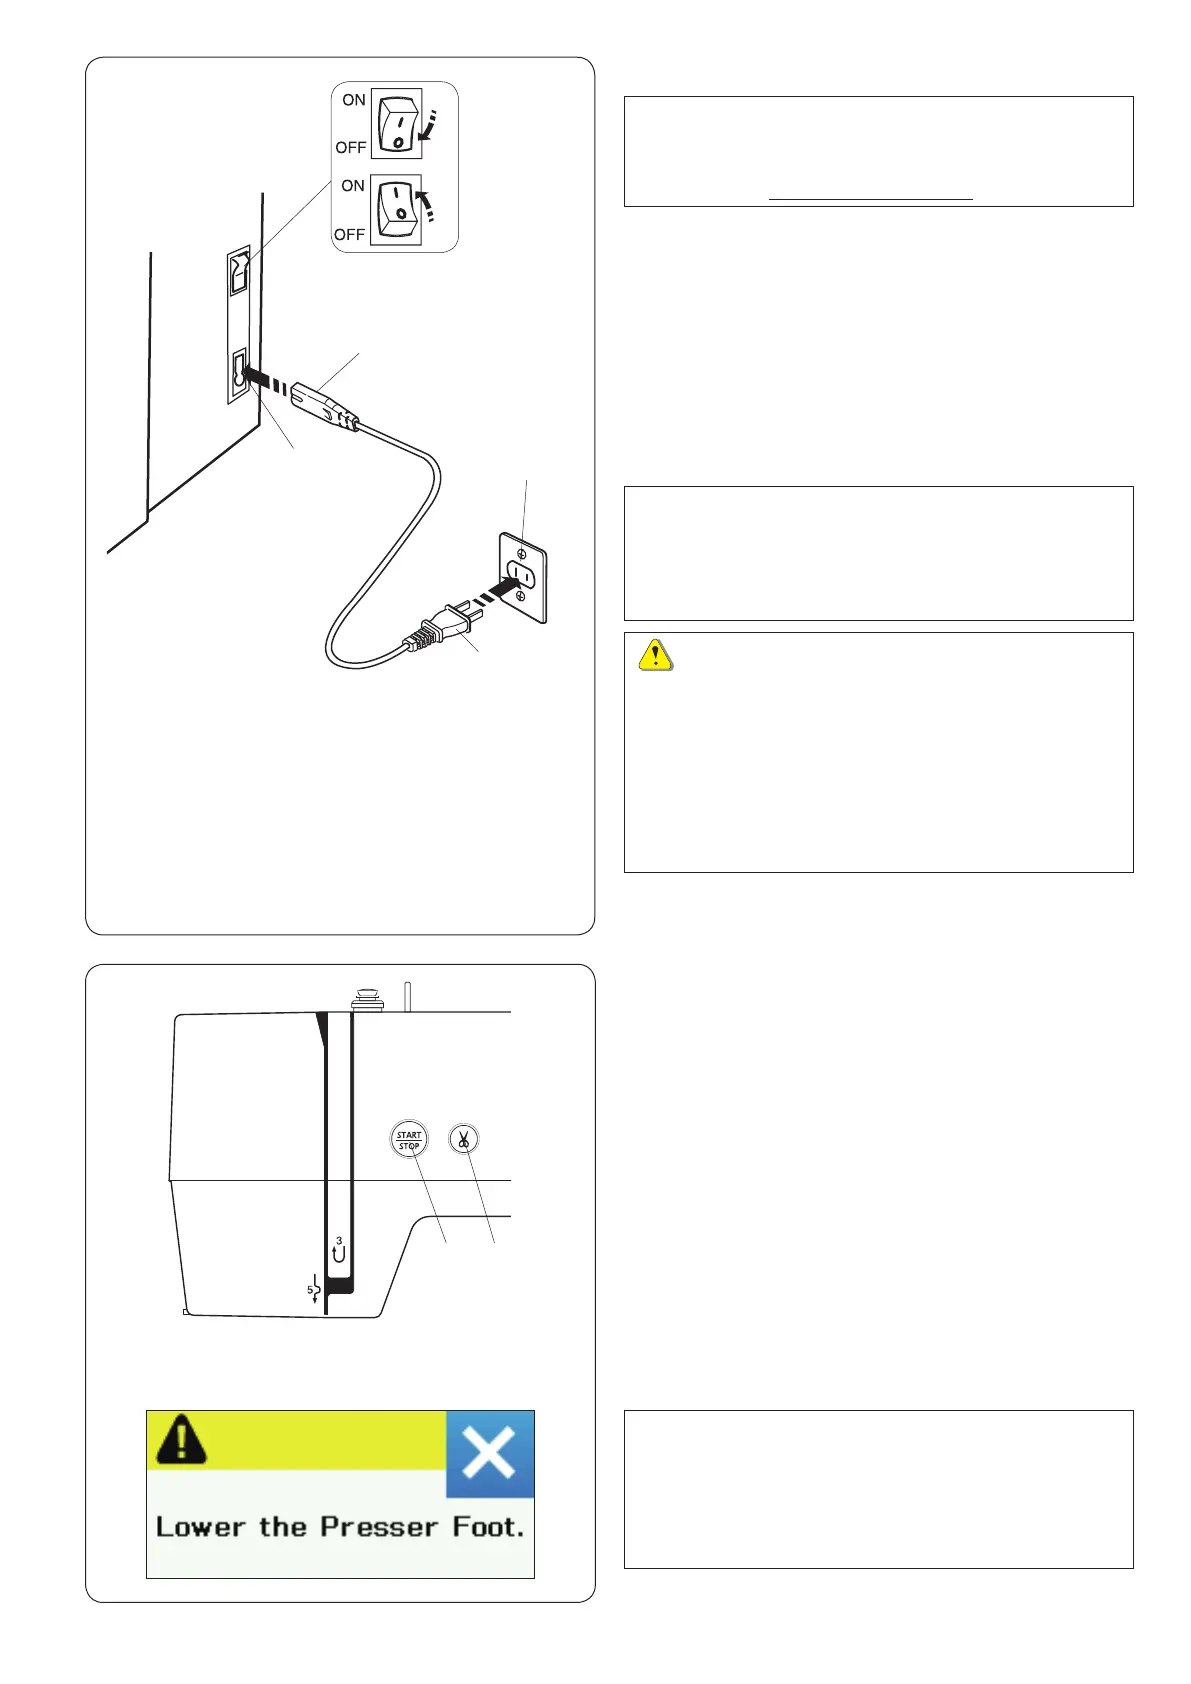
Connecting the Power Supply
q
w
For the U.S.A. and Canada only
Polarized plug (one blade wider than the other):
To reduce the risk of electric shock, this plug is intended
to t in a polarized outlet only one way. If it does not t
fully in the outlet, reverse the plug. If it still does not t,
contact a qualied electrician to install the proper outlet.
Do not modify the plug in any way.
r
t
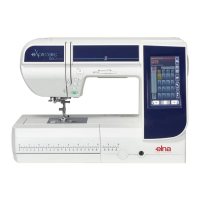
Machine Operating Buttons
q Start/stop button
Press this button to start or stop the machine. The button
turns red when the machine is running, and green when
it stops.
w Thread cutter button
Press this button when you nish sewing to trim the
threads. The needle bar automatically rise after trimming
the threads.
q w
e
e
NOTE:
Make sure to use the power cable that came with the
machine.
If you turn off the power switch, wait for 5 seconds
before turning it on again.
WARNING:
While in operation, always keep your eyes on the
sewing area, and do not touch any moving parts such
as the thread take-up lever, handwheel or needle.
Always turn off the power switch and unplug the
machine from the power supply;
- when leaving the machine unattended.
- when attaching or removing parts.
- when cleaning the machine.
NOTE:
If you press the start/stop button without lowering the
presser foot, the warning message e appears on the
visual touch screen.
Lower the presser foot and press the start/stop
button.
NOTE:
A presentation video with quick-start information is
available for this model and can be downloaded from
our website at www.elna.com/support
z First make sure the power switch q is off.
x Insert the machine plug w of the power supply cord
into the power inlet e.
c Insert the power supply plug r into the wall outlet t,
and turn the power switch q on.
q Power switch
w Machine plug
e Power inlet
r Power supply plug
t Wall outlet