Quick Start Guide Minipack PS System 356808.103, 1v2-2008-10
3
Installing Smartpack and Rectifier Modules
Mounting or Removing Smartpack Controller
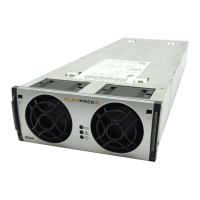
Mounting the Smartpack controller
1. Open the handles by
inserting a screwdriver into the holes to release the spring
mechanism
2. Insert the module fully into the power shelf, after plugging the
cables to the rear panel
3. Lock the handles by
pushing the handles up into their housings (locked position), so
that the module is securely locked
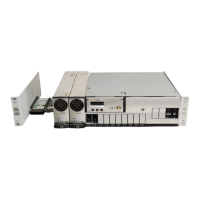
Removing the Smartpack controller
1. Open the handles by
inserting a screwdriver into the holes to release the spring
mechanism
2. Remove the module by
using both handles to pull the module loose gently; support from
underneath; unplug the cables connected to the rear panel
Device
hazard
CAUTION: Do not hand-carry the controller by its handles. Cables and circuit
boards are plugged to the controller’s rear panel. Open the handles before
inserting the controller into the power shelf.
Controller & Modules Installation
Minipack
rectifier
Locking Screw
Mounting
Rail
Front Handle
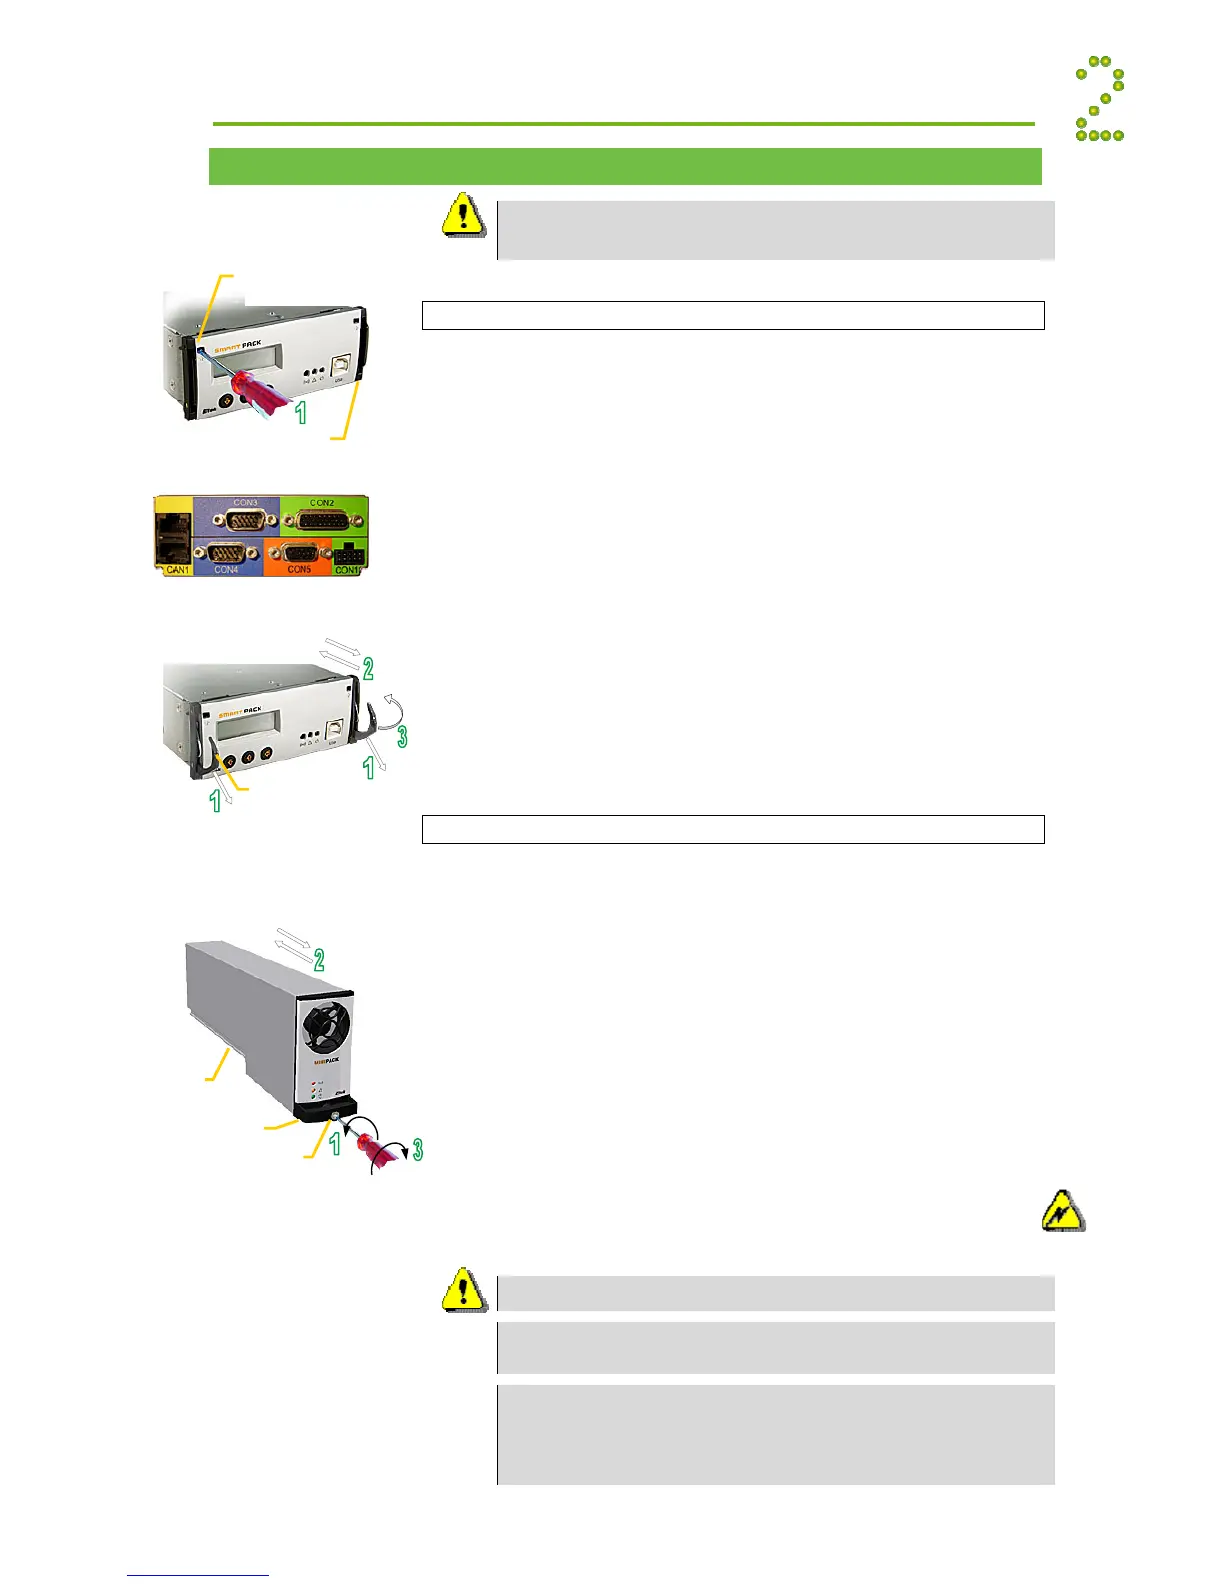
Mounting or Removing Minipack Rectifier Modules
1. Unlock the module by
using a screwdriver to loosen the locking screw
2. Insert or remove the module by
sliding it on its mounting rail fully into the power shelf, so that
the module makes proper contact (hot-pluggable)
or
using the front handle to pull the module loose; support from
underneath before the unit is completely free
3. Lock the module by
screwing home the locking screw (locked direction). Then, the
module will be securely locked in the shelf, or ready for transport
4. Mount blind covers in
unused module locations
Electric
shock
Smartpack
controller
Handle in locked position
Hole to release the
handle’s spring
mechanism
Smartpack rear connections
Handle in
unlocked
osition
Smartpack
controller
Device
hazard
CAUTION: The modules may be warm. Remove the locking screw before
inserting them into the power shelf (hot-pluggable).
CAUTION: Do not relocate already hot-plugged rectifiers to other positions in
the power shelf. New rectifiers must be hot-plugged in the power shelf, one at
time, starting from the left with position 1, 3, 5 and 2, 4, 6.
WARNING: To replace installed rectifiers with new ones, remove the installed
rectifiers and wait for the controller to notify communication error with the
extracted rectifiers. Slide the new rectifiers fully into the power shelf — one
module at a time, allowing a 2s delay. Start with the shelf position with lowest ID
number. Lock the modules.
 Loading...