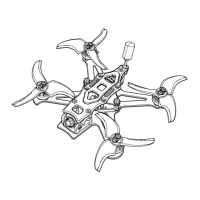
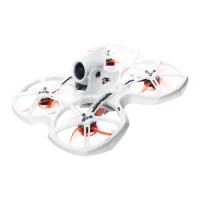
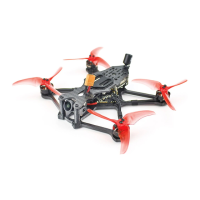
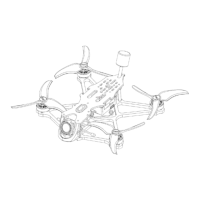
Tinyhawk III Plus
5.2.2 Binding the Tinyhawk III Plus with the Remote
Controller
Binding, also known as pairing, is the process of establishing a connection
between the receiver and the remote controller. One receiver can be bound to
one remote controller, while a single remote controller can be bound to multiple
receivers.
The E8 Transmitter (ELRS-2.4G) is already bound to the Tinyhawk III Plus
included in the RTF kit. If necessary, follow these steps to bind (assuming you
have not changed the binding key):
1. Enter Binding Mode on the Flight Controller (Tinyhawk III Plus):
Power on the Tinyhawk III Plus.
Press and hold the Bind button on the Tinyhawk III Plus flight
controller. The blue LED indicator on the flight controller will start
blinking and then stay solid, indicating it's in binding mode.
2. Enter Binding Mode on the E8 Transmitter (ELRS-2.4G):
Turn on the E8 Transmitter (ELRS-2.4G).
Simultaneously press and hold the "L4+" and "R3-" buttons on the
E8 Transmitter for about 1 second until the center LED indicator
alternates between green and red blinking. This indicates that the
remote controller is in binding mode.
3. Binding Confirmation:
Observe the Tinyhawk III Plus flight controller's blue LED, which
will change from solid to blinking.
At this point, the LED indicators on the E8 Transmitter (ELRS-2.4G),
specifically the "L4+" and "R3-" buttons, will go from blinking back
to solid.
This change in LED status on both devices confirms the successful
binding.
4. Exit Binding Mode:
To exit binding mode, disconnect the battery from the Tinyhawk III
Plus, cutting power to the flight controller.
Note: The binding process between the remote controller and receiver doesn't
need to be repeated unless you replace either of the devices.
Please make sure to follow these steps carefully to ensure a successful binding
process. If you have any further questions or need assistance, feel free to ask!