EMC Rails and Enclosures (CX3-10 Class and CX3-20 Class Storage Systems) Field Installation Guide
13
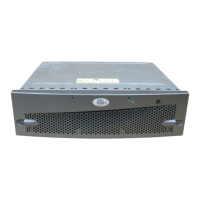
Installing a 1U SPS tray and SPS units in a cabinet
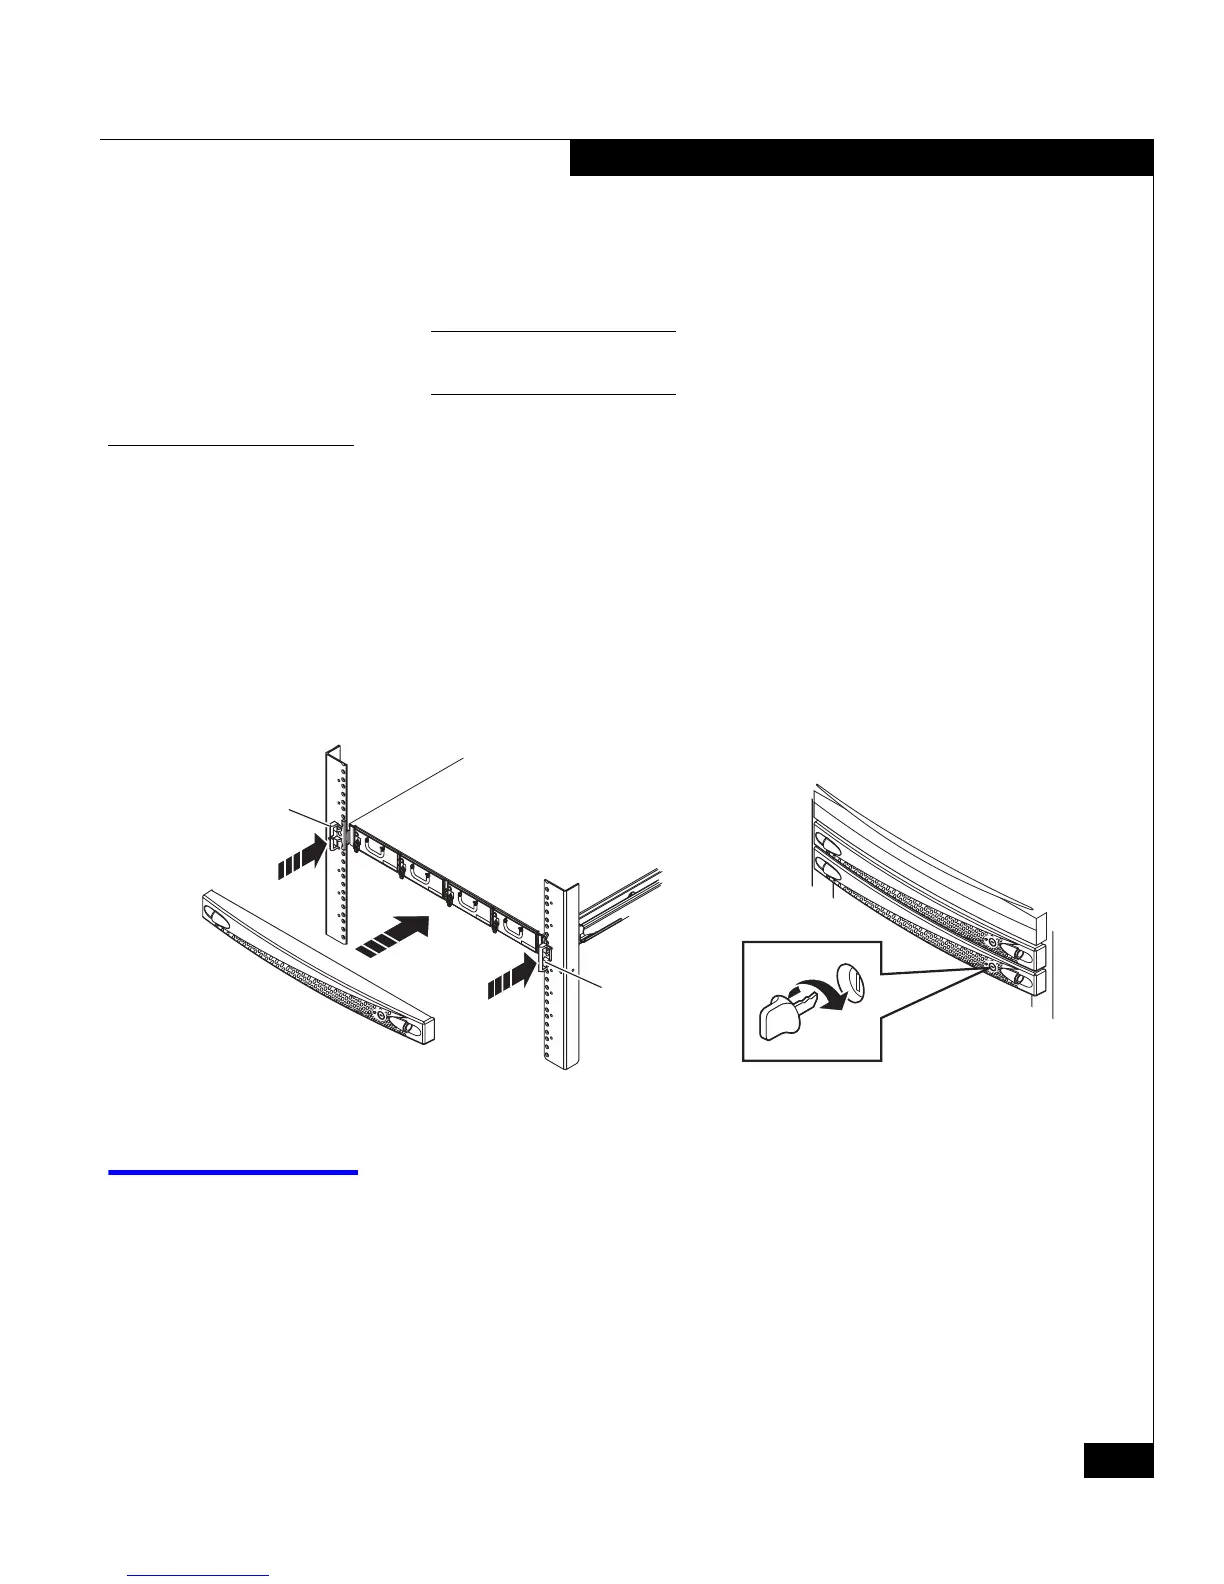
3. Secure the front of the enclosure and the mounting rail to the
front vertical channels of the cabinet using two M5 12.7 mm
screws (one per side), in the bottom holes as shown in Figure 6.
Note: A screw in the middle hole will secure the latch bracket mounted
on the front of the enclosure.
Installing the latch brackets and bezel
This section describes how to install latch brackets and the bezel they
support.
1. Use one screw to secure a latch bracket to each front channel. (The
brackets include small alignment bumps to correctly orient them
to the channel.) See Figure 7.
2. Press the bezel onto the latch brackets until it snaps into place. See
Figure 7.
Figure 7 Installing the latch bracket and bezel
Installing a 1U SPS tray and SPS units in a cabinet
This section explains how to install a 1U SPS (standby power supply)
tray in the cabinet. CX3-20 class systems require two 1000w 1U SPS
units in a single 1U tray; a second SPS unit is optional in CX3-10 class
systems.
EMC3450
Bezel
latch
bracket
Bezel
latch
bracket