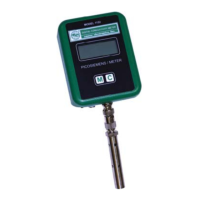
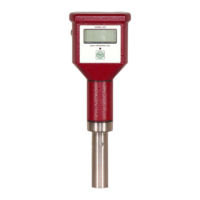
DIGITAL CONDUCTIVITY METER
The information contained in the accompanying document is proprietary and confidential, and may not be
copied in any manner whatsoever without prior written consent of Emcee Electronics, Inc. The document
and the material therein may not be used for any purpose other than that intended by Emcee Electronics,
Inc.
COPYRIGHT 1984 EMCEE ELECTRONICS, INC.
REVISION DATE: JANUARY 10, 2019
Page 12 of 20
10.0 CALIBRATION
10.1 If either ZERO or CALIBRATE is outside
the limits listed in 7.2 or 7.3 the following
steps should be completed.
10.2 Remove the probe.
10.3 Insert a small screwdriver into the
hole marked ZERO while depressing the MEASURE
switch. Adjust the control until the display
reads 000 +/- 001.
10.4 While depressing the CALIBRATE switch,
insert a small screwdriver into the CALIBRATE
hole and adjust for 10 times the probe
calibration number +/- 002.
10.5 Attach the probe and depress the
MEASURE switch. The reading should be
000 +/- 001. If zero adjustment is okay
without probe but not when probe is
attached the probe should be thoroughly
rinsed with isopropyl alcohol followed by
reagent grade toluene and allowed to air dry
before retesting for zero.