7
|
ENGLISH
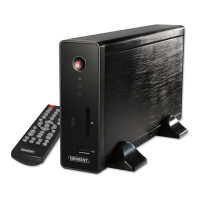
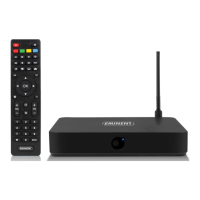
3. Take your SATA hard disk with the label on top and the SATA connector on the
bottom. Make sure the SATA connection is pointed towards the hard disk slot of
the EM7285.
4. Carefully slide the hard disk into the hard disk slot, until you can feel some
resistance.
5. Now close the hard disk slot. The hard disk will slide into it’s place and connect
automatically.
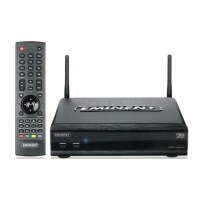
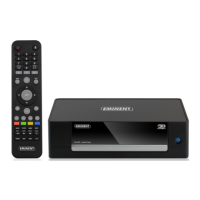
5.0 Connecting the media player
1. Connect the HDMI cable to the HDMI connection of the EM7285 and connect the
other side of the HDMI cable to a free HDMI connection on your television. In
case you do not have a free HDMI connection on your television, you can use the
component connections of both the media player and television to obtain high
definition images. You can also make use of the composite connection when
using an older CRT television.
2. If desired, connect a network cable to the LAN connection of the EM7285.
Connect the other side of the network cable to your router or switch.
3. Set the television to the corresponding HDMI channel.
4. Connect the cable of the power supply to the ‘DC 12V’ of the media player.
5. Connect the power supply to a wall outlet.
In case you want to use a HDMI receiver, you need to connect the HDMI cable to both
media player and HDMI receiver.
6.0 Setting up the media player
6.1 Using the wizard (Initial setup)
The moment the power supply has been connected to a wall outlet, the media player
automatically starts. Usually, a wizard will be shown. This wizard can be used to setup
the media player.
1. The wizard starts with the menu language. Press the ‘OK’ button to enter the
language selection. In this case, select ‘English’ and press the ‘OK’ button.
2. The next item is ‘Time’. Press the ‘OK’ button to enter the ‘time’ menu. Select the
Year, Month and Day. Also, the current time can be set using the H(our),
M(inutes) and S(econds) . When set, press the ‘OK’ button and confirm your
selection by selecting ‘Yes’ and press the ‘OK’ button again.
3. Then ‘Wired LAN Setup’ is selected. Press the ‘OK’ button to enter the selection
menu. If the media player has been connected using a network cable, you can
select ‘DHCP IP (AUTO)’ to automatically assign an IP-Address to the media
player. If you want to manually set the IP-Address, you need to select ‘FIX IP
(MANUAL)’ and fill out the necessary data. Press the ‘OK’ button to confirm your
input.