45NXT TWIN V2.1
SE
EN
BG
CZ
DE
DK
EE
ES
FI
FR
GR
HR
HU
IS
IT
LT
LV
NL
NO
PL
RO
SVK
ML
PT
RS
RU
SL
TR
3.2 Fasten the crotch strap around the bumper
bar.
WARNING Ensure that children are kept away
from all moving parts of the pram to avoid risk
of injury.
WARNING The bumper bar should always be
tted when using the seat unit.
WARNING Always check that the bumper bar is
correctly attached to the seat unit before use.
WARNING Never carry the seat unit/stroller by
the bumper bar.
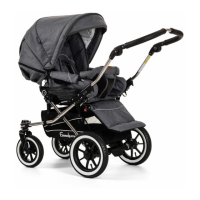
4) ASSEMBLY / USE OF THE HOOD
4.1 Insert the hood in both sides of the seat until
you hear a click.
4.2 Secure the back of the hood by using the 3
velcro strips.
You can click Emmaljunga’s footmuff (accessory)
into place using the eyelets/D-rings behind the
backrest.
WARNING Ensure that children are kept away
from all moving parts of the stroller to avoid risk
of injury.
WARNING Never carry the seat unit/stroller by
the hood.
5) ADJUST THE HOOD
5.1 Pull the hood gently forward or backward to
the desired position.
6) EXTENDING THE HOOD
6.1 To extend the hood to protect the child from
weather you can open the zip on the hood.
6.2 Pull the hood forward and the hood extends.
There is a ventilation and UV/insect net built in
the back of the hood (only on certain models).
WARNING The hood should always be
assembled when the stroller is in use.
IMPORTANT! The hood cannot be folded
down when the optional apron is attached to
the hood.
7) INSECT NET (ACCESSORY)
7.1 Attach the Insect net using the zipper on the
hood. Pull the elasticated band of the insect net
completely over the front foot area.The Insect
net is delivered with the chassis.
7.2 Use the press stud to secure the elasticated
band of the insect net onto the seat unit. Repe-
at on the other side.
7.3 Storage pocket for the Insect net.
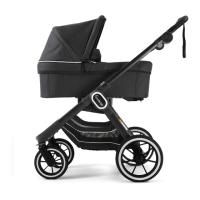
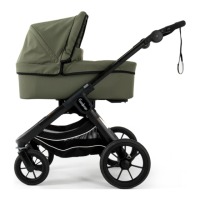
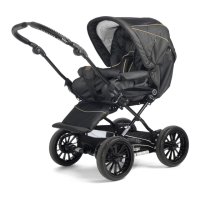
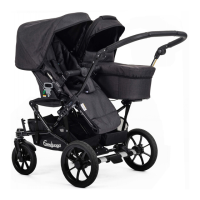
8) ATTACH THE SEAT UNIT ON THE CHASSIS
8.1 ”Click” the seat unit into the chassis, make
sure it ”clicks” in properly and securely on both
sides.The seat unit can be attached in the
direction of travel or against the direction of
travel.
WARNING Ensure that children are kept away
from all moving parts of the pram to avoid risk
of injury.
WARNING Always check that the seat unit is
securely xed to the chassis before the pram is
used.
WARNING Hold the carrying handles until the
seat unit is in place.
9) REMOVAL OF THE SEAT UNIT FROM THE
CHASSIS
9.1 Pull both handles on the sides upwards and
lift the seat unit off the chassis.
WARNING Ensure that children are kept away
from all moving parts of the stroller to avoid risk
of injury.
WARNING Never leave a child in the seat unit
when removing/attaching the seat unit.
10 ADJUST THE BACK REST.
The back rest of the seat-unit can be adjusted
into various positions.
Adjust the back rest by squeezing the plastic
adjuster together on the back of the seat unit
and recline the back rest gently to the desired
position. To adjust the back rest into upright
position pull the back rest forward.
Open the zippers on both sides of the hood
before you put the backrest in the full lying
position.
WARNING Ensure that children are kept away
from all moving parts of the stroller to avoid risk
of injury.
11) ADJUST THE FOOTREST
Pull the grey handle on either left or right side
of the footrest to adjust it.
Please Note! Maximum weight on the footrest
is 3kg.
WARNING Never let your child stand on the
footrest.
WARNING Ensure that children are kept away
from all moving parts of the stroller to avoid risk
of injury.
12 ASSEMBLY OF THE APRON (ACCESSORY)
12.1 Pull the apron over the footrest.
12.2 Fasten the apron with the press studs on
the inside of the hood and on the seat frame.
IMPORTANT! The hood cannot be folded
down when the apron is attached to the hood.
12.3 Open the zip in the middle of the apron
when taking your child in or out of the pram.
 Loading...