8
3
6
4
4
5
7
1
2
1
2
3
4
5
116
Manual Duo Combi UniQ 310 v 1.6
This section applies to following products:
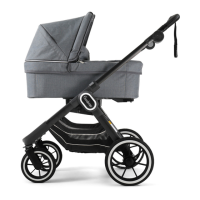
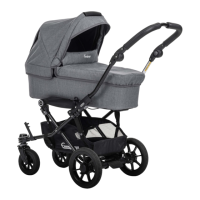
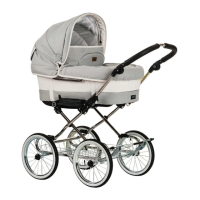
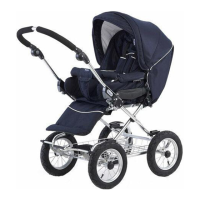
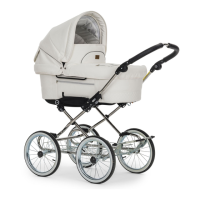
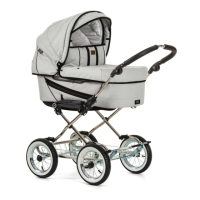
Duo Combi Mondial 3-in-1, Edge 3-in-1, Smart 3-in-1 and sport stroller
Stroller usage
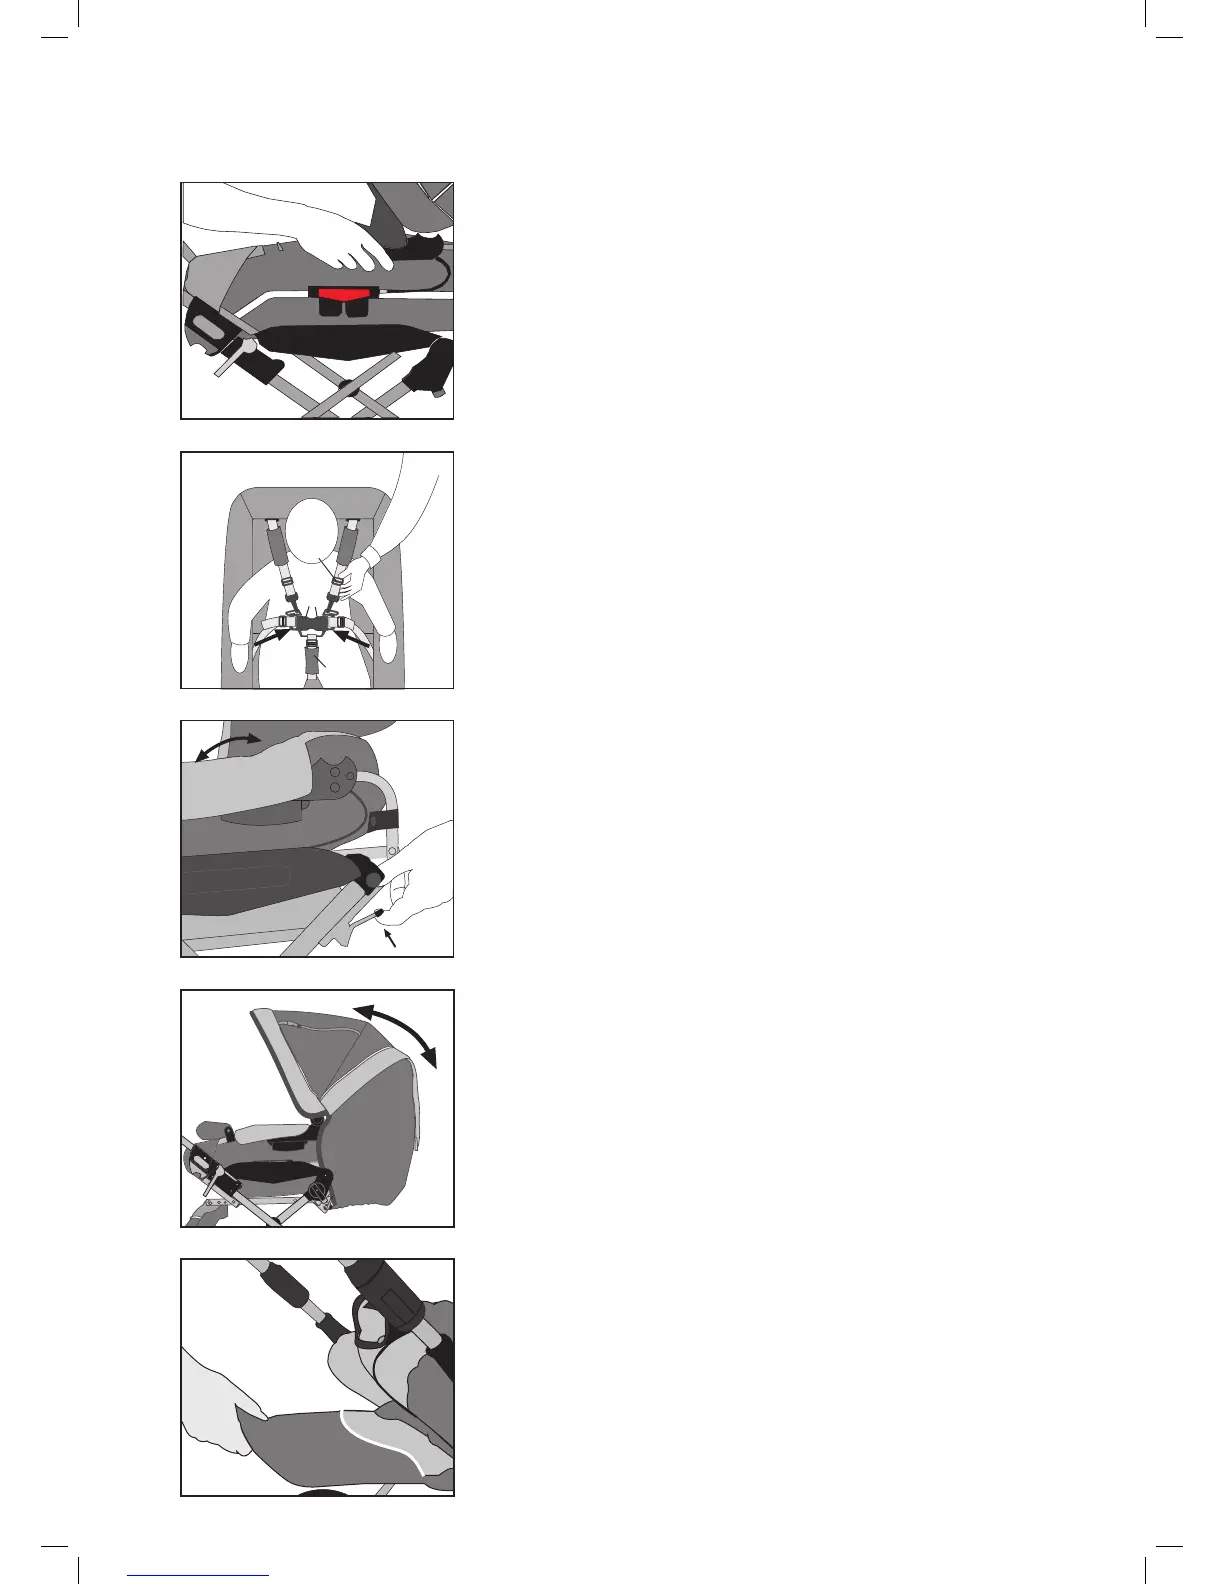
Assembling and releasing the seat unit
• Assembling: Engage the parking device. Hold onto both of the handles (1)
and press them down into the Easy Fix locking mechanism on both sides
(2) until you hear that it clicks into place.
• Releasing: Engage the parking device. Push the Easy Fix grips under the
armrest on each side of the seat unit and release the seat unit straight up
from the chassis.
• The seat unit is reversible; it can be attached in both driving directions.
WARNING
•
Don’t let any child be placed in the vehicle when it’s being folded/unfolded
• Hold the handles steadily until the seat-unit is in place
IMPORTANT
• Check before use that the seat unit is securely in place.
• Make sure that the seat-unit is in place before you start to use the vehicle.
• Never lift the top part when it is assembled onto the chassis.
Adjusting the 5-point Harness
• Bring crotch strap (3) forward between child's legs and up toward front of
waist. Insert the waist straps (4) into the harness buckle until they “click” in
place. Make sure waist straps are fastened.
• Adjust all straps, using the sliders (5), to t your child properly.
• To release shoulder and waist straps, press the buttons (6) in the centre
of the harness buckle. Attachment points are provided at the ends of each
waist strap for a separate harness complying with BS 6684.
WARNING
• Always use the harness when the child is placed in the vehicle. Make sure
that all the buckles are tted into position and that the harness is attached to
the vehicle.
Adjusting the Backrest
• Raising the backrest: Raise the backrest into desired position by
pushing it forward.
• Lower the backrest: Push the backrest lever (7) and fold the back-
rest into desired position.
WARNING
• Once desired position is set, push on backrest to ensure that it is
locked into one of it’s 4 positions.
Adjusting the Hood
• Adjust hood by gently pulling the front of the hood back or forth to
desired position.
• Certain models have an integrated mosquito net in the hood. It can
be pulled over the footrest and attached with plastic hooks.
IMPORTANT
• Never carry the seat unit by the hood.
• Never lift the carry-cot/seat-unit when it is assembled onto the
chassis.
WARNING
• Make sure children are clear of any moving parts if you adjust the
stroller, otherwise they may be injured.
Adjusting the Footrest
• The footrest can be adjusted to two positions. Adjust the footrest to the
down position by releasing the lock on the side of the footrest and pull-
ing the footrest horizontally and downwards.
• The footrest is adjusted into its horizontal position by pulling the footrest
and pushing it horizontally towards the pram.
•
Make sure that the footrest is locked into desired position before usage.
• The footrest cover is reversible.
WARNING
• Never let your child/children stand on the footrest.