GB
1 | Content of delivery
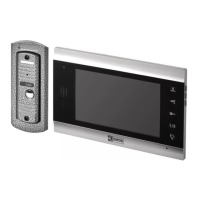
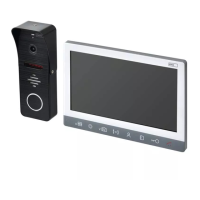
videomonitor 1 pc
mounting bracket for monitor 1 pc
outdoor camera unit 1 pc
power supplier PSU 12 V DC 1 pc
screws 6 pcs
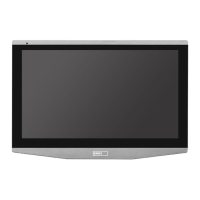
2 | Technical description of the videomonitor
3 | Installation
1 | Choosing the place of the monitor installation
Choose the place for installation of the videomonitor
with regards to the cable preparation. Anyway it is
recommnended to install the videomonitor approximatelly
at about the eye height of the user.
2 | Installation of the videomonitor bracket
Mark the bracket xing holes on the wall. Drill the holes
out and put the wall plugs in. It is also necessary to make
a bigger hole in the middle of the bracket for all cables
connected to the monitor. (camera cable and PSU cable
and door release cables). Screw the bracket on the wall.
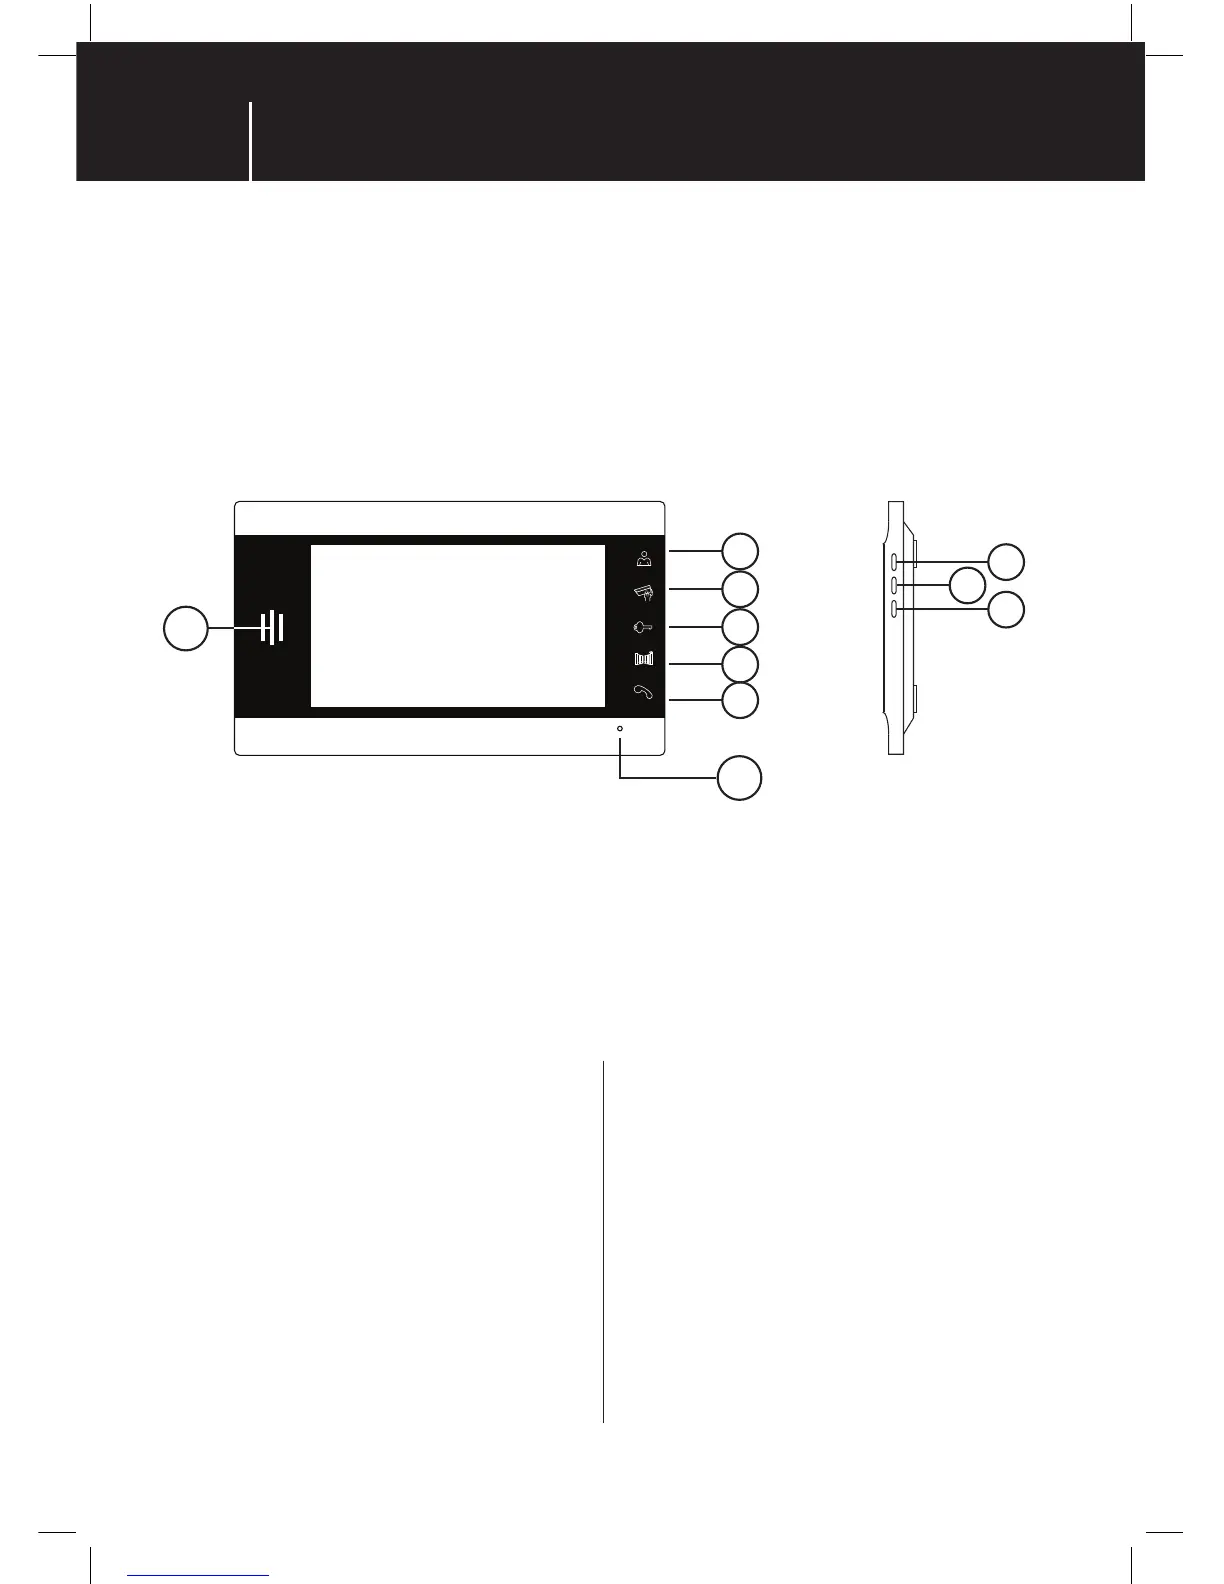
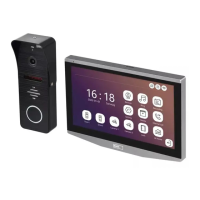
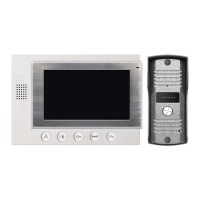
VIDEO DOOR PHONE SET
1 | speaker
2 | monitor ( preview )
3 | CCTV cameras
4 | lock 1 or 2 unlock
5 | gate unlock
6 | talk/hang up
7 | microphone
8 | ↑
9 | OK/menu
10 | ↓
1
7
10
8
9
2
3
4
5
6
3 | Wiring the camera and monitor
Connect the outdoor camera to the monitor by cable
according to the wiring scheme. To avoid damaging
thesystem please double check the wiring is correct.
4 | Fitting the monitor on the bracket
Attach the back of the monitor hold points to the bracket.
Use mild force to press and slide the monitor down on the
bracket to get it clicked in. The monitor is xed.
5 | PSU connection
Plug the power supplier into the socket with the mains
230V AC / 50 Hz.
Plug the power connector into the described connection
on the back of the videomonitor.