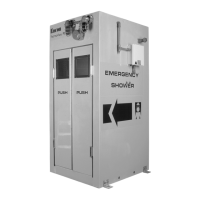
Therma-Flow
®
PLUS
IOM 09900002 Revision C 08/15/21
© 2021, Encon Safety Products, Inc.
4.5.2 Shower Ball Valve
To remove and replace the shower ball valve:
1. Relieve pressure and fluid from the system as
described
in “4.3 Relieving Fluid and
Pressure from the System for Plumbing Repairs” on page 4-3.
2. Close the ball valve leading to the shower head.
3. Operate the valve fully open to fully closed to assure there are no trapped fluids
or pressure in the body cavity.
4. Remove the actuator arm hex nut and remove the actuator arm
5. Remove the actuator hex nut and remove the actuator.
6. Remove the shower head pipe by doing the following:
a. Use pipe wrench to hold the ball valve.
b. Use another pipe wrench to unscrew and remove the shower head pipe.
7. Remove the shower ball valve by doing the following:
a. Use a pipe wrench to hold the shower supply pipe.
b. Use another pipe wrench to unscrew and remove the shower ball valve.
8. Install the new shower ball valve in reverse order of removal. Use pipe sealant.
Pipe sealant is recommended for metal to metal thread (ball valve to pipe).
9. Test to ensure the valve opens and closes properly and does not leak before
putting Therma-Flow
®
Plus into service.
To repair the shower ball valve.
1. Remove the ball valve by completing step 1 to step 7 in the procedure “To
remove and replace the shower ball valve:” on page 4-8.
2. Remove the retainer from the body by rotating it counterclockwise.
3. Push the ball out of the body with your finger (the valve must be in the closed
position to remove the ball). Inspect the ball for excessive wear or damage. If the
ball is scared, it is recommended that the whole valve be replaced. Clean and
set aside a good ball for reuse.
4. Remove the actuator handle nut by rotating it counterclockwise.
5. Remove all seats and seals (to remove the stem packing, you may have to cut it
with a knife).
6. Replace all seats and seals as furnished in the Shower Ball Valve Repair Kit
(see “6 Spare Parts” on page 6-1).