Oxymax COS22 Installation
Endress+Hauser 11
For a complete installation of a measuring point, proceed as follows:
1. Install a retractable or a flow assembly (if used) into the process.
2. Connect the water supply to the rinse connections (if you use an assembly with
cleaning function).
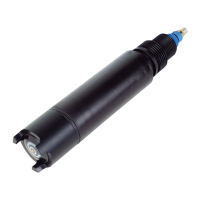
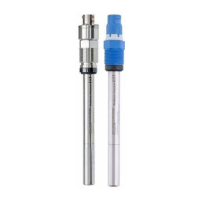
3. Install and connect the oxygen sensor.
NOTICE
Installation error
Cable open circuit, loss of sensor due to cable separation, unscrewing of membrane cap
‣
Do not install the sensor suspended from the cable.
‣
Screw the sensor into the assembly so that the cable is not twisted.
‣
When installing or uninstalling the sensor body, hold it tightly. Turn using only the
hexagonal nut on the armored coupling. Otherwise you might unscrew the membrane
cap. This will then remain in the assembly or process.
‣
Avoid exerting excessive tensile force on the cable (e.g. from jerky pulling).
‣
Select an installation location that is easy to access for later calibrations.
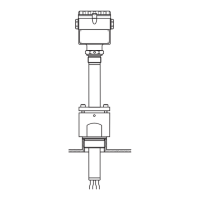
5.3 Installation examples
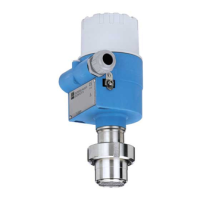
5.3.1 Permanent installation (CPA442)
The permanent installation assembly CPA442 enables easy adaptation of a sensor to
nearly any process connections from Ingold nozzles to Varivent or Tri-Clamp connections.
This kind of installation is very well suited for tanks and larger pipes. You will achieve a
defined immersion depth of the sensor into the medium in the simplest way.
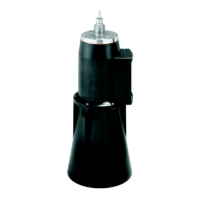
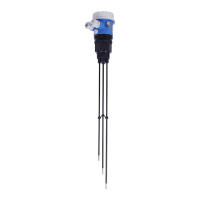
5.3.2 Flow assembly
CPA240
The flow assembly CPA240 offers up to three installation spaces for sensors with a shaft
diameter of 12 mm (0.47"), a shaft length of 120 mm (4.7"), and a Pg 13.5 process
connection. It very well suited for use in pipelines or hose connections. To prevent
 Loading...