166
Before installing the ventilation unit, make sure
that the unit or the ductwork do not have foreign
objects.
NOTE
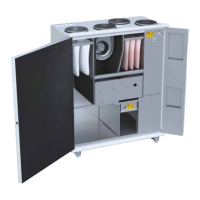
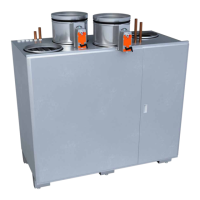
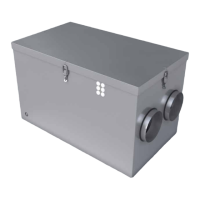
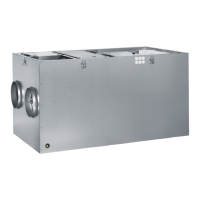
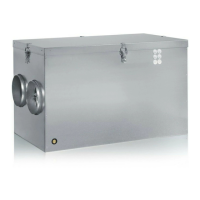
• See the model-specic pictures of your unit at the end
of this manual.
• Check the duct output order to avoid cross
installations.
• Don’t start the ventilation unit before the building is
in use.
• If the ventilation unit is turned on too early, the
system can intake building dust.
• The duct output of the ventilation unit are duct-sized.
Use the duct part when connecting the ventilation
unit to a duct.
• Remember to insulate the duct all the way to the
ventilation unit box.
Necessary additional installation materials
Material Intended use
Screws Mounting the rear attachment list
and ventilation unit on a wall (for
suitable models). Choose the screws
based on the wall material.
Sheet metal
screws
Attaching the rear attachment
bracket to the ventilation unit
Wall mounting
box
eAir wall mounting rack
Cables As dened in section Preparing
electrical work
Duct tape Compacting
Acoustic panels
(soft cellular
plastic)
Preventing structure-borne sounds
Insulation
material (cell
plastic and/or
wool, depending
on the location
of installation)
Insulation and soundproong
Staples Connecting ventilation ducts to the
unit
Spirit level Making sure the unit is set straight
Water pipe Connecting duct coils and
condensation water drainage
Hydraulic valve Removal of condensation water
Duct connection
reducing
bushing
Fitting the ducts into the ventilation
ducts
NOTE: Always use reducing bushing
when necessary.
Air locks Keeping cold air outside
Dampers Dampening possible noise
Suitable
grommets for
the sensors
installed in the
duct
Installing sensors in ducts.
Shut-o valves Making unit maintenance possible
Water circulation
balancing valves
Adjusting the water ow to correct
level
INSTALLATION