EasyManua.ls Logo

EnGenius EWS650AP User Manual

EnGenius EWS650AP
4 pages
To Next Page IconTo Next Page
Page #1 background imageLoading...
Page #1 background image
Quick Installation Guide
EnGenius Europe | Veldzigt 28, 3454 PW De Meern,
Netherlands | 0900-WIFIABC | www.wiabc.com
Disclaimer: Information may be subject to changes without prior notication.
Follow us
https://www.linkedin.com/company/engeniuseurope
https://plus.google.com/+EngeniusEuropeBVDeMeern
https://www.youtube.com/user/engeniuseuropebv
https://twitter.com/engeniuseu
EWS650AP
Package contents
- Managed indoor access point
- Power adapter
- RJ-45 Ethernet cable
- Mounting bracket
- Mounting kit
- T-Rail mounting kit
Minimum requirements
- Broadband Internet service (Cable or DSL modem)
- Internet browser (Internet Explorer, Safari, Firefox, Chrome)
- EnGenius wireless management L2 switch (To use with EWS-series
management switches)
Connecting the access point
Step 1: Connect one end of the Ethernet cable into an Ethernet port on the front
panel of the EnGenius wireless management switch and the other end to the
Ethernet port on the computer.
Step 2: Connect another Ethernet cable into the LAN port of the managed
access point and the other end to the Ethernet port on the wireless management
switch. With the wireless management switches, the managed access point is
able to obtain proper assigned IP address for further configurations.
IP Adress configuration
Step 1: Once your computer is on, ensure that your
TCP/IP is set to ‘On’ or ‘Enabled’. Open ‘Network
Connections’ and then click ‘Local Area Connection’.
Select ‘Internet Protocol Version 4’ (TCP/IPv4).
Step 2: If your computer is already on a network,
ensure that you have set it to a static IP address on
the interface. (Example: 192.168.1.10 and the
subnet mask-address as 255.255.255.0.)
Management switch setup
Step 1: Open a web browser on your computer.
In the adress bar of the web browser, typ in 192.168.0.239 and choose enter.
Step 2: A login screen will appear. By default, the username is admin and the
password is password. Enter the current username and password of the
wireless management switch and then click ‘Login’.
Step 3: The EnGenius wireless management switch user interface will appear.
Make sure the controller state is set to ‘Enabled’.
Question and Answer IconNeed help?

Do you have a question about the EnGenius EWS650AP and is the answer not in the manual?

EnGenius EWS650AP Specifications

General IconGeneral
BrandEnGenius
ModelEWS650AP
CategoryWireless Access Point
LanguageEnglish

Summary

Connecting the Access Point

Connecting to the Switch

Connects the access point to a wireless management switch and the computer for configuration.

IP Address Configuration

TCP/IP Settings

Ensures computer TCP/IP is set to 'On' or 'Enabled' for network access.

Static IP Setup

Configures a static IP address on the computer's network interface for setup.

Management Switch Setup

Accessing Management Interface

Opens the web browser and navigates to the management switch IP address.

Login Credentials

Enters default username 'admin' and password 'password' for login.

Controller State

Verifies the controller state is set to 'Enabled' in the switch UI.

Wall Mounting

Drilling Mounting Holes

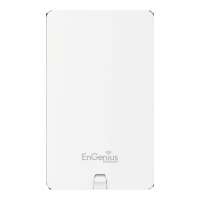
Attaches a location sticker and drills two 6mm holes for mounting.

Inserting Anchors and Screws

Inserts screw anchors and screws into drilled holes, then tightens.

Securing Access Point

Aligns access point with slots and slides downward to hook securely.

Pole Mounting

Preparing Mounting Ring

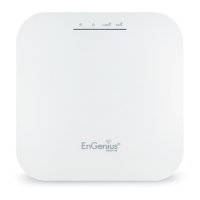
Unfastens screw on mounting ring and threads through the access point's middle tab.

Attaching to Pole

Wraps the ring around the pole and fastens the screw to mount the access point.

Stand-Alone Access Point Installation

Connecting the Stand-Alone AP

Connects the access point's LAN port to a computer via Ethernet and provides power.

Stand-Alone IP Configuration

Sets computer TCP/IP to 'On'/'Enabled' and configures a static IP address.

Access Point Setup

Accesses AP UI via 192.168.1.1, logs in with default credentials, and selects operation mode.
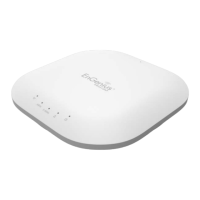
Related product manuals