Before using the product, please follow the installation guide to install the corresponding components, pay attention to check whether the firmware is
loose, ensure that the power is sufficient, and take appropriate riding protection measures.
St ep 1
:
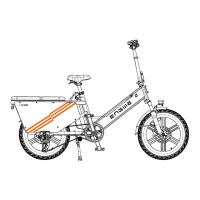
Adjusting the handlebar and saddle
Please adjust the handlebar and saddle to the proper riding height for the user's height and make sure the saddle tube quick release and the vertical tube quick
release are fully fastened.
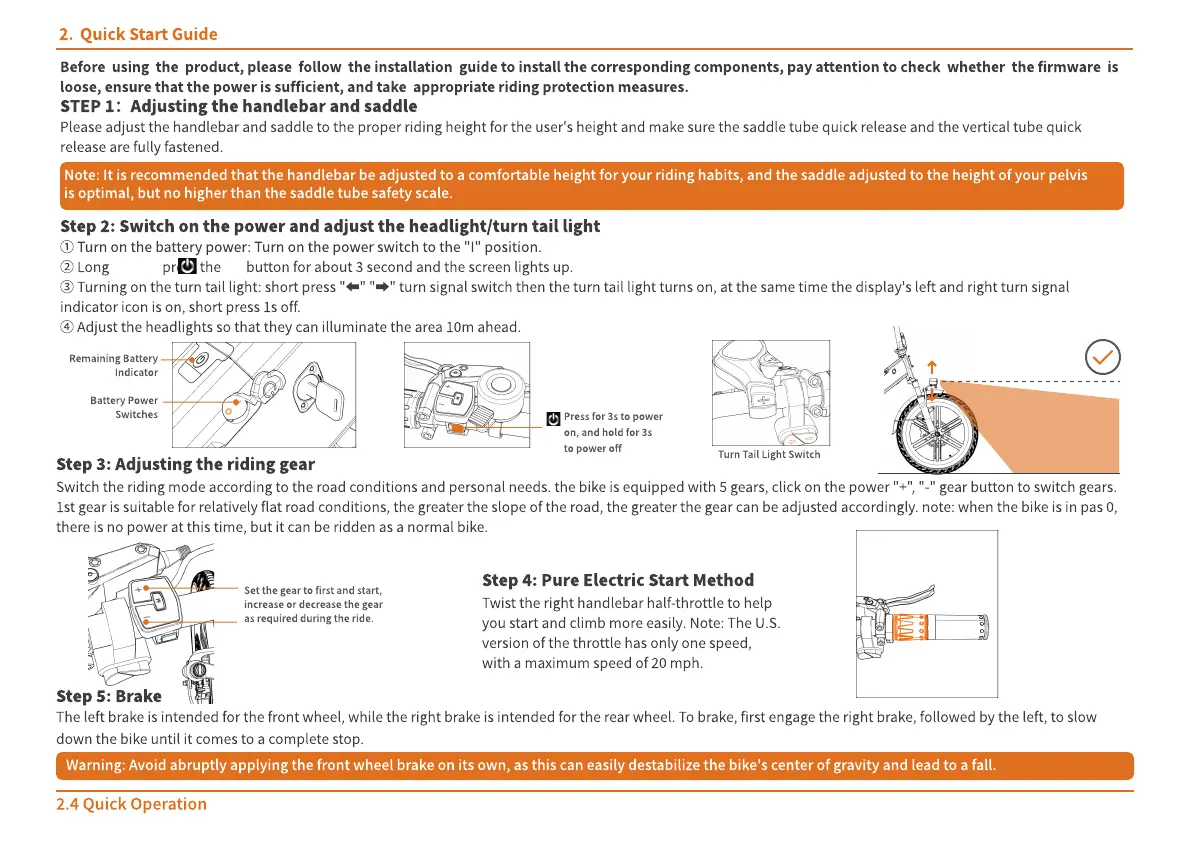
Step 2: Switch on the power and adjust the headlight/turn tail light
①
Turn on the battery power: Turn on the power switch to the "i" position.
②
Long press the button for about 3 second and the screen lights up.
③
Turning on the turn tail light: Short press "
⬅
" "
➡
" turn signal switch then the turn tail light turns on, at the same time the display's left and right turn signal
indicator icon is on, short press 1s off.
④
Adjust the headlights so that they can illuminate the area 10m ahead.
2.4 Quick operation
Quick start g uide
Set the gear to first and start,
increase or decrease the gear
as required during the ride.
Remaining Battery
Indicator
Battery power
switches
Warning: Avoid abruptly applying the front wheel brake on its own, as this can easily destabilize the bike's center of gravity and lead to a fall.
Note: It is recommended that the handlebar be adjusted to a comfortable height for your riding habits, and the saddle adjusted to the height of your pelvis
is optimal, but no higher than the saddle tube safety scale.
Step 3: Adjusting the RIDING gEAR
Switch the riding mode according to the road conditions and personal needs. The bike is equipped with 5 gears, click on the power "+", "-" gear button to switch gears.
1st gear is suitable for relatively flat road conditions, the greater the slope of the road, the greater the gear can be adjusted accordingly. Note: When the bike is in pas 0,
there is no power at this time, but it can be ridden as a normal bike.
Step 4: Pure Electric Start Method
Twist the right handlebar half-throttle to help
you start and climb more easily. Note: The U.S.
version of the throttle has only one speed,
with a maximum speed of 20 MPH.
Step 5: Brake
The left brake is intended for the front wheel, while the right brake is intended for the rear wheel. To brake, first engage the right brake, followed by the left, to slow
down the bike until it comes to a complete stop.
Press for 3s to power
on, and hold for 3s
to power off
Turn Tail l ight Switch