EOPTIS SRL
Via Alto Adige, 152 38121 Trento (TN) ITALY
Tel.: +39 0461 260 552 Fax: +39 0461 260 617
www.eoptis.com info@eoptis.com
Page 9 of 29
CLM-194
Rev. 1.05 - 06/2014
Copyright © 2013-2014 EOPTIS SRL
4 SYSTEM SETUP ON FIRST USE
4.1 RECOMMENDED SYSTEM CONFIGURATION
Windows XP/Vista/Seven 32(x86) or 64(x64) bits
Intel Pentium 4 2.0 GHz or compatible processor
Graphics card and monitor capable of displaying 1280x1024 resolution at 32-bit colour depth
100 MB of free hard disk space
USB2.0 port, with a supply current of 500mA
4.2 DRIVERS AND SOFTWARE INSTALLATION
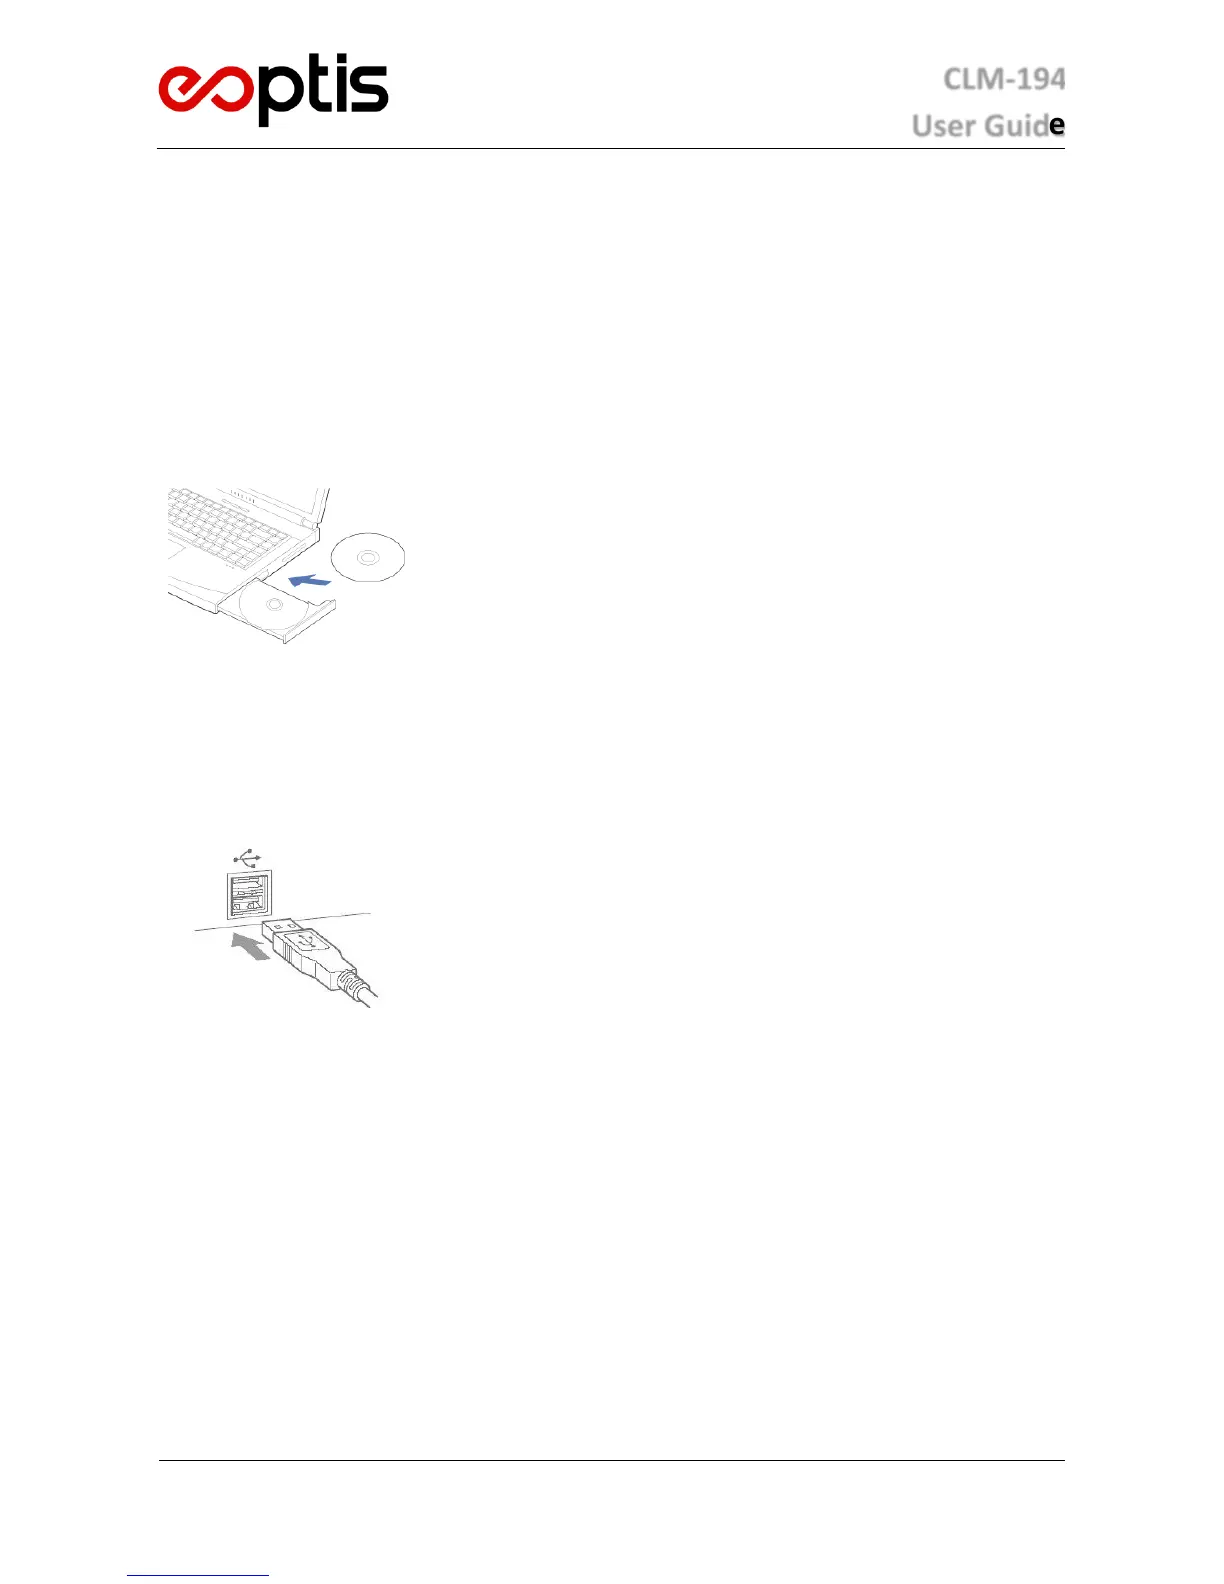
1) Insert the software CD-ROM
Software, drivers and third-party packages required by the system are installed
by means of the Installer executable, provided on the CD. Automatic detection
of the operating system and of any missing packages is supported.
Launch the CLM194Setup.exe by double-clicking on it and follow the
instructions. The file is not signed by Microsoft and the Operating System might
prompt for approval to proceed. It is necessary to grant the approval in order
to successfully complete the installation.
The installation sequence is:
- CLM194 application software
- Microsoft .NET Framework (*)
- Micosoft Visual C++ redistributable packages
- Device drivers
(*) installed only if not already present.
2) Plug the USB cable into the host
machine’s USB 2.0 port and
confirm successful installation
At the end of the software and driver setup, plug the USB cable into a free USB
port of the PC. The red EOPTIS logo indicator on the colorimeter will illuminate.
If not, check the Troubleshooting section.
3) Launch the Application Software
A shortcut of the application software is created on the desktop and in the
Start menu, unless otherwise specified during setup.
Launch the software by double-clicking on the desktop icon.
The green M indicator on the colorimeter will illuminate and the serial number
of the device will be shown in the bottom-left corner
.
Congratulations, the system is ready for use!
 Loading...