7
English
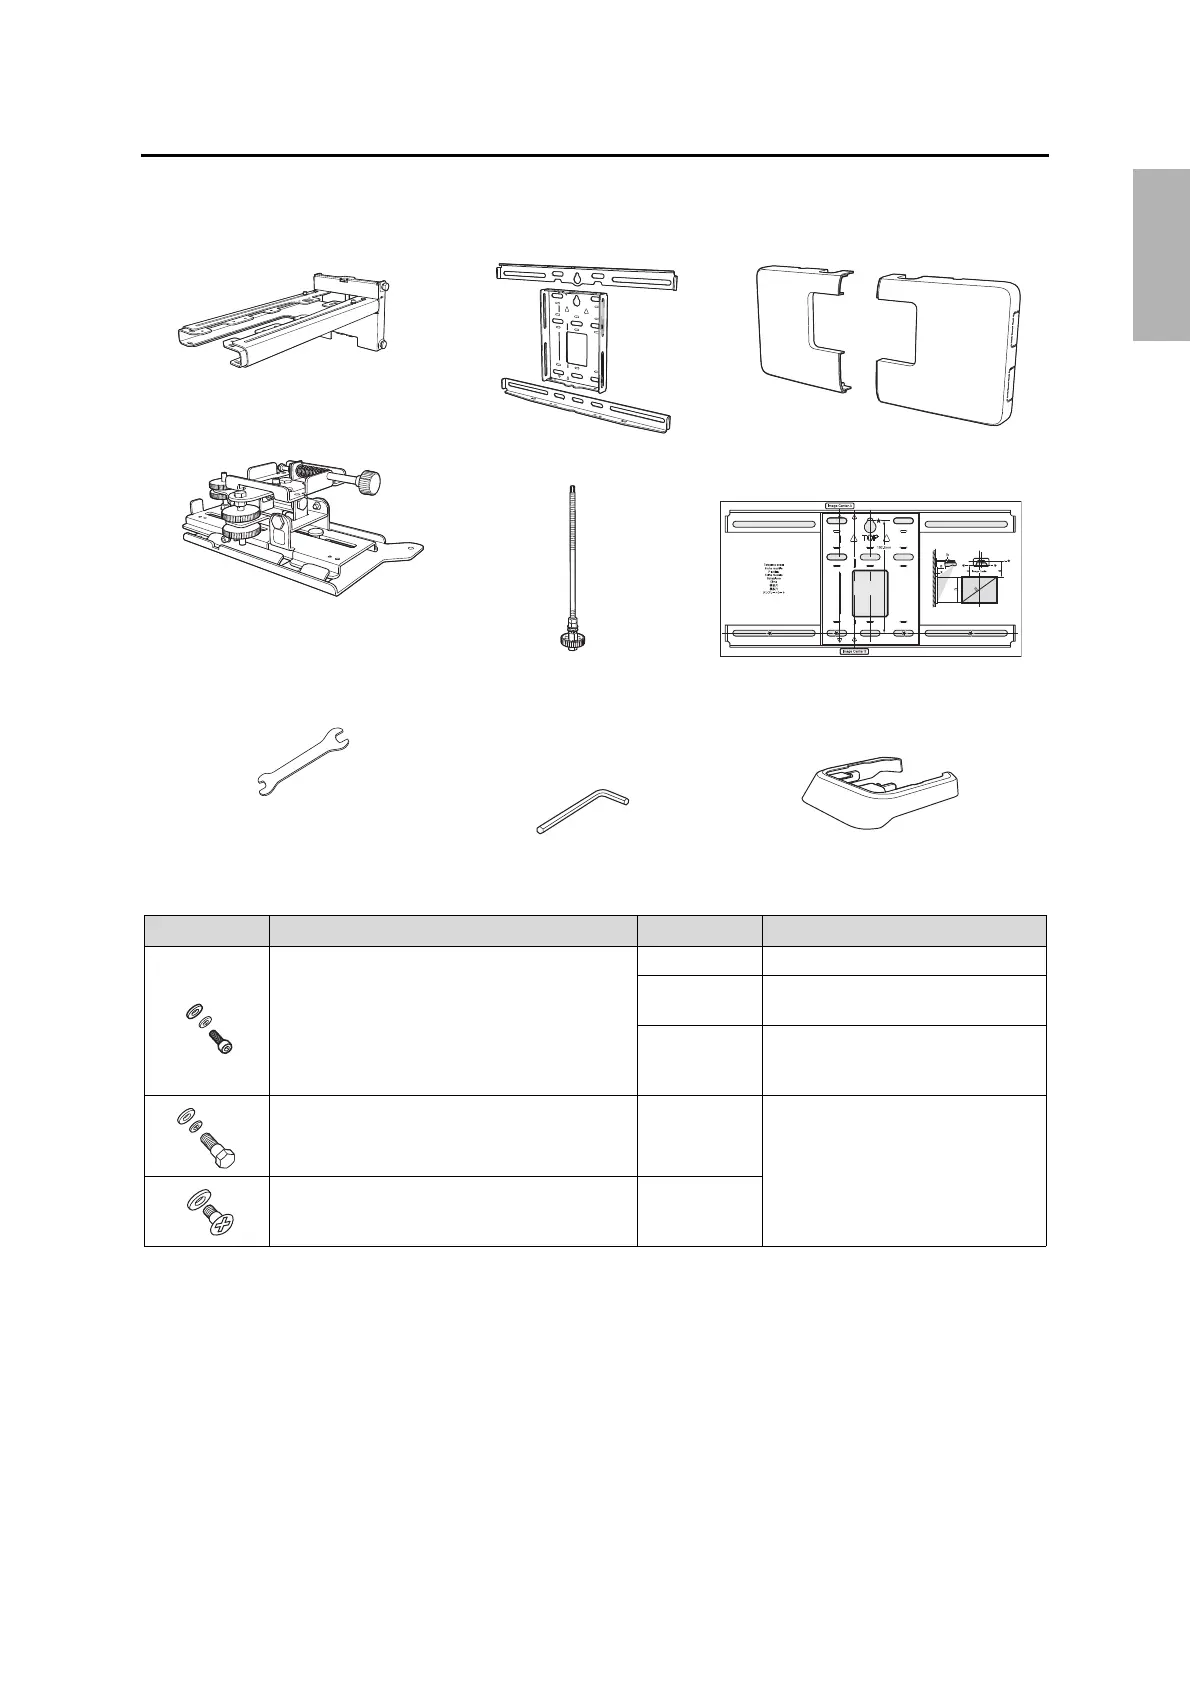
1 Package Contents
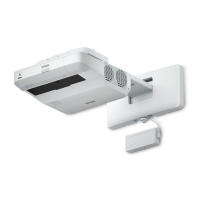
Wall Mount
• Use the bolts or screws supplied with the wall mount to install it as directed in this guide. Do not
substitute these bolts with any other types.
• You need to use commercially available M10 × 60 mm anchors (at least 3) to attach the wall plate to the
wall.
• Gather the tools and parts you need before you begin installation, including a #3 cross-head screwdriver.
Shape Name Quantity Application
M4 × 12 mm hexagon socket head cap bolt with
washer/spring washer
5 For wall plate assembly
4 For 3-axis adjustment unit/wall mount
installation
4 For slide plate/projector installation
M6 × 20 mm hexagon shoulder bolt with washer/
spring washer
1 For wall mount/wall plate installation
M6 × 20 mm cross recessed head shoulder screw
with plastic washer
3
Hexagon wrench (for M4)
Wall plate cover
Wall mount
Template sheet
(for installing the wall plate)
End cap
3-axis adjustment unit and slide
plate (attached when shipped)
Open-ended wrench
13 mm (for M8 and M6) ×
6 mm (for hexagonal
shaft)
Wall plate
Hexagonal shaft
 Loading...