2. Turn on the scanner.
3. Wait for the ready and Wi-Fi lights to stop blinking.
4. From your computer or device, search for and select the SSID shown on the label on the bottom of
the scanner.
5. Enter the password shown on the label on the bottom of the scanner.
When the ready and Wi-Fi lights on the scanner stay on, the connection is established.
Parent topic: Direct Wi-Fi Mode Setup
Using WPS to Set Up a Direct Wi-Fi Connection
You can use Wi-Fi Protected Setup (WPS) to create a direct Wi-Fi connection to a WPS-enabled
computer or device.
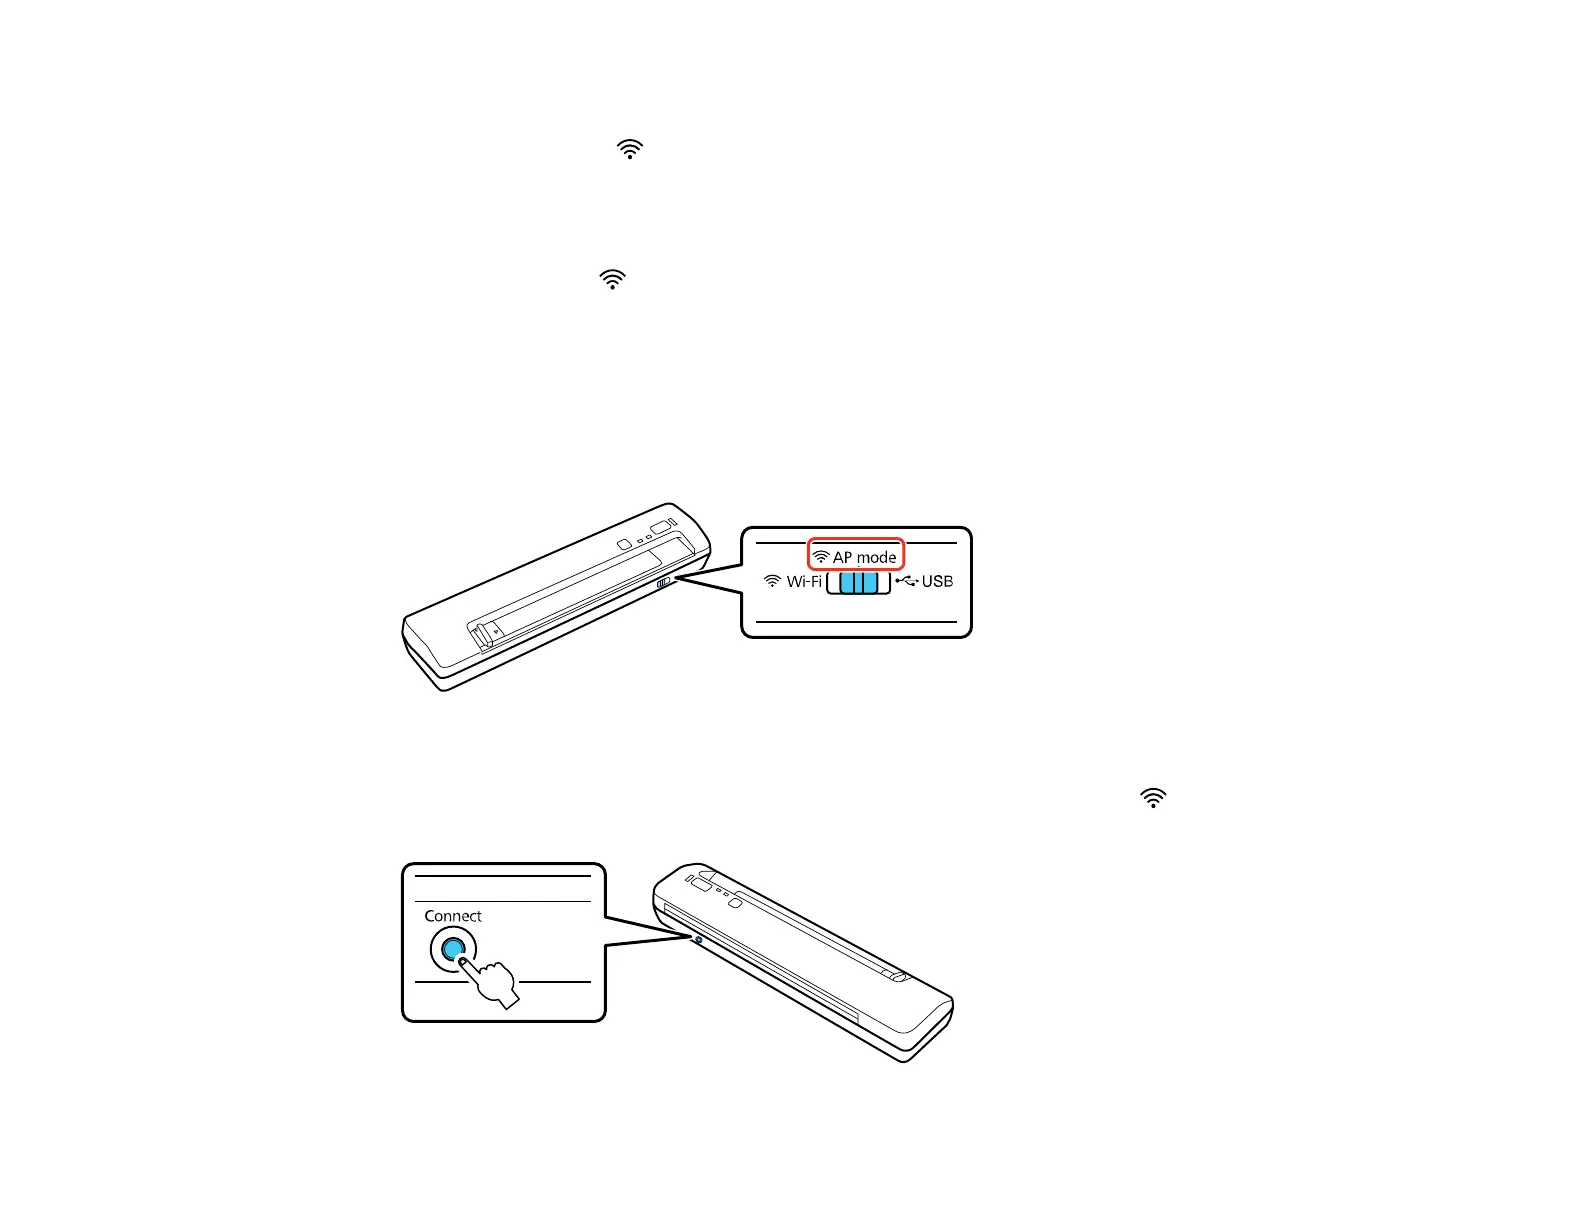
1. Set the connection mode switch on the scanner to AP mode.
2. Turn on the scanner.
3. Press and hold the Connect button for at least 3 seconds until the ready and Wi-Fi lights flash
alternately.
31