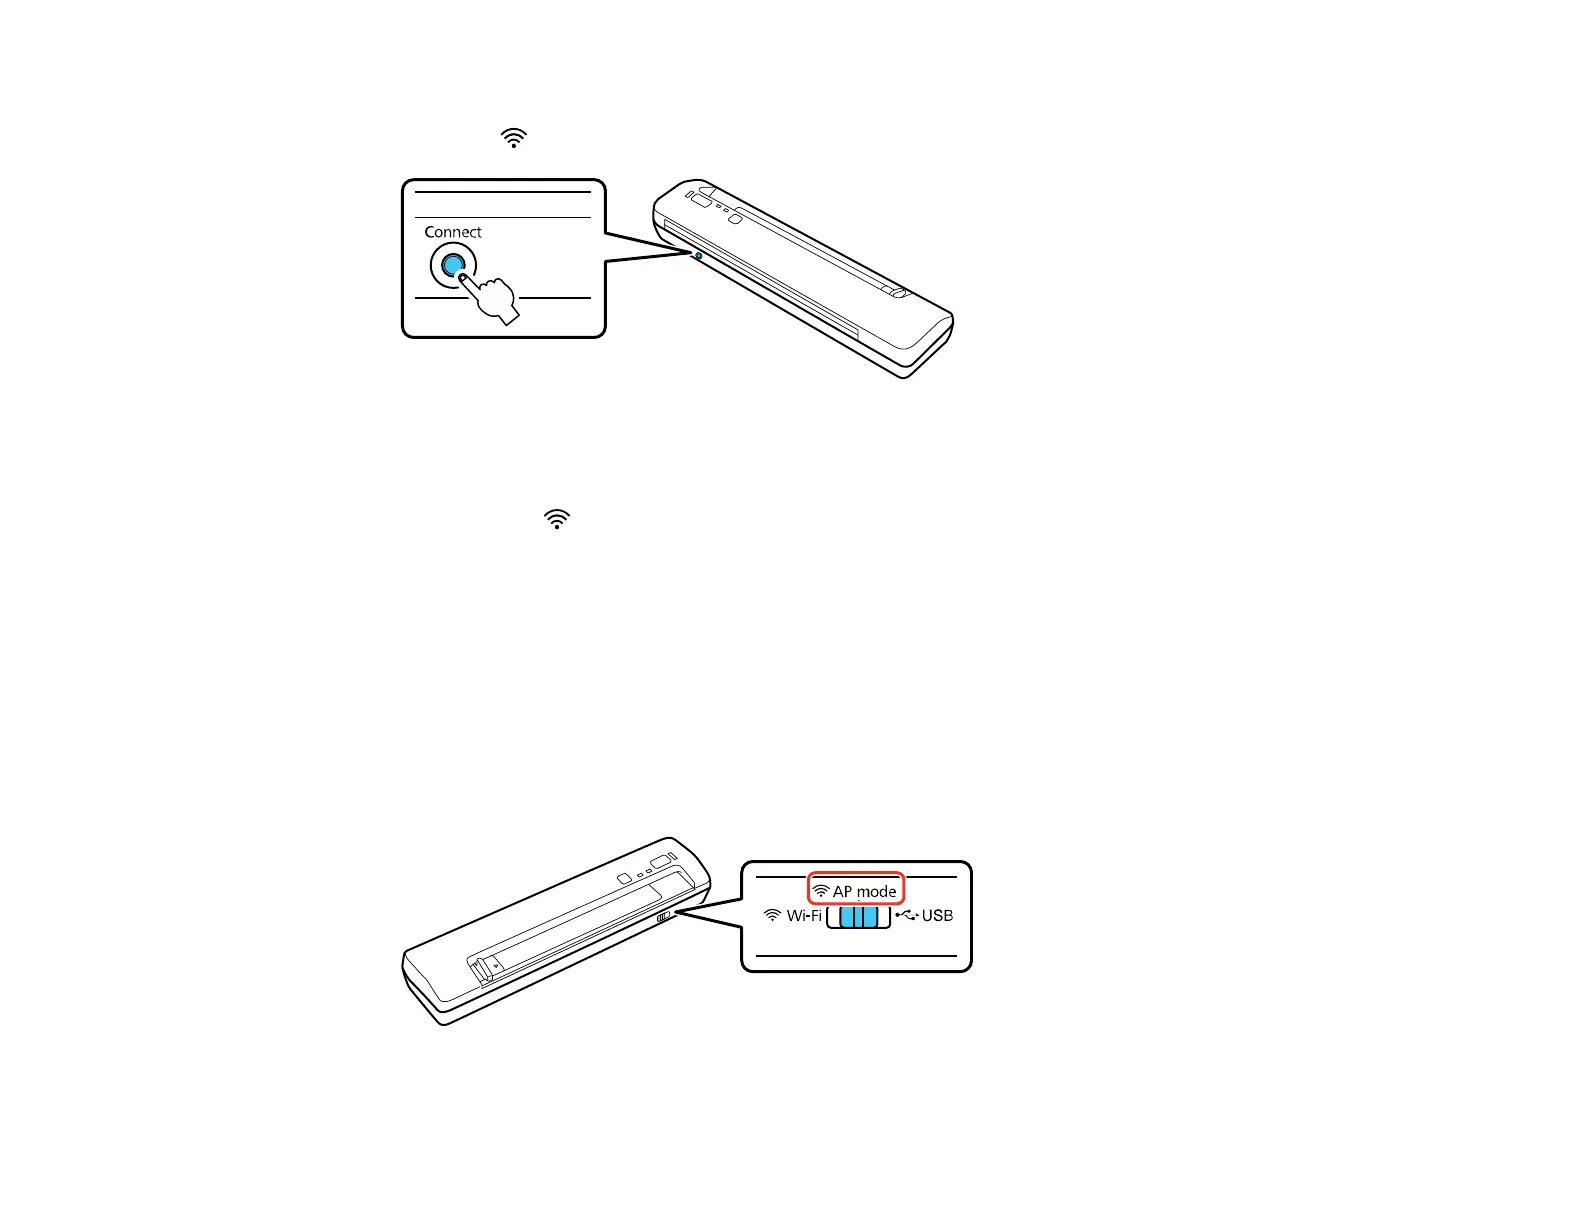
3. Press and hold the Connect button on the scanner for at least 3 seconds, then release it when the
ready and Wi-Fi lights flash alternately.
The scanner enters standby mode for WPS connection for two minutes.
4. Press the WPS button on your router or access point.
The ready and Wi-Fi lights on the scanner stay on, indicating that the scanner is connected to the
network.
5.
6. Set up network scanning on your computer.
Parent topic: Wi-Fi Protected Setup (WPS)
Using WPS PIN Mode to Connect to a Network
If you have a WPS-enabled wireless router or access point that supports PIN mode, you can use Wi-Fi
Protected Setup (WPS) PIN mode to connect your scanner to the network.
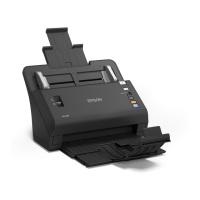
1. Set the connection mode switch on the scanner to AP mode.
33