53
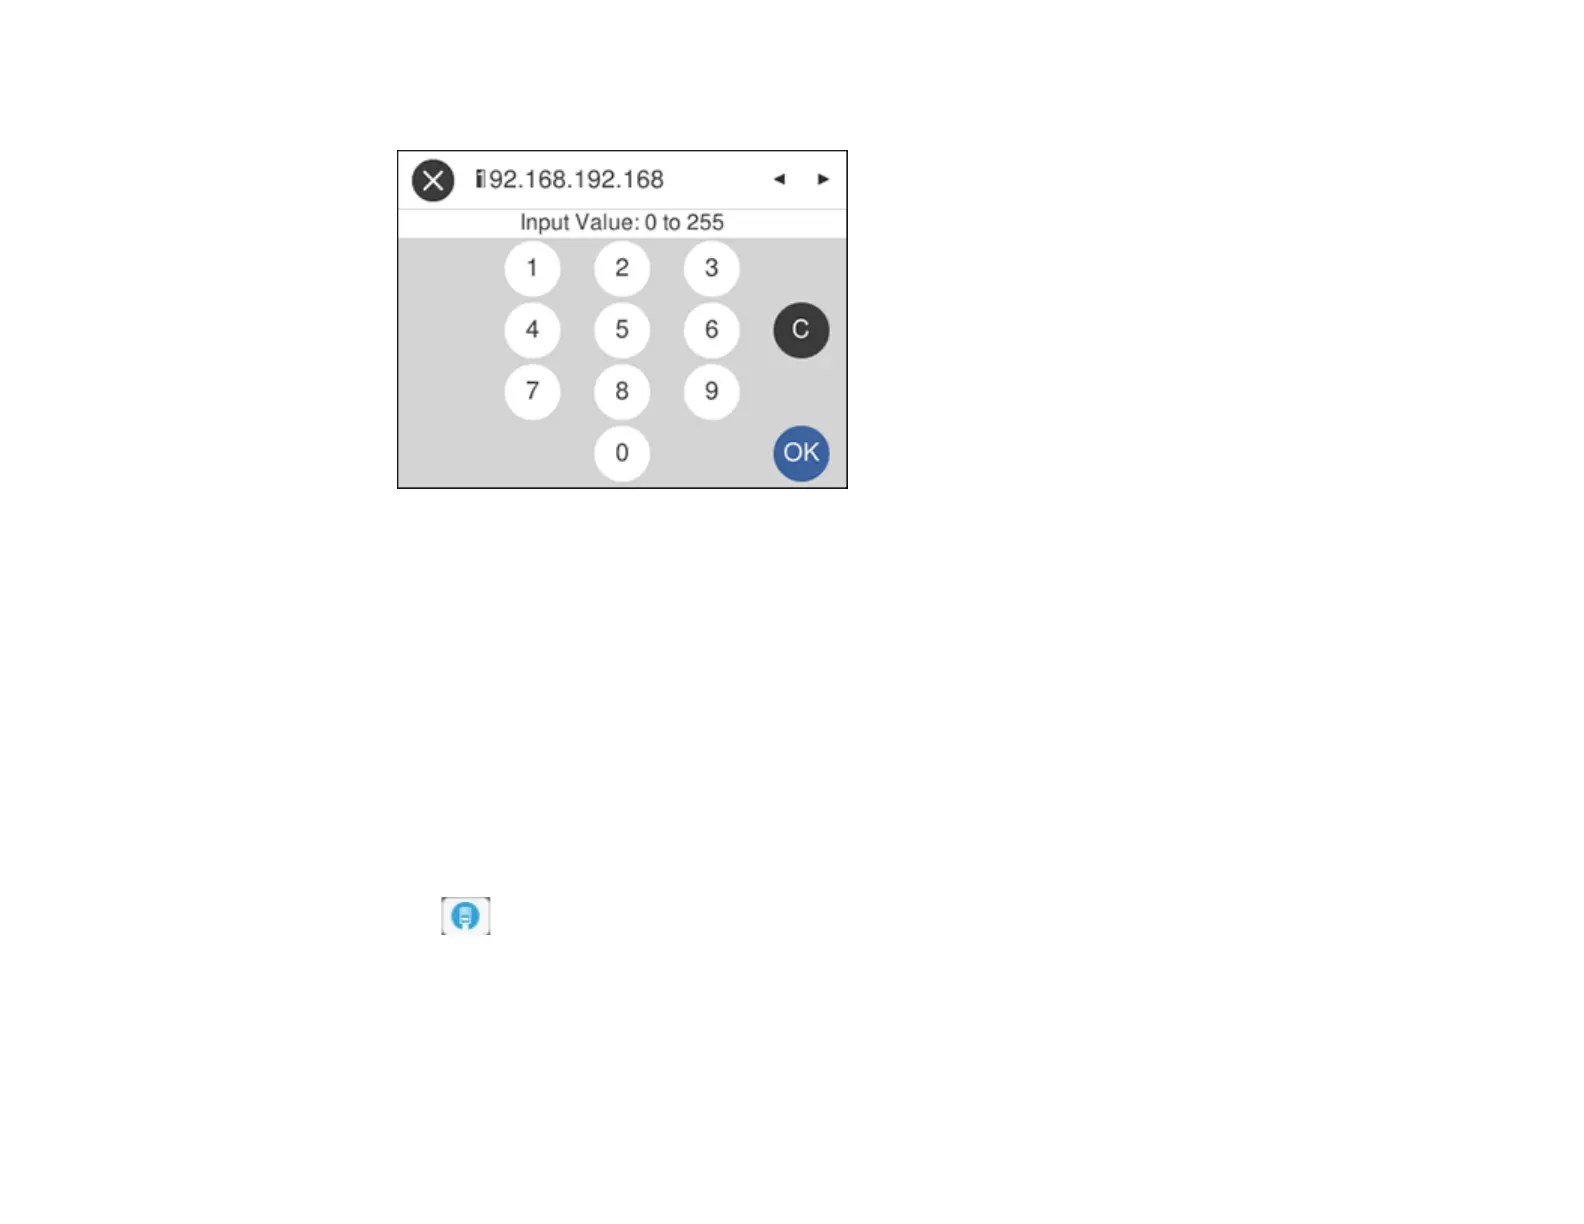
8. Select the IP Address field, enter the IP address using the displayed keypad and select OK.
9. Set the Subnet Mask and the Default Gateway settings to the options you want to use.
10. Select the Primary DNS field, enter the IP address for the primary DNS server using the displayed
keyboard, and select OK.
11. Select the Secondary DNS field, enter the IP address for the secondary DNS server using the
displayed keyboard, and select OK.
12. Confirm the displayed network settings and select Start Setup to save them.
Note: If you entered the wrong IP Address, Subnet Mask, or Default Gateway, you will not be able to
proceed. Repeat these steps to try again.
13. Select Close on the confirmation screen.
14. Connect the scanner to your Ethernet hub with an Ethernet cable.
The icon appears on the LCD screen.