11
Installing EPSON Remote!
You must exit Windows and restart your computer in MS-DOS
mode to install EPSON Remote!. Follow these steps:
1. Close any open applications and restart your computer in
MS-DOS mode.
2. Insert the printer software CD-ROM in your CD-ROM drive.
3. At the DOS prompt, type E:\SETUP (substitute the correct
drive letter if your CD-ROM drive is not E). Press Enter.
4. Select the LX-300+ in the Printer Model window and press
Enter. C:\EPUTIL appears as the default directory.
5. Press Enter again. The EPSON Remote! utility is copied to
the C:\EPUTIL directory.
Accessing EPSON Remote!
To run EPSON Remote!, type C:\EPUTIL\PRNSET at the DOS
prompt and press Enter. Then follow the instructions on the
screen to change the default settings. You can also access EPSON
Remote! by typing C:\EPUTIL\PANEL. This opens a limited
version of the program, letting you access the most commonly
used settings.
Printing a Self Test
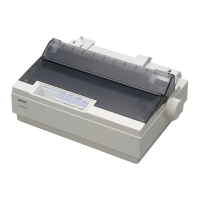
On the LX-300+, you can print the self test in draft or NLQ
mode:
❏ For draft mode, hold down the LF/FF button and turn on the
printer.
❏ For near letter quality mode, hold down the Load/Eject
button and then turn on the printer.
Turn off the printer to stop the self test.

 Loading...


