Epson Stylus CX4600
6/04 Epson Stylus CX4600 - 11
3. Press the B ink and P On buttons together and hold them
down for about 5 seconds. The CX4600 turns on and prints
a test pattern. It also shows the percentage of ink left in each
cartridge:
If the pattern does not look good, try cleaning the print head
as described in the next section.
Note:
You can also check the ink level using Status Monitor; see the
Reference Guide.
Cleaning the Print Head
If the print head needs to be cleaned, follow the steps below.
Note:
Print head cleaning uses ink, so clean it only if quality declines and the
nozzle check indicates that the print head needs to be cleaned. Also
note that if the red B ink light comes on or flashes, you cannot clean
the print head. In this case, replace the appropriate ink cartridge first
(as described in the next section).
1. Make sure the CX4600 is on and the B ink light is off.
2. Hold down the B ink button for 3 seconds until the
On
light starts flashing. The CX4600 runs a head cleaning cycle
and the
On light flashes.
Note:
Never turn off the CX4600 while head cleaning is in progress.
You may damage it.
3. When the On light stops flashing, run a nozzle check (as
described on page 10) to verify that the print head is clean.
4. If there are still gaps or the test patterns are faint, run
another cleaning cycle and check the nozzles again.
If you don’t see any improvement after running four or five
cleaning cycles, turn off the CX4600 and wait overnight. This
lets any dried ink soften. Then try cleaning the print head
again. If quality still does not improve, one of the ink
cartridges may need to be replaced. See the next section.
Tip:
If you do not use your CX4600 often, it is a good idea to print a few
pages at least once a month to maintain good print quality.
Replacing Ink Cartridges
When the red B ink light starts flashing, one or more
cartridges are low on ink.
When the red B ink light stays on, you need to replace the
cartridge(s).
You’ll also see a message on your computer screen when you
print, telling you which cartridge is low or empty.
You can purchase ink cartridges from the Epson Store
SM
at
(800) 873-7766 or visit www.epsonstore.com (U.S. sales
only). In Canada, please call (800) 463-7766 for dealer
referral. Use these part numbers when you order or purchase
new cartridges.
Caution:
Leave the empty cartridge installed until you have obtained a
replacement or the ink remaining in the print head nozzles may dry
out. To ensure good results, use genuine Epson ink cartridges and do
not refill them. Other products may cause damage to your CX4600
not covered by Epson’s warranty.
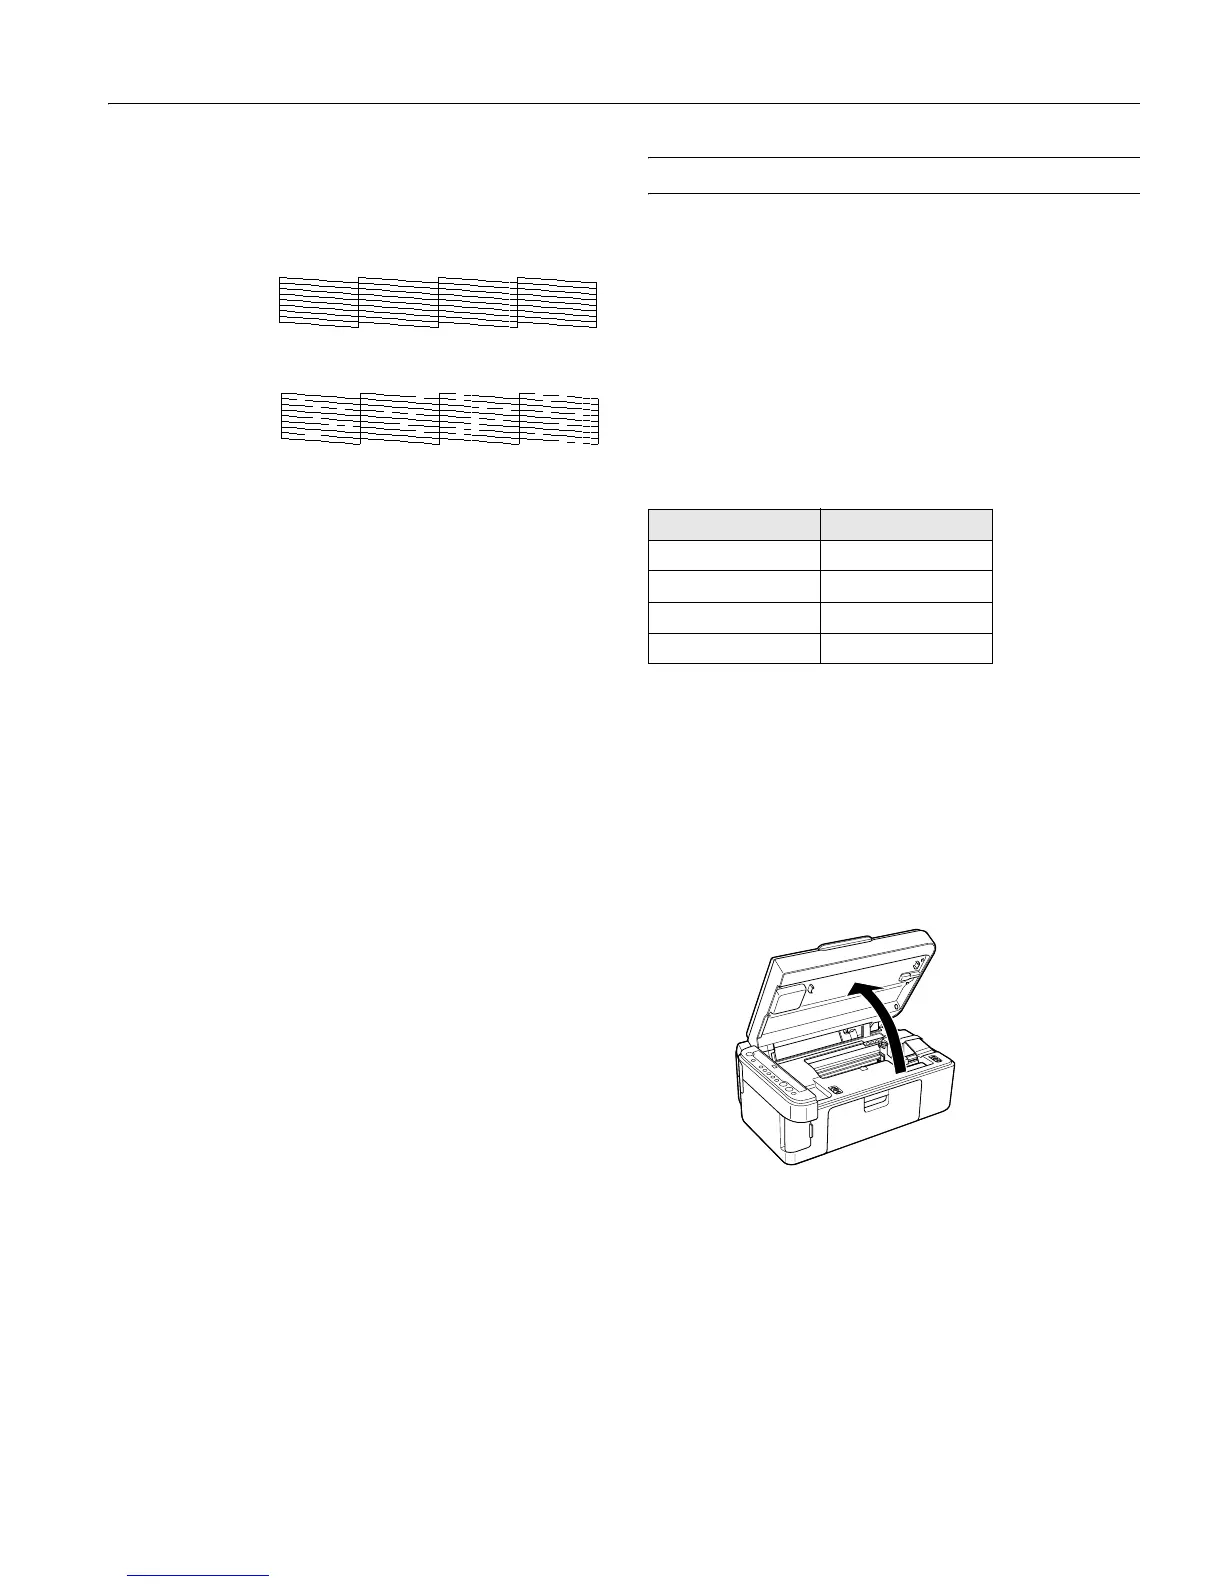
1. Make sure the CX4600 is on.
2. Make sure that the document cover is closed, then open the
scanner.
Caution:
Do not open the scanner when the document cover is open.
Print head does
not need to be
cleaned:
Print head needs
to be cleaned:
Color Part number
Black T044120
Cyan T044220
Magenta T044320
Yellow T044420
 Loading...