14
Chapter 2 Installation
2
Changing the USB Class
Follow the steps below to change the USB class to vendor class or printer class.
1
Select [System Preferences] - [Printers & Scanners] to open the "Printers & Scanners"
screen. Double-click the printer in the list to open the print queue screen.
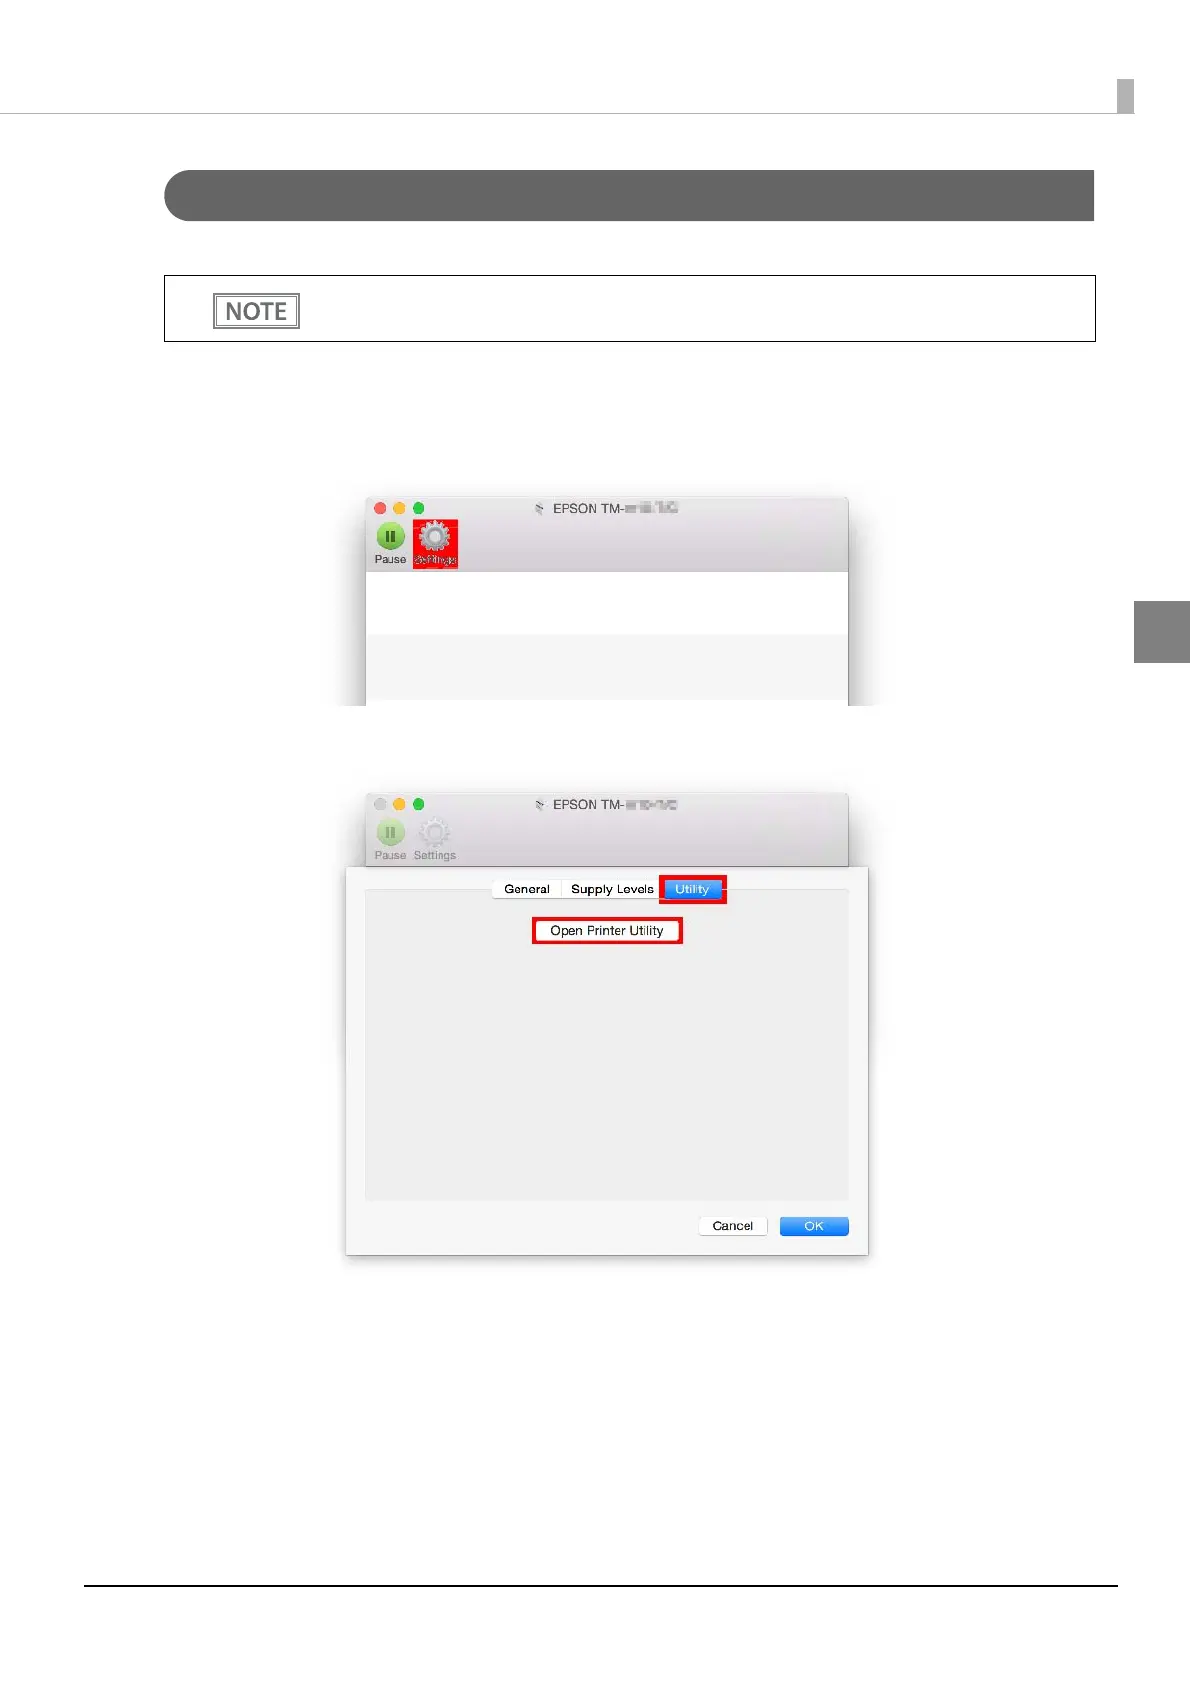
Click [Settings].
2
Start TM Launcher. Select the [Utility] tab and click the [Open Printer Utility] button.
Make sure the printer power is on while you change the USB class.
This modification is unnecessary when the initial setting is USB printer class.