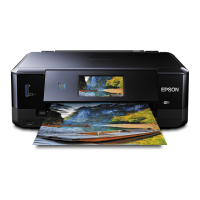
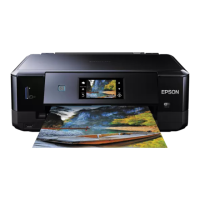
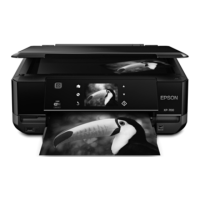
Start Here
IMPORTANT: Before using this product, make sure you read these
instructions and the safety instructions in the online User’s Guide.
1
Unpack
Ink cap
storage bag
Note:
• Do not open ink cartridge packages until you are ready to install the
ink. Cartridges are vacuum packed to maintain reliability.
• The CD/DVD tray is stored underneath cassette 2.
1 Remove all protective materials from the product.
2 Lift up the scanner unit and remove all protective
materials from inside the product.
3 Lower the scanner unit.
2
Turn on and configure
1 Connect the power cord to the back of the product and to
an electrical outlet.
Caution: Do not connect to your computer yet.
2 Turn on the product, then adjust the control panel.
3 Select your language.
Note:
• You can change the language later using the product’s control
panel. For more information, see the online User’s Guide.
• If an error message appears, turn off the product and check
that no protective material has been left inside the product.
3
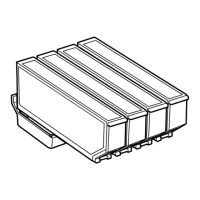
Install ink cartridges
Caution: Keep the ink cartridges out the reach of children and do not
drink the ink.
1 Lift up the scanner unit until it locks into place.
Caution: Do not touch the flat, white cable.
2 Gently shake the Black (BK) ink cartridge. Do not shake
the Photo Black (PB) or other ink cartridges.
3 Unpack the ink cartridges.
XP-7100 Small-in-One
®
Printer
XP7100_SH_E_CPD55769.indd 1