Tighten the collet nut (13) with the spanner (19).
Release the spindle lock button.
Warning: Do not tighten the collet nut (13)
without a router bit inserted.
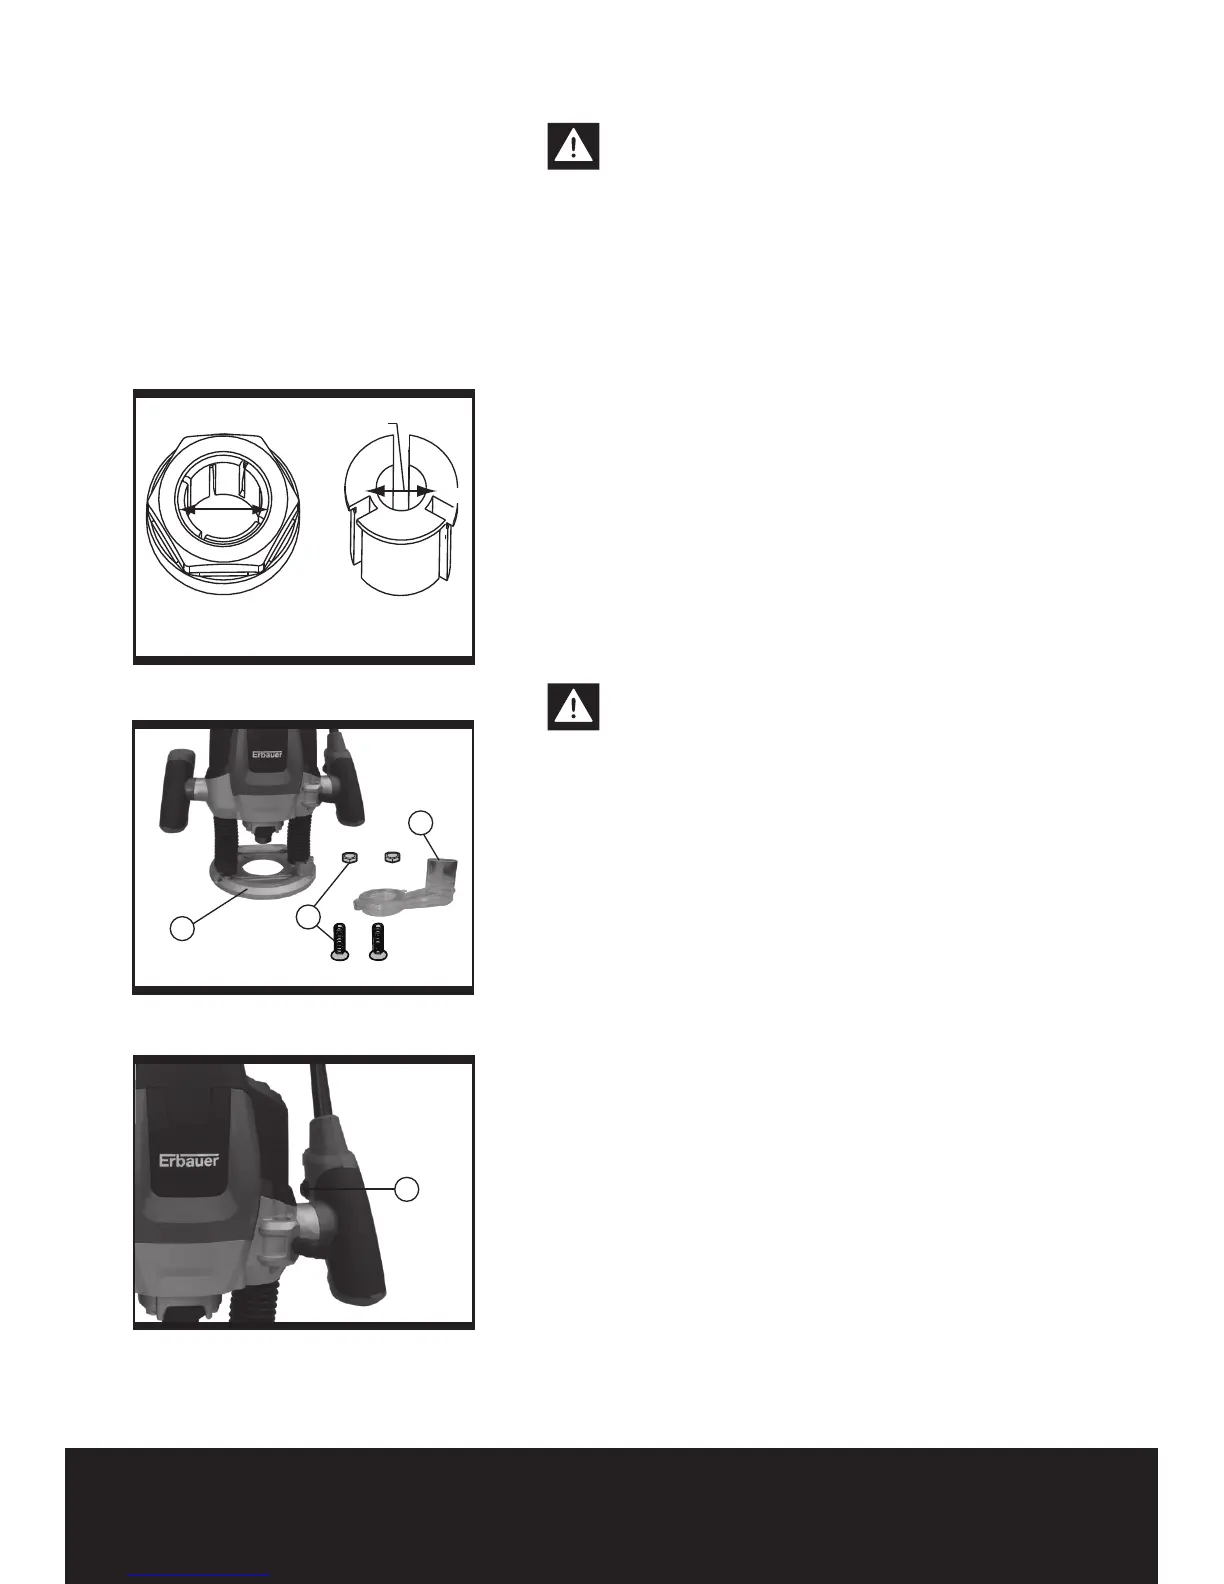
HOW TO FIT THE 1/4˝ COLLET (See Fig a)
Your router is supplied with a 1/2” collet fitted to the
tool. Another 1/4” collet is supplied as an accessory.
IMPORTANT - do not remove the 1/2” collet before
fitting the 1/4” collet.
To fit the 1/4˝ collet (b) simply slide it into the 1/2”
collet (a) fitted to the collet nut.
The 1/4˝ collet has a flange coller to ensure insertion
to correct depth.
NOTE: 1. Do not attempt to remove the 1/2”
collet from the collet nut.
2. Always wear safety gloves when changing the
router bits.
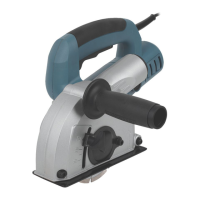
2. MOUNTING THE DUST ADAPTER (See Fig 2)
To connect the vacuum cleaner via a suction hose,
you must fasten the dust adapter (20) to the base
plate (10) with both screws and nuts (25).
Warning: When mounting the extraction
adapter, ensure correct mounting position!
• For dust extraction, the vacuum hose can be
connected directly to the extraction adapter.
• Clean the dust adapter (20) regularly to ensure
optimum dust adapter at all times.
• The vacuum cleaner must be suitable for the
material to be worked.
• When vacuuming dry dust that is especially
detrimental to health or carcinogenic, use a special
vacuum cleaner.
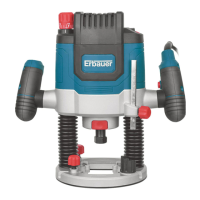
3. SWITCHING ON AND OFF (Fig 3)
To start the machine, actuate the lock-off button (16),
then press and hold the On/Off switch (18). To switch
off the machine, release the On/Off switch (18).
For safety reasons the On/Off switch of the
machine cannot be locked; it must remain
pressed during the entire operation.
Variable Speed Control
The required speed can be pre-selected with the
thumb-wheel (17) .
1 – 2 = low speed
3 – 4 = medium speed
5 – 6 = high speed
The required speed is dependent on the material and
can be determined by practical testing.
Fig a
Fig 2
Fig 3