Do you have a question about the ESAB Heliarc 283i AC/DC and is the answer not in the manual?
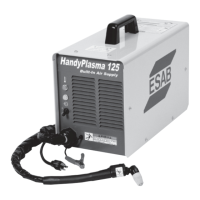
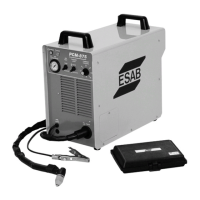
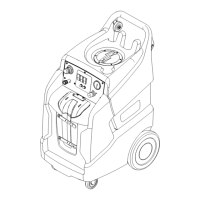
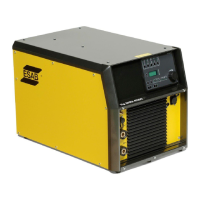
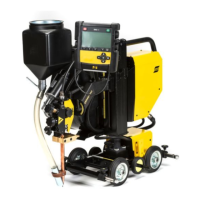
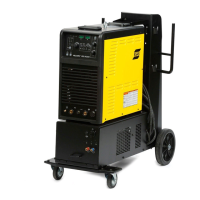
General overview of the Heliarc welding power sources and cooling unit.
Lists the included components for the power sources and cooling unit.
States installation must be carried out by a professional.
Provides safety warnings and instructions for lifting the power source by hand or with a hoist.
Guidance on positioning the welding power source for proper cooling and protection.
Details electrical requirements, connection procedures, and safety precautions for the mains supply.
Instructions for connecting the torch to the cooling unit's water couplings.
Directs users to the safety chapter before operating the equipment.
Details the front panel layout, connections, and control devices for the power source.
Guides on various quick setup modes including Stick, TIG two/four stroke, spot welding, and pulse modes.
Details specific power source settings like hot start for TIG AC.
Explains core welding functions like Pre gas, Arc ON/OFF, slope times, and trigger functions for TIG modes.
Explains AC frequency and balance adjustments for AC/DC welding.
Provides guidance on electrode types, filler materials, gas usage, and TIG welding on copper.
Explains duty cycle and actions to take if the power source overheats.
Details the front panel controls, connections, and startup procedures for the cooling unit.
Emphasizes the importance of regular maintenance for safe and reliable operation.
Instructions for checking and cleaning the welding power source to prevent overheating.
Guidance on cleaning the welding torch after changing wire bobbins.
Procedures for cleaning the cooling unit, including safety precautions before starting.
Step-by-step instructions on how to refill the cooling unit with coolant.
Provides troubleshooting steps for common issues with the welding power source, like no arc or interrupted current.
Offers troubleshooting solutions for cooling unit problems such as not switching on or coolant circulation issues.
| Input Frequency | 50/60 Hz |
|---|---|
| Output Current Range (TIG) | 5-280 A |
| Output Current Range (Stick) | 10 - 280 A |
| Protection Class | IP23 |
| Input Voltage | 230/400 V |
| Input Phase | 3-phase |
| Welding Processes | TIG, Stick |
| Rated Output | 280 A |
| Duty Cycle (TIG) | 60% @ 280 A |
| Duty Cycle (Stick) | 60% @ 280 A |