• If the impact letter followed by letter "T", you can use it for protection against high speed
particles at extremes of temperature. If the impact letter does not followed by letter "T", you
should only use the eye protector for protection against high speed particles at room
temperature.
Severe personal injury could occur if the user fails to follow the above mentioned
warnings and/or fails to follow the operating instructions.
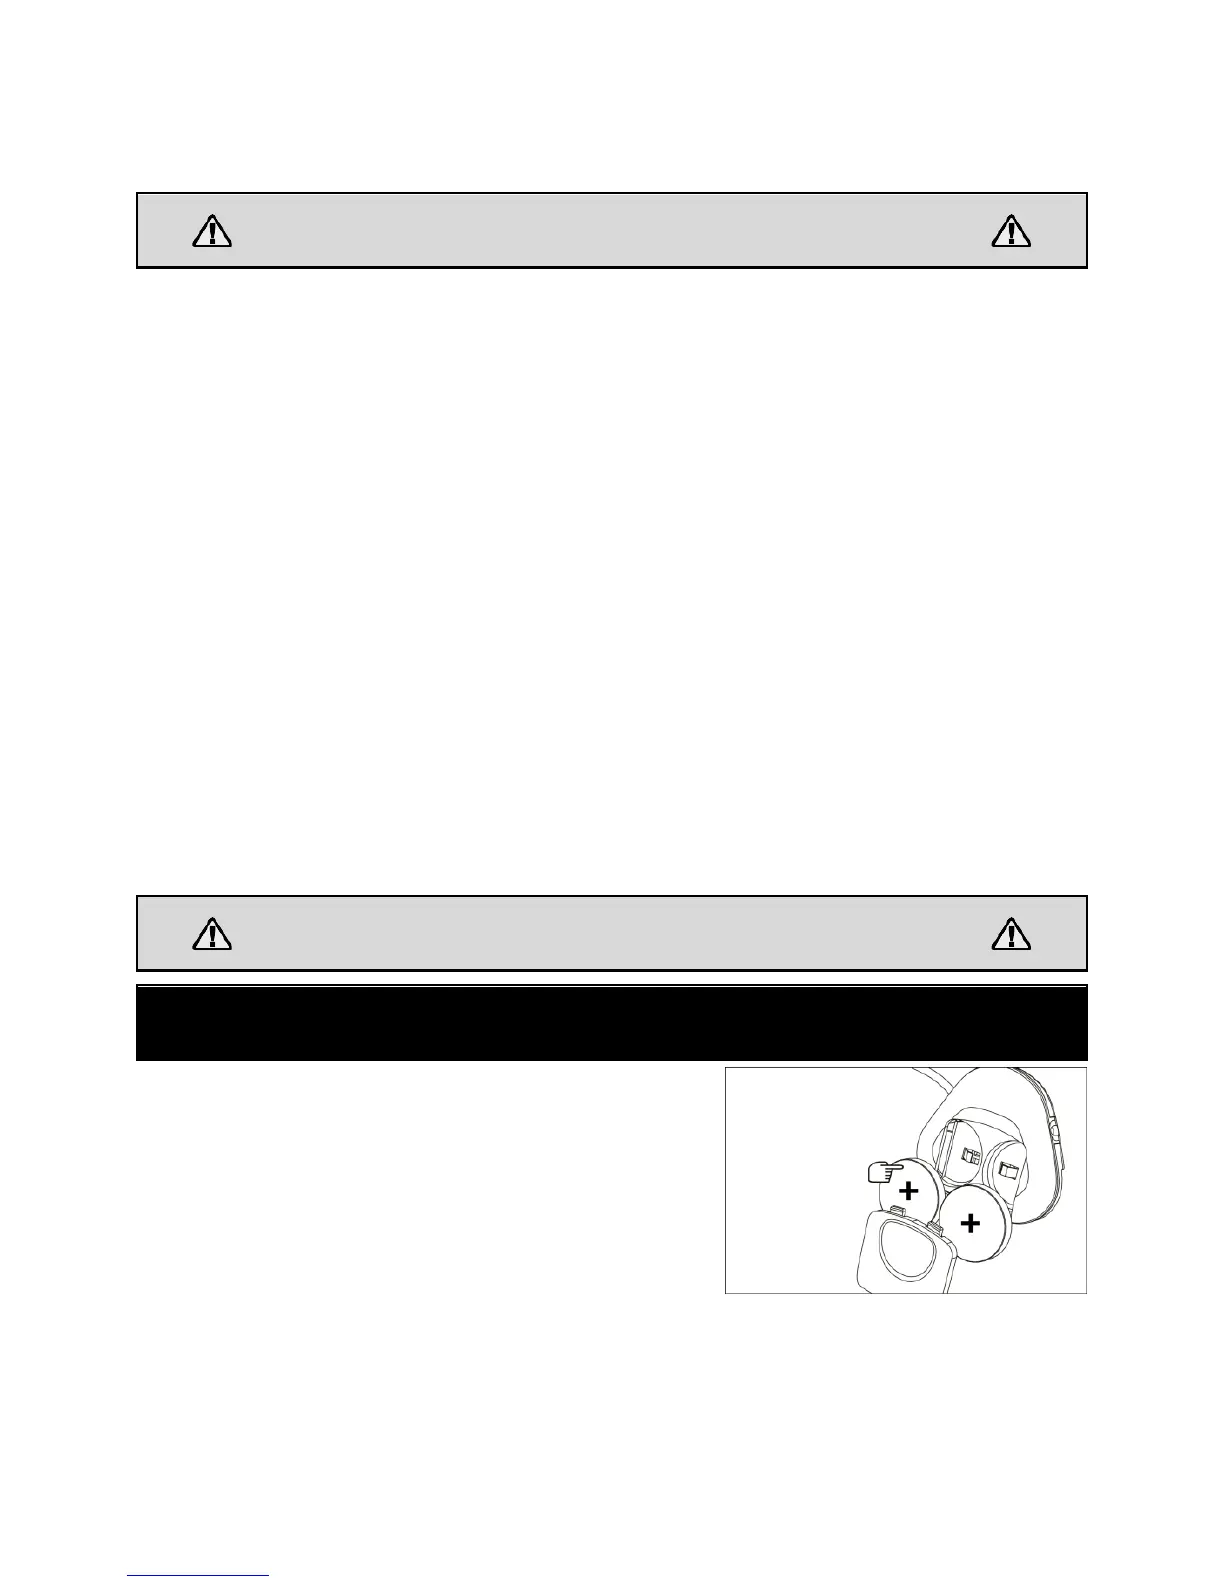
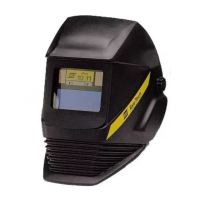
COMMON PROBLEMS AND REMEDIES
• Irregular Darkening Dimming
Headgear has been set unevenly and there is an uneven distance from the eyes to the filter
lens (Reset the headgear to reduce the difference to the filter).
• Auto-Darkening filter does not darken or flickers
1. Front cover lens is soiled or damaged (Change the cover lens).
2. Sensors are soiled (Clean the sensors surface).
3. Welding current is too low (Adjust the sensitivity level to higher).
4. Check battery and verify they are in good condition and installed properly. Also, check
battery surfaces and contacts and clean if necessary. Please refer to the “BATTERY
INSTALLATION” on page 2.
• Slow response
Operating temperature is too low (Do not use at temperatures below -5 °C or 23 °F).
• Poor vision
1. Front / inside cover lens and / or the filter is soiled (Change lens).
There is insufficient ambient light.
Shade number is incorrectly set (Reset the shade number).
Check if removing the film on the front cover lens.
• Welding helmet slips
Headgear is not properly adjusted (Readjust the headgear).
The user must stop using the auto-darkening welding helmet immediately if the
above-mentioned problems cannot be corrected. Contact the dealer.
WARNING! Before using the helmet for welding, ensure that you have read and understood the safety
instructions.
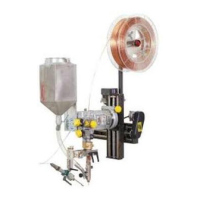
Slide the battery cover out of the external control case,
install the battery properly (see fig. 1), remember to
slide back the cover after battery installation.
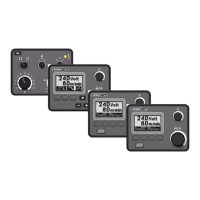
• DIGITAL TOUCH SCREEN ACTIVATION
This auto darkening filter will automatically turn on
when an arc is struck.
Option 1: Short press the “DISPLAY” button (see
fig. 2a) to active the digital screen. After 5 seconds, it
will automatically turn to standby mode. Short press
“DISPLAY” button again will active the screen once
more and previous settings will remain.