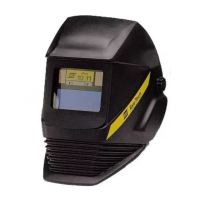
Grind Mode − No delay adjustment
The delay is particularly useful in eliminating bright after-rays present in higher amperage
applications where the molten puddle remains bright momentarily after welding. Use the Lens
Delay Control buttons to adjust delay from 0 to 10 (0.1 to 1.0 second). When welding stopped,
the viewing window automatically changes from dark back to light but with a pre-set delay to
compensate for any bright afterglow on the workpiece. The delay time
/response can be set from Level 0 to level 10. It is recommended to use a shorter delay with
spot welding applications and a long delay with applications using higher currents. Longer
delays can also be used for lower current TIG welding, and TIG / MIG / MAG pulse.
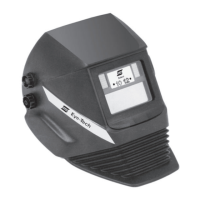
• MEMORY SETTING
This auto darkening filter can save the pre-defined parameters as memory setting. Users can
take the set memory out any time they need. The system can save 8 sets of parameters at
most. Take Memory 1 as example, detailed step as follows:
Step 1: Touch “MEMORY” on display screen, set to “1” via touching “ ” and “ ” (see
fig. 8a-A).
Step 2: Setting shade number, sensitivity and delay via “ ” and “ ”.
Step 3: After finishing all settings, touch “SET” for save (see fig. 8b-A), the “1” after
“MEMORY” (see fig. 8b-B) will take a flash, which means the system has saved the
parameters just set and name this set as “1”.
Step 4: MEMORY 2 to MEMORY 8 can be set the same way. Users can callout
MEMORY setting via touching “MEMORY” first and then choose some certain set via
“ ” and “ ”.