12 P-300 Web Controller Configuration and Troubleshooting Manual
8. If your chamber does not have humidity, skip this step and go directly to step #10. If your chamber does
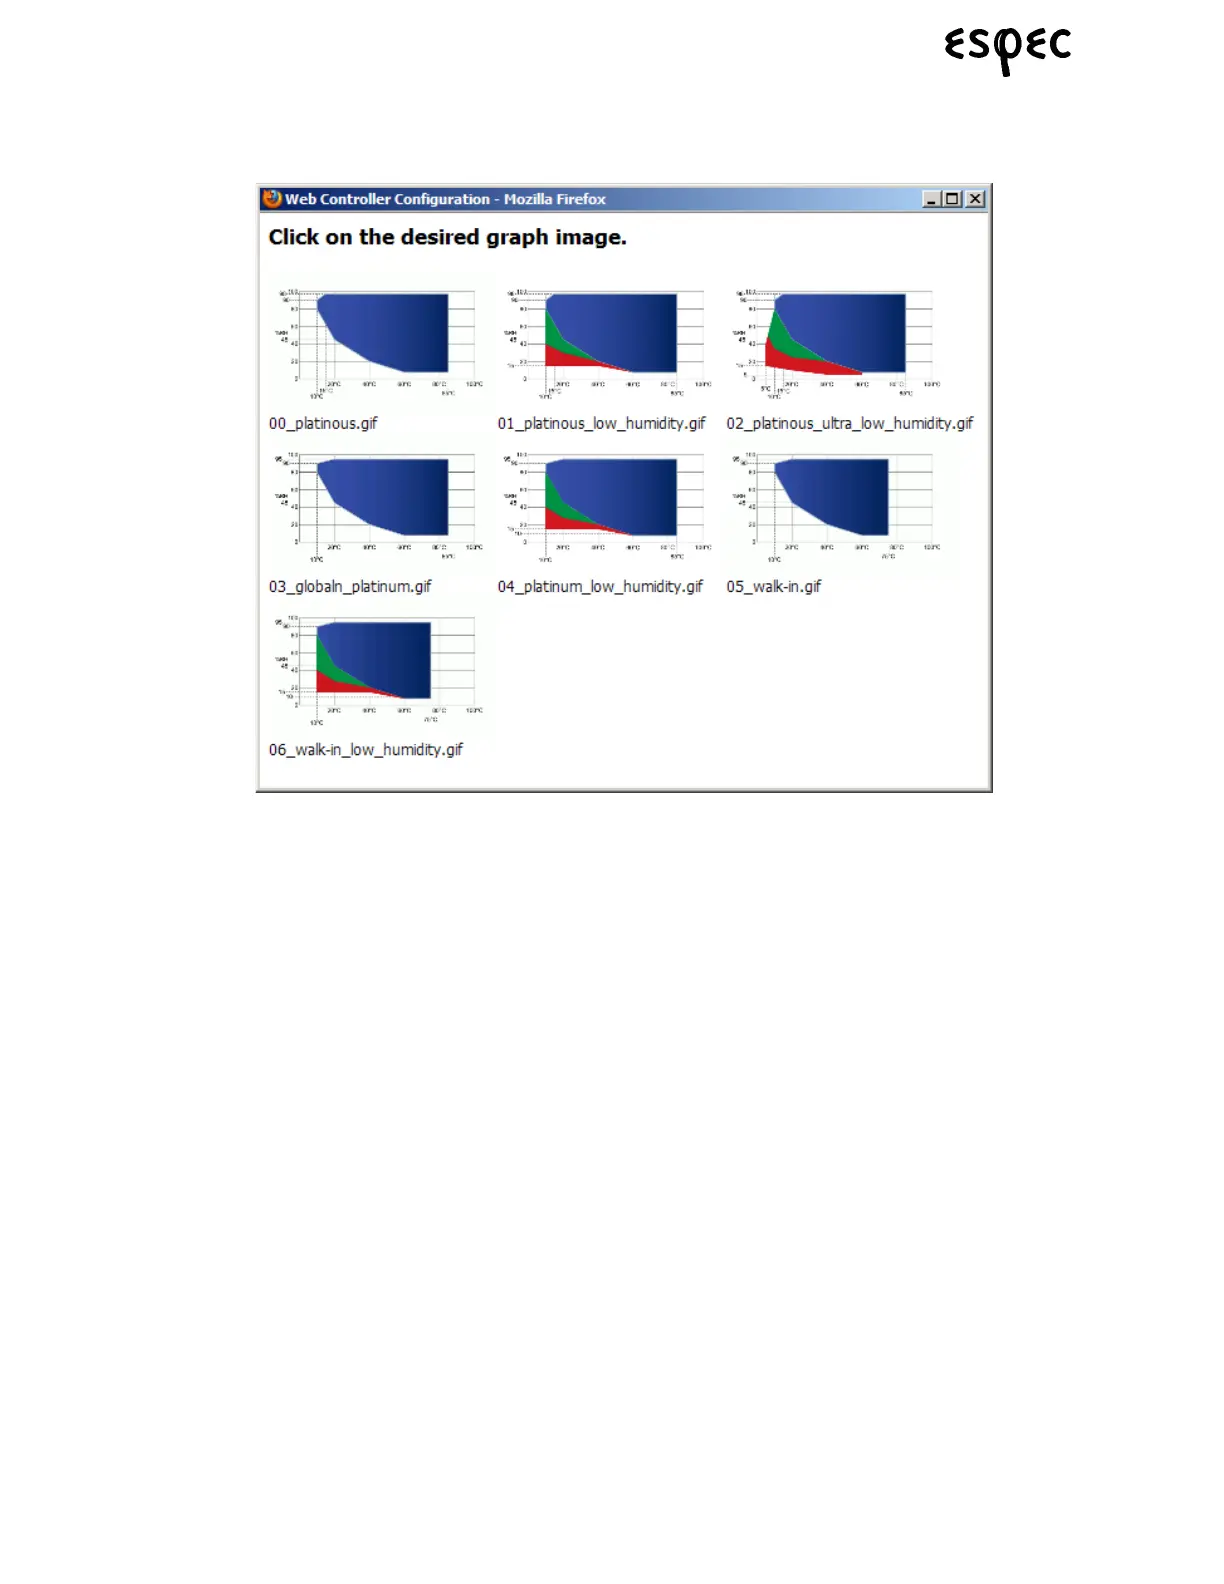
have humidity, you will need to select the appropriate temp-humidity graph file in the “Graph file” area,
which is found directly below the “Polling Interval” edit box. Click on the “Graphical selector” button to
bring up the graphical selection window shown below.
Click on the humidity graphic you want to use. The graphical selection window will automatically close,
and the graphic file you have chosen will be listed in the “Graph File” drop down box to the right of the
“Graphical Selector” button. Alternatively, you can select the graphic image file name directly by using
the graph file drop down box; if you can identify the graph file by name alone.
9. After verifying that all of the configurations are correct, click the “Save” button to send them to the web
controller. After a few moments, a message box will appear to confirm that the new configurations have
been saved to the web controller.
10. Click the “Reboot chamber controller” button at the bottom of the page to complete the process. After
waiting for a few minutes, the web controller should be booted back up with the new configuration; and
you can validate the changes you made by viewing the other standard web controller screen pages.