3. Hardware Development
3. Hardware Development
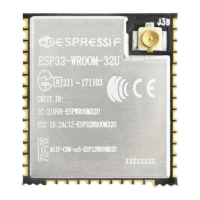
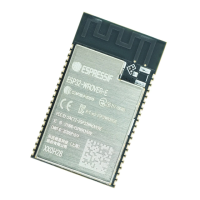
Espressif designs and manufactures a large variety of modules and boards to help users evaluate functionality of
the ESP32 family of chips. For a list of the latest versions of ESP32 modules and development boards, please
refer to document ESP32 Modules and Boards.
Notes on Using Modules
• The module uses one single pin as the power supply pin. Users can connect the module to a 3.3 V power
supply. The 3.3 V power supply works both for the analog circuit and the digital circuit.
• The EN pin is used for enabling the chip. Set the EN pin high for normal working mode. There is no RC
delay circuit on the module. It is recommended that users add an external RC delay circuit to the module.
For details please refer to Section 2.1.2.
• Lead the GND, RXD, TXD pins out and connect them to a USB-to-TTL tool for firmware download, log-
printing and communication.
By default, the initial firmware has already been downloaded in the flash. If users need to re-download the firmware,
they should follow the steps below:
1. Set the module to UART Download mode by pulling IO0 (pulled up by default) and IO2 (pulled down by
default) low. The chip IOs are pulled down internally by default.
2. Power on the module and check through the serial terminal if the UART Download mode is enabled.
3. Download the firmware to flash, using the Flash Download Tool.
4. After downloading, pull IO0 high or just leave it floating and use the internal weak pull-up to enable the SPI
Boot mode.
5. Power on the module again. The chip will read and execute the firmware during initialization.
Notice:
• During the whole process, users can check the status of the chip with the log printed through UART. If the firmware
cannot be downloaded or executed, users can check if the working mode is normal during the chip initialization by
looking at the log.
• The serial tool cannot be used for both the log-print and flash-download tools simultaneously.
Espressif Systems 19 ESP32 Hardware Design Guidelines V2.7
 Loading...