Disassembling Carring Case
The DS200 Collapsible Ballot Box comes in a
self-contained, locking carrying case for easy
transport and storage.
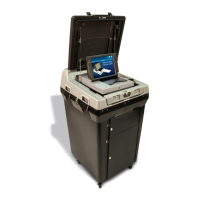
Unlock all four hinges and remove the ballot box
lid. The AC power cord should be wound on top
of the lid; the power connection that will plug
into the back of the scanner is fed through the
paper path slot.
Remove the auxiliary bin partition and set aside.
The ballot box walls are under the partition and
will fold out from the base in one piece.
Appendix B: Collapsile Ballot Box
(continued)
Assembling the Ballot Box
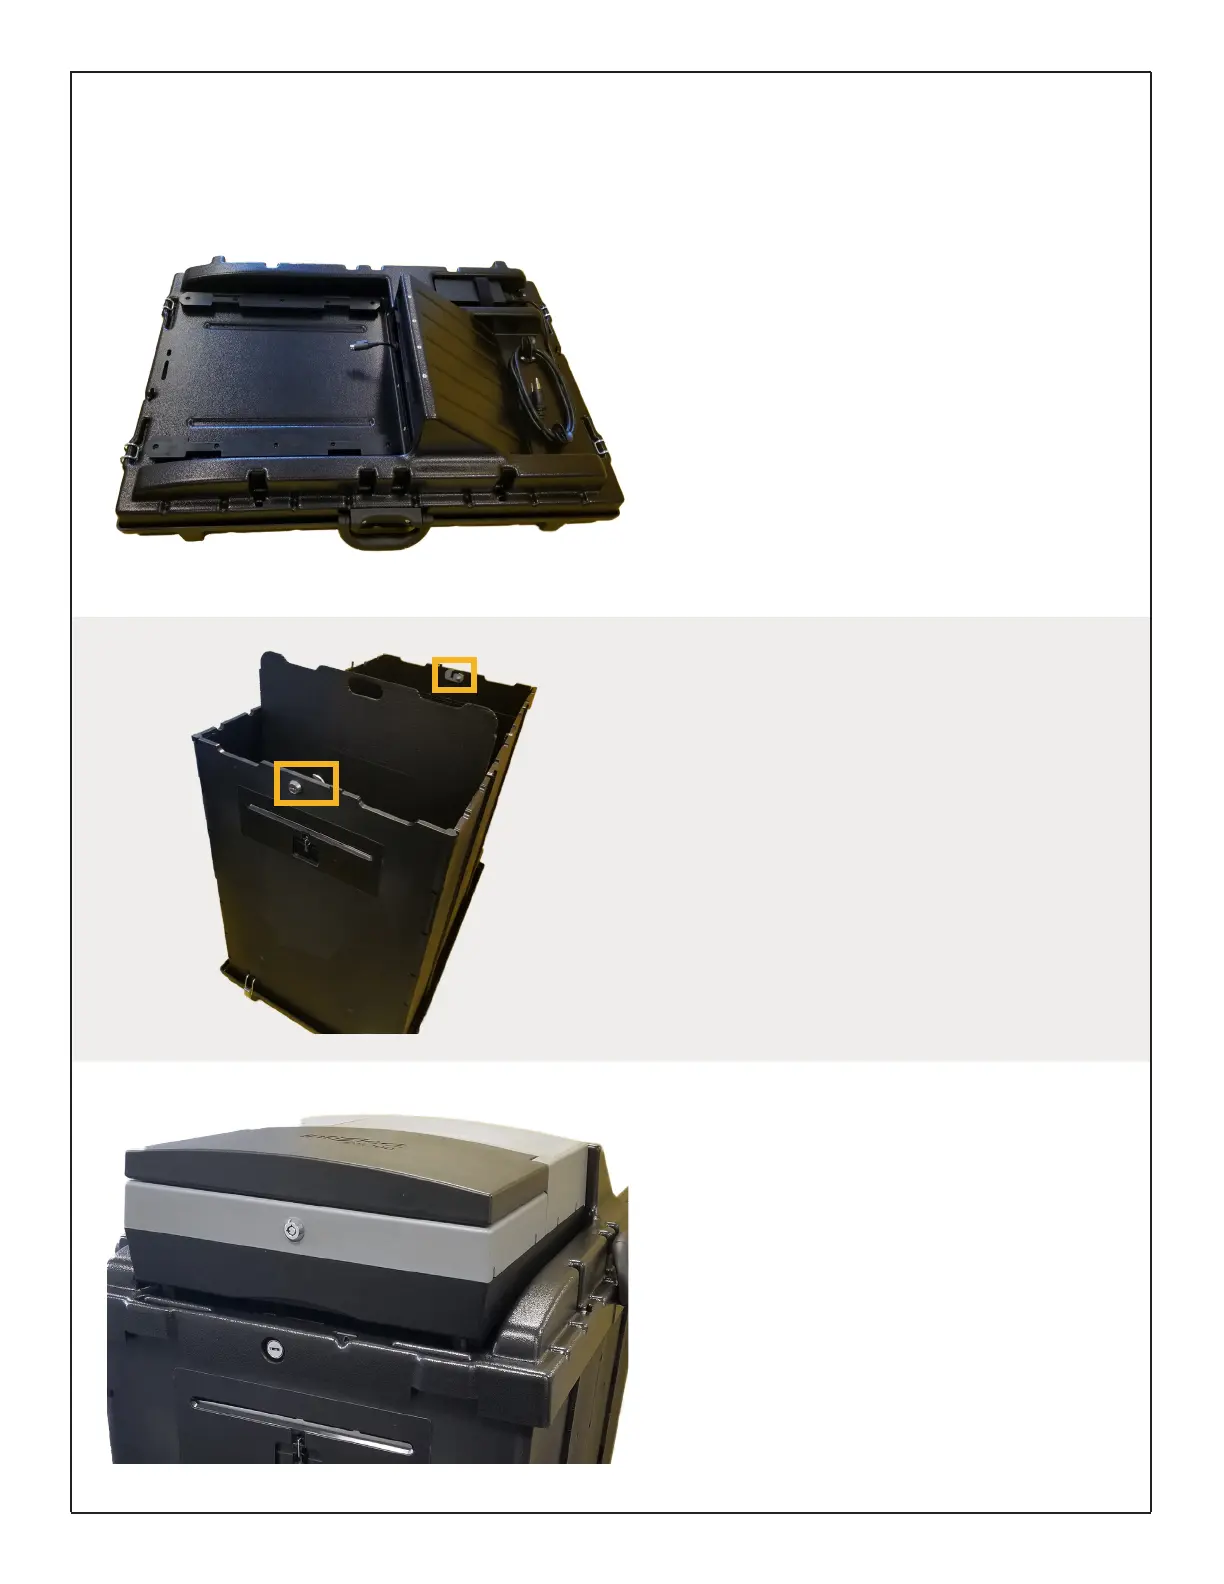
After unfolding the ballot box walls, place them
into the grooves on all four sides of the base.
The hinges you unlocked to remove the lid will
now be locked into the slots at the bottom of the
ballot box walls.
Insert the auxiliary bin partition into the wall slots.
Place the ballot box lid on top of the walls with
the paper path opening facing the front.
Use the key to lock both the front and back of the
lid, securing it to the ballot box walls.
Connecting the Scanner
Slide the DS200 scanner onto the tracks located
on the top of the ballot box lid. Slide the scanner
back, leaving room to reach the back of the
scanner.
On the power connection cord, pull back the
plastic cover and insert the cord into the back
of the scanner. Release the plastic cover to lock
cord into place.
Ensure the cord is placed into its designated
space under the paper path opening and slide
the scanner all the way back. Plug terminal into
power source.
DS200 Digital Precinct Scanner | EVS 6.0.2.1 | Poll Worker Guide v 1.1.CBB
Page | 14