Echoflex Installation Guide
LED Fixture Controller
LED Fixture Controller Page 3 of 8 Echoflex
Installation
All local codes and standard electrical practices should be observed. Ensure
that the junction box is clean and free of obstructions and that all wiring is
installed correctly.
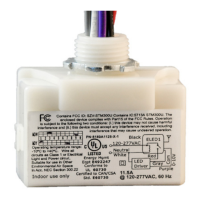
Install ELED1 with Nipple
Mount the controller directly to the exterior of the junction box or panel
either at the electrical load or before the load in the circuit.
Review these instructions completely before installing the controller.
1. Locate the circuit breaker panel and terminate power to the circuit.
2. Remove the cover plate and other hardware from the junction box to
access the wiring.
3. Mount the controller.
4. Refer to the wiring diagram to connect the controller to line power,
neutral, and load wires. Use wire nuts on all connections and
individually cap any bare wires, except the orange antenna wire.
5. Connect the gray and the violet wires to the driver or ballast’s dimming
interface (optional).
6. Replace the electrical box cover plate.
7. Restore power to the circuit.
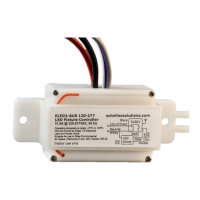
Install ELED1 with Mounting Strap
Mount the controller to the exterior of a lighting fixture or appliance using
the supplied mounting strap.
1. Locate the circuit breaker panel and terminate power to the circuit.
2. Slide the mounting strap over the controller housing with the orange
antenna wire facing up. Hold the controller in place. The tooled strap
prevents the controller from sliding out.
3. Use a power drill to drive a 3/8 inch #8 screw through one of the
bracket’s mounting holes into the fixture. Repeat for the other
mounting hole.
Note:
Follow applicable NEC and local electrical code
requirements when installing and powering the
controller.
Note:
Mounting inside a fixture or other metal cabinet will
reduce radio range performance.