24-Port Web-Smart Ethernet Switch
User’s Manual
12
Connecting to Power
Locate the supplied AC power cord.
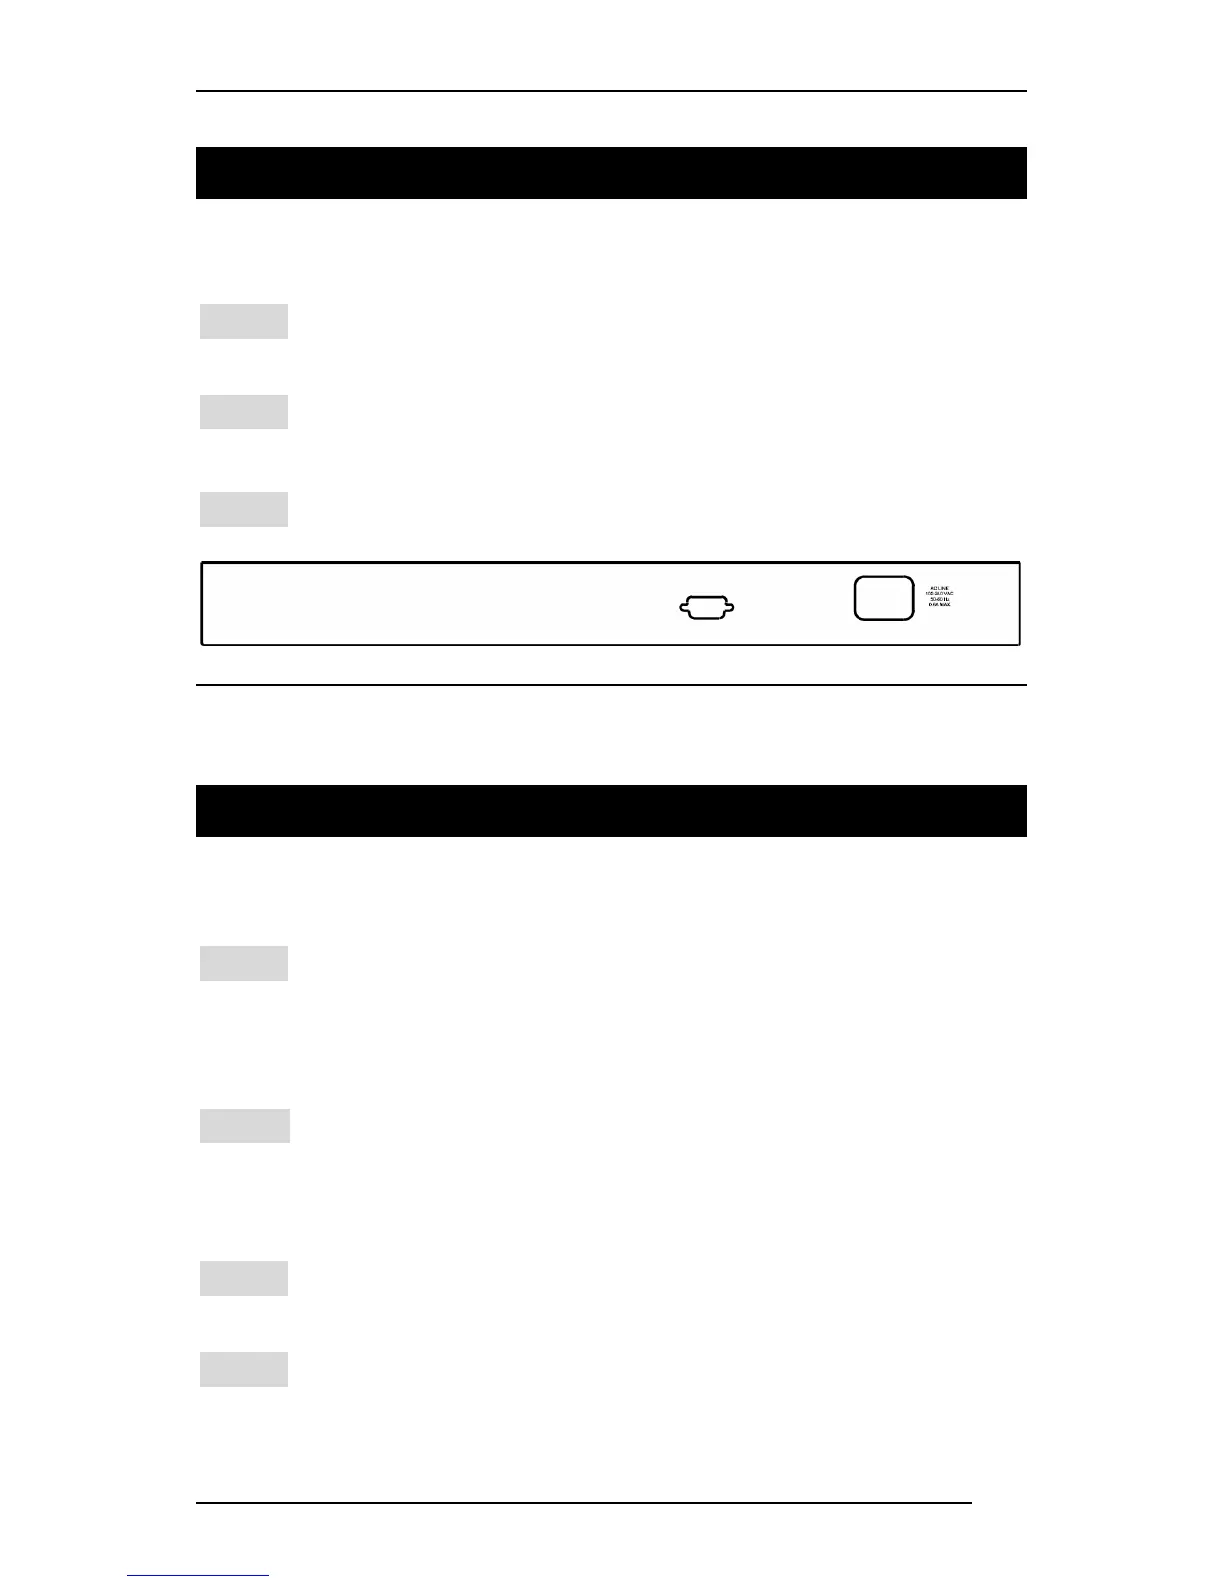
Step 1: Connect the AC power cord to the receptacle at the back of the
switch.
Step 2: Attach the plug into a standard AC outlet with a voltage range from
100~240VAC.
Step 3: The power LED on the front panel will then illuminate.
Figure 4: Rear view of the switch
Connecting to Your Network
CABLING
Step 1: First, ensure the power of the switch (and end devices) is turned
off.
LIt may cause an electric shock or any possible harm to you if the
power is not switched off.
Step 2: Prepare cable with corresponding connectors for each type of port
in use.
(Consult the table below for cabling requirements based on
connectors and speed considerations.)
Step 3: Connect one end of the cable to the switch and the other end to a
desired device.
Step 4: Once the connections between two end devices are made
successfully, turn on the power and the switch is operational.