H
Hannah JohnsonAug 15, 2025
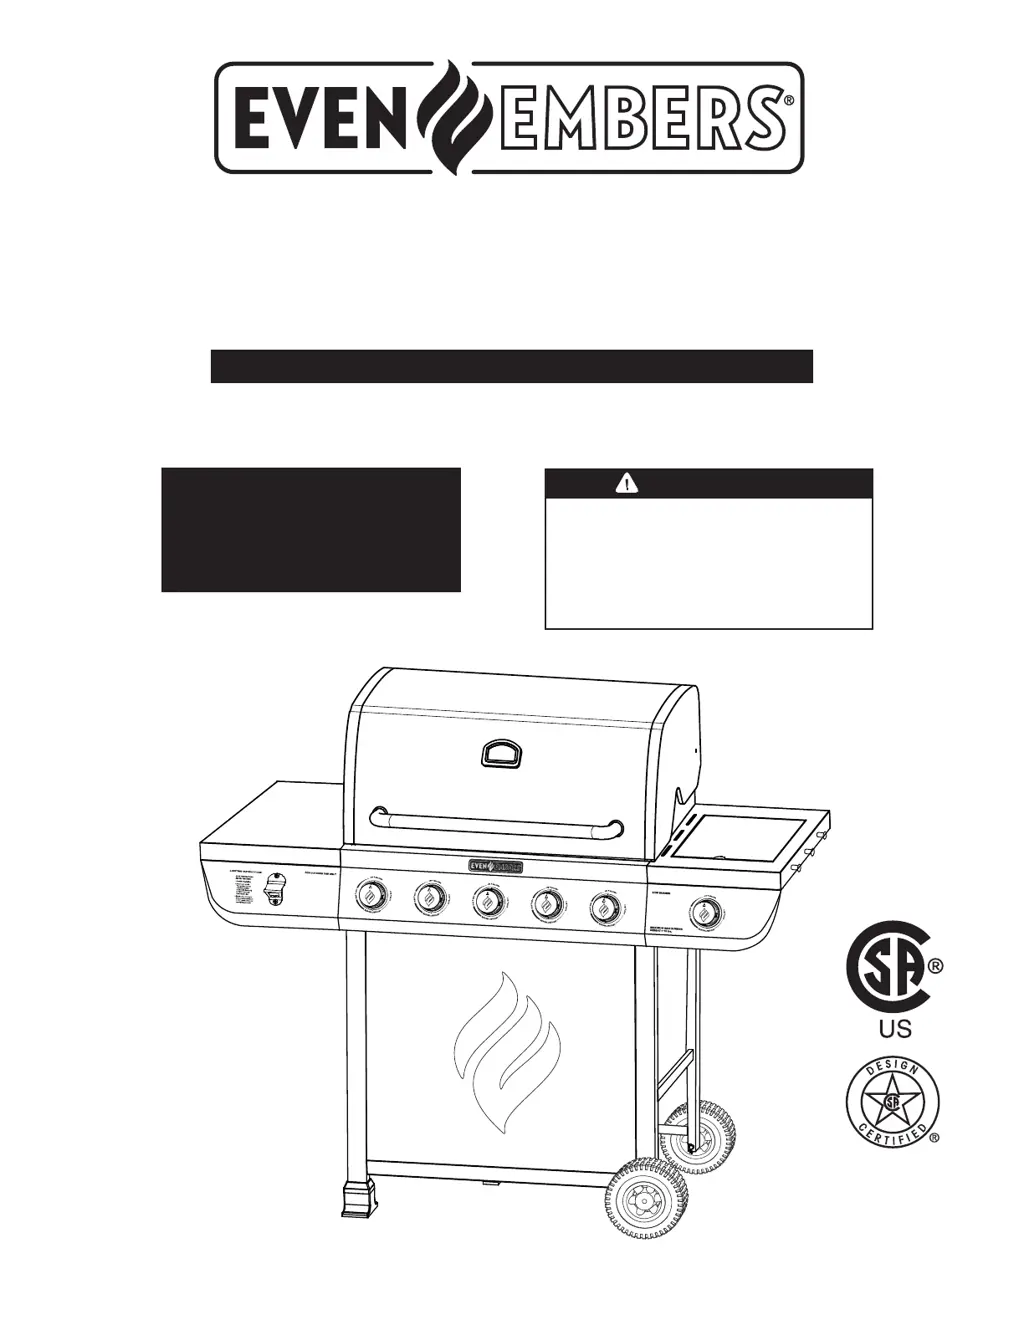
How to fix Even Embers GAS7540BS Grill burner that will not light?
- AAndrew JohnsonAug 15, 2025
If the burner on your Even Embers Grill won't light, start by checking that the LP gas tank valve is open and securely attached. If the tank is low or empty, replace or refill it. Also, inspect for any gas leaks, following the “Leak Testing” instructions. Obstructions in gas flow can also prevent lighting, so clean the burner assembly and check for bent or kinked hoses. Ensure the burner is properly seated and that the venturi is clear of spider webs or insect nests. Clogged burner ports should be cleaned, and a dead battery should be replaced. Finally, cooking residue on wires or electrodes should be cleaned with rubbing alcohol, and any wet components should be wiped dry.