 Loading...
Do you have a question about the Evenflo ExerSaucer Triple Fun and is the answer not in the manual?
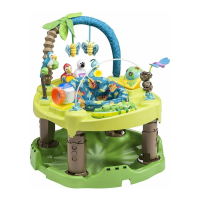
| Stages | 3 |
|---|---|
| Material | Plastic, Fabric |
| Assembly Required | Yes |
| Seat Rotation | 360 degrees |
| Removable Toys | Yes |
| Foldable | No |
| Height Limit | 30 inches |
| Features | music, lights |
| Batteries Required | Yes |
| Care and Cleaning | Wipe clean with damp cloth |
| Dimensions | 30 x 30 x 25 inches |
| Weight | 15 lbs |