29
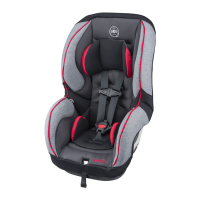
Installation Checklist – WITHOUT the Convenience Base
1. Place the child in the carrier.
aThe child’s back and bottom are flat against
the back and bottom surfaces of the carrier.
aTop of child’s head is at least 25 mm (1 inch)
below the top of the child restraint seat back.
2. Secure child to the carrier. Refer to p. 33.
aHarness straps are at, or below, shoulder
level (p. 36).
aBoth buckle tongues are fastened (p. 33).
aChest clip is connected and positioned at
armpit level (p. 34).
aHarness straps are snug against the child with no
more than two finger-widths between
your child and straps (p. 34).
aCrotch strap is snug against the child, but
NOT under the child’s bottom (p. 38).
3. Secure child restraint to the vehicle
seat.
aCarrier is securely installed with vehicle seat
belt (p. 30).
aThe shoulder strap portion of the seat belt is
lying across the vehicle seat back, (p. 31).
aLocking clip is installed, if necessary (p. 41).
aThe level line is level with ground (p. 30).
aThe handle is in Position 1 (Canadian OR U.S.
models) or Position 4 (U.S. models ONLY) (p. 32).
(Position 4 shown at left.)
aIf necessary, a towel/small blanket is rolled up
and placed beneath the front edge of the carrier
so the child’s head lies back comfortably (p. 32).
4. Check your work.
a
To properly protect your child, the carrier MUST
NOT move more than 25 mm (1 inch) from
side-to-side or from front-to-back at the vehicle
belt path.
Installation Checklist