TR3200E Tally Data Router
Page - 2 Revision 1.0
2 INSTALLATION
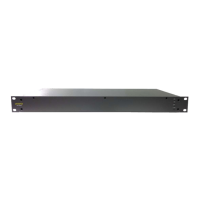
The Tally router is designed to fit into standard 19” equipment racks. It can be mounted at any angle.
Rack-mount flanges (or ears) are vulnerable to damage so these are packed separately for protection
and must be removed from the accessory kit and fitted to the sides of the unit with the screws supplied
in the kit.
Installation in a 19” rack is simple. Guide the unit through the aperture in the front of the rack until the
rack-mounting flanges are flush against the side member of the rack and bolt in place with fixing
screws (not supplied).
Behind the unit you should allow for a depth of 170mm plus provision for the connection of external
cables.
2.1 ELECTRICAL CONNECTIONS
The chassis ground pin of the 25 way D-type connectors is connected to the earth of the power plug
and the metalwork. Use mating connectors with tin plating and metal hoods to maintain earth continuity
and RFI shielding. Also connect the shield of the control cable to the ground pin for RFI shielding.
Note that the connectors and their hoods must not exceed 17mm width. Some designs are wider than
this and will not fit correctly the rear of the unit if both rows are used.
2.2 INPUT PORTS
These ports are used to read the tallies from, say, the vision mixer (production switcher) and use
standard 25 way D-type socket connectors.
1. The mixer tally output will usually be an isolated circuit i.e. a relay. The receiver circuit in the Tally
router has its own logic pull-up so there should be no need for extra interface circuitry.
Nevertheless some small amount of power is made available for special purposes. Please take
note of the ratings below.
2. Connect one pin of the mixer tally to an input pin. Note that +0.8v is the permitted maximum value
of voltage for a valid low reading.
3. Connect the other pin of the mixer tally (or common) to the common 0 volts pin of the connector pin
24. This pin is connected to the technical ground within the Tally Router.