outlet is placed on the top to match with the plug of the input power cable which has the
ground prong facing up.
E. Ground connection for hardwire installation: follow the National Electrical Code and all
local applicable codes.
F. If you decide to install the EVIQO Smart EV Charger outdoors, this requires using an
outdoor-rated, weather-resistant NEMA 14-50 outlet / hardwired installation.
G. Please ensure the holster bracket is mounted at approxamately the same level as the
EV Charger bracket. It is recommended to keep a comfortable distance between the
EVIQO Smart EV Charger and the holster which would allow to properly store the loops
of the 25ft cable.
H. Both the device and holster must be securely anchored to a mounting surface, such as
a stud of sufficient size or a solid wall, to ensure proper installation of the EV charger.
I. It is recommended to mount the device at a height between 3 feet (91.5 cm) and 5 feet
(152 cm) from the ground. Still, the mounting location is significantly dependent on the
installation chosen.
8. Mounting
For hardwired installation (if you had to detach the faceplate to get access to the
internal components): Please note you have to attach the faceplate of the EVIQO
Smart EV Charger, close the device and tighten the 7 screws on the back side before
mounting the device onto the wall and fixing the conduit.
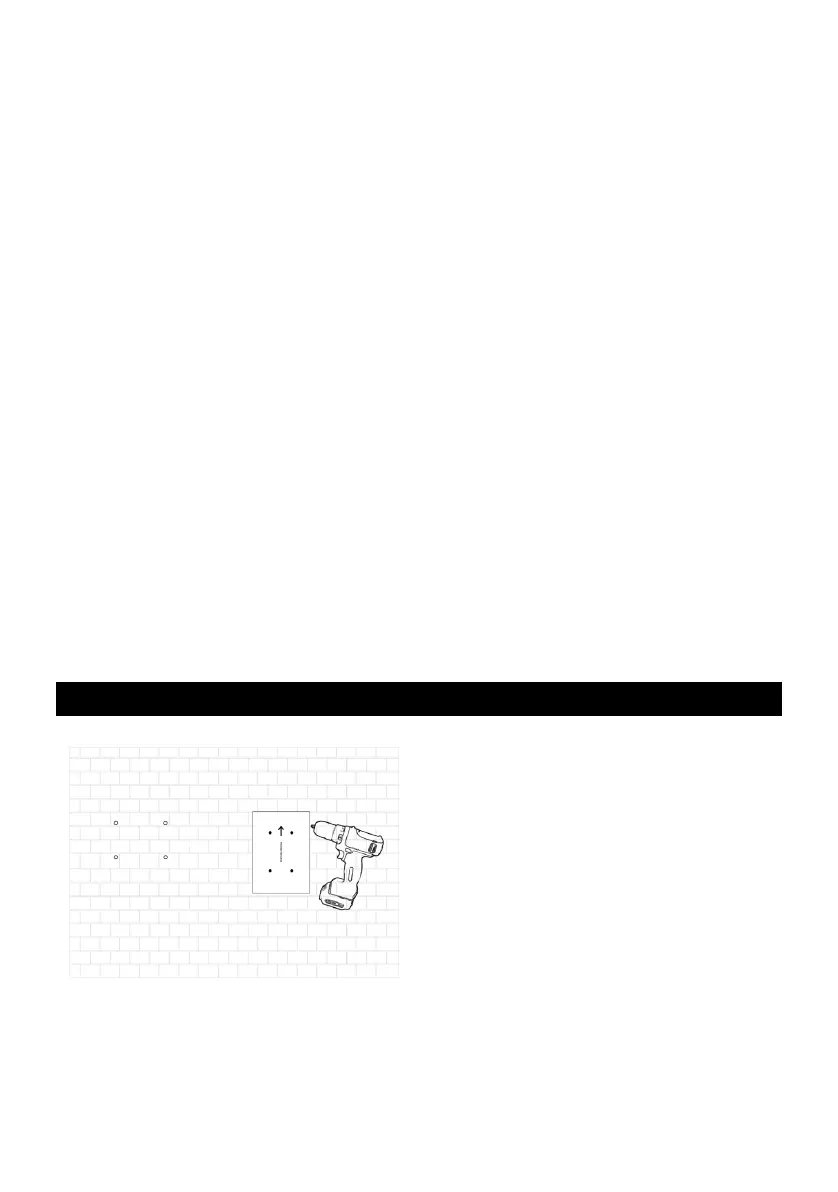
STEP 1
For concrete and brick walls: select the
desired mounting location for the EV
Charger and the Holster. Use the provided
Wall Mount Templates (one for the EV
Charger and one for the Holster) to mark
the holes for drilling. Use the ⌀8 (8mm /
0.31” diameter) drill. Drill 4 screw holes for
the EVIQO Smart EV Charger and 4 for
the Holster. The diameter of the holes
shall be around 0.31" (8mm) and a depth
of 2.05" (5.2cm). When drilling the screw
holes, please take note that both
templates have arrows indicating the top
side for proper alignment.
For wood studs: go to STEP 2, use Phillips Pan Head Screws provided. If you plan to
install the EV Charger on drywall, ensure the drywall is sufficiently thick to securely hold it.