STEP 2
Detach the wall mounting bracket from the EV
charger using the Allen Wrench provided in
the box.
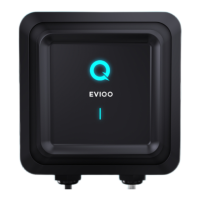
For concrete and brick walls: after the holes
have been drilled (see step 1), use the set of
4 Hexagonal Expansion Screws provided in
the box, along with the adjustable ratchet
wrench, to securely fasten the wall-mounted
bracket for the EVIQO Smart EV Charger onto
the wall.
For wood studs and drywalls: use the Phillips Pan Head Screws provided to fix the
wall-mounted bracket for the EVIQO Smart EV Charger onto the wall. Make sure the
surface is sufficiently thick to hold the EV Charger
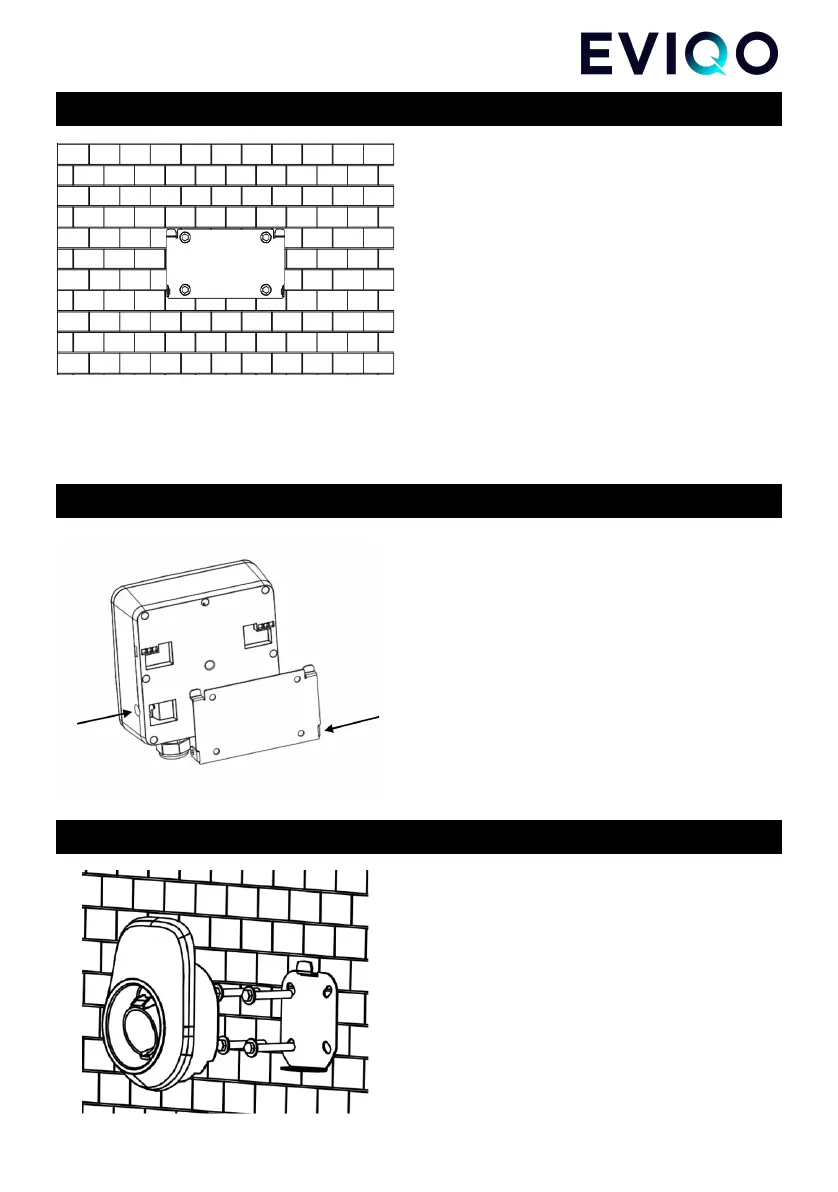
STEP 3
Align the rear notches of the EVIQO Smart
EV Charger with the wall-mounted bracket.
Insert the Anti-Theft Countersunk Head
Screws through the screw holes on the right
and left sides of the bracket. Then, use the
Allen Wrench provided in the box to securely
fasten the EVIQO Smart EV Charger to the
wall-mounted bracket.
STEP 4
Detach the mounting bracket from the Holster
using the Allen Wrench provided in the box.
For concrete and brick walls: after the holes
have been drilled (see step 1), use the set of 4
Hexagonal Expansion Screws provided in the
box, along with the adjustable ratchet wrench,
to securely fasten the wall-mounted bracket
for the Holster onto the wall.
For wood studs and drywalls: use the
Phillips Pan Head Screws provided to fix the
wall-mounted bracket for the Holster onto the
wall.