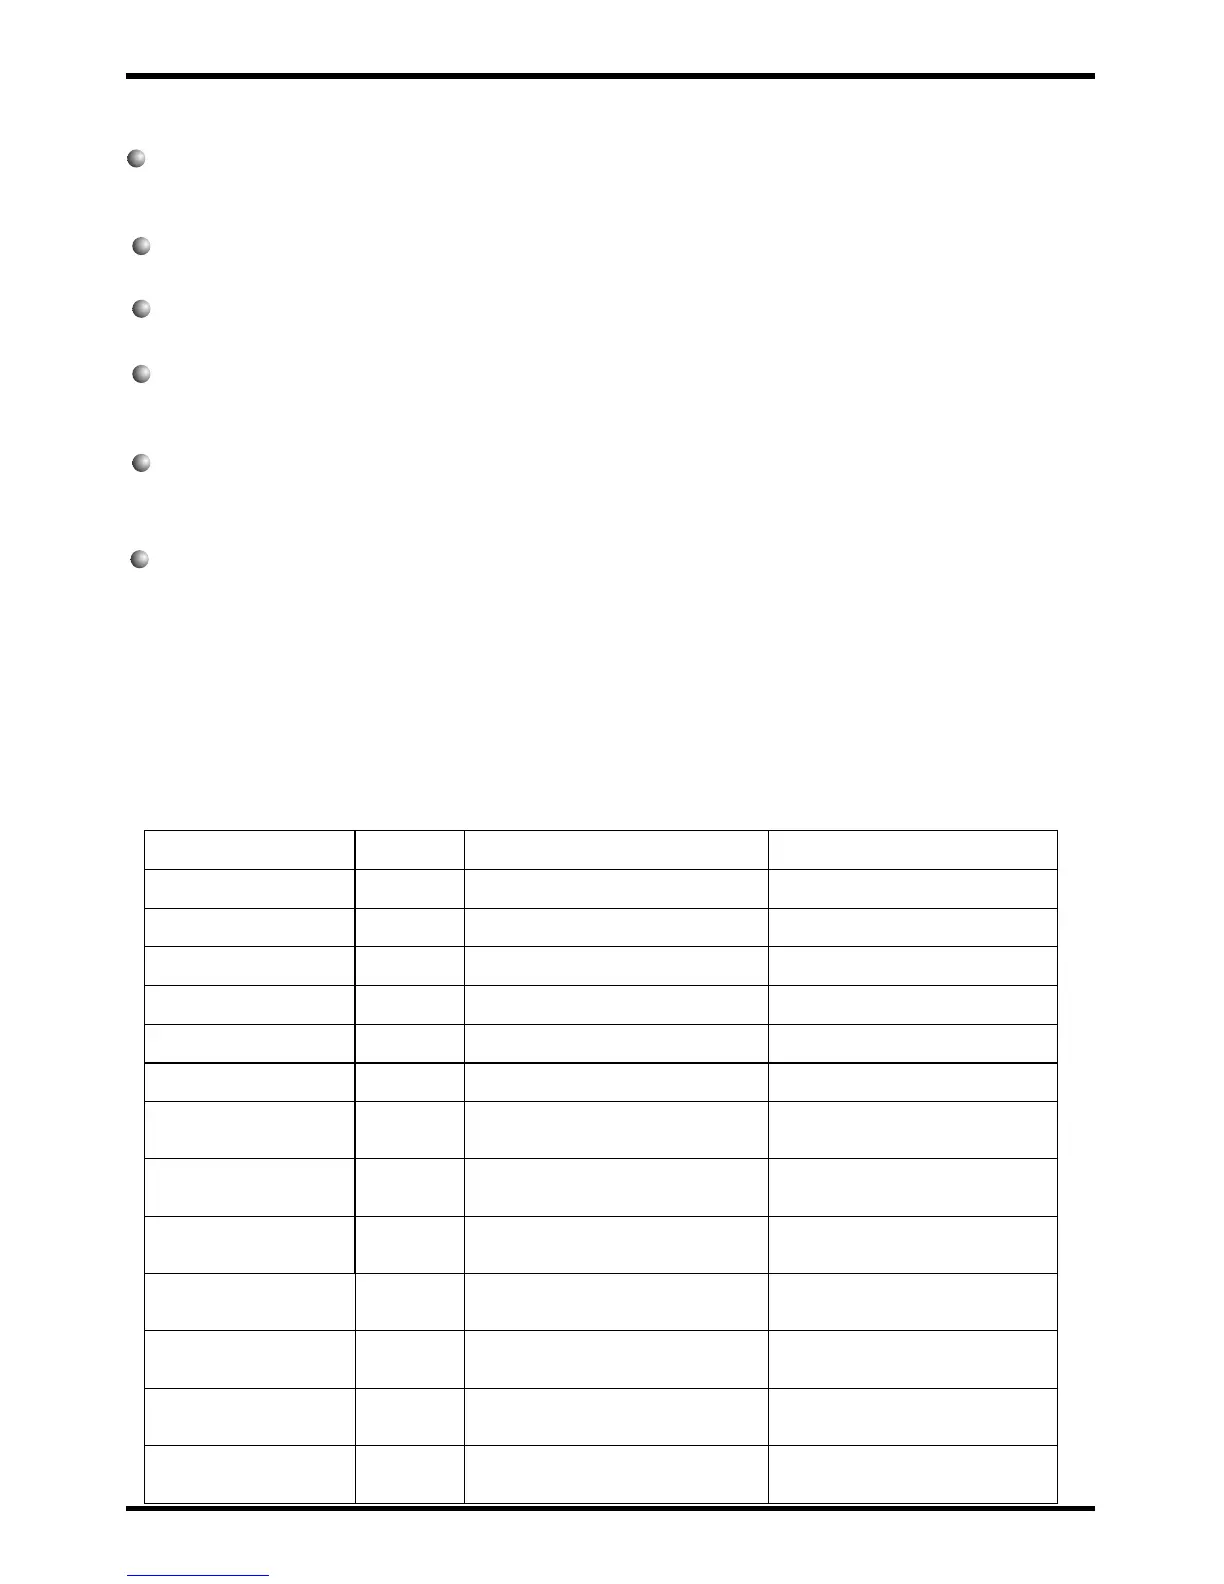
7.2. PCB Descriptions
7.Appendix
7.1. Parameters for unit running
28
Target temperature
Default
55
Note
Adjustable
Definition
4
4
3
3
OUT1 OUT2
CN2
CN1
OUT3
AC-N
CN19
CN6
CN4
CN3
GND
12V
NET
GND
GND
GND
GND
GND
1
2
3
4
OUT2
OUT4
OUT3
OUT1
NET GND 12V
DI01 GND
7
8
DI05 GND
DI04 GND
DI03 GND
GND
GND
GND
GND
GND
AI01
OUT4
OUT5
HW200
5
AC-N
OUT5
6
AI01 GND
AI02 GND
AI03 GND
AI04 GND
AI05 GND
Tank of top temp. Sensor(input)
Tank of bottom temp.Sensor(input)
AI06 GND
Solar temp.sensor(input)
DI06 DND
Flow swtich protection
9
10
11
12
13
14
15
16
17
18
19
Heater (output)220-240VAC
High speed fan/Source pump (output)220-240VAC
Symbol
Four way valve (output)(220-240VAC)
Compressor(output)(220-240VAC)
Remote controller
Remote ON/OFF
(SPARE)
High pressure protection
Low pressure protection
Ground
Suction temp. sensor(input )
Coil temp. Sensor/Anti-freeze Sensor(input)
Ambient temp. sensor(input)
Low speed fan /Circulate pump/Solar pump/
Recovery pump/Cooling(output)(220-240VAC)
NO.
The definition of the ports
GND
DI06
GND
DI05
DI04
DI03
DI02
DI01
AI02
AI03
AI04
AI05
AI06
DI02 GND
Over heat protection
CN6
Running indication/Circulate pump/Solar pump
20
27
6.Maintenance and repair
6.2 The normal failure and solutions
Check the water supply and air vent frequently, to avoid lack of water or air in the water
loop. Clean the water filter in a certain period to keep good water quality. Lack of water
and dirty water can damage the unit.
Keep the unit in a place which is dry and clean, and has good ventilation. Clean the heat
exchanger in 1 or 2 month and keep good heat exchange rate and save energy.
Check each part of the unit and the pressure of the system. Replace the failure part if
there is any, and recharge the refrigerant if it is needed.
If the heat pump is not used for a long time, please drain out all the water in the unit and
seal the unit. Please drain the water from the lowest point of the heat exchanger to avoid
freezing in winter.
Check the power supply and the electrical system, make sure the electrical components
are good, the wiring is well. If there is any part failed with wrong action or smell, please
replace in time.
Don't power off the unit in low temperature areas to avoid freezing of pipes.
6.1 Maintenance
P01
Top tank water
temp. Failure
P02
Coil temp. Failure
P04
P05
P07
E01
E02
E03
E04
E07
E19
E29
Ambient
temp. Failure
Refrigerant absorb
temp. Failure
High pressure protection
Low pressure protection
Water flow failure
Electric-heater
overheat protection
Anti-freeze protection
Anti-freeze protect level 1
Anti-freeze protect level 2
P09
Anti-freeze temp. Failure
Bottom water
temp. Failure
Malfunction
Display
Canse Solution
The water b temp. Sensor
is open or short circuit
ottom
The water top tank temp. sensor
is open or short circuit
The ambient temp. sensor
is open or short circuit
The pipe temp. sensor is
open or short circuit
The evaporator temp. Sensor
is open or short circuit
The exhaust pressure is high ,
high pressure switch action
,The suction pressure is low
Low pressure switch action
No water or litter water
in water system
Ambient temperature is too low
Ambient temperature is too low
Water flow volume not enough,Water
system pressure difference is small
Water flow volume not enough,Water
system pressure difference is small
Check or change the water
bottom temp. Sensor
Check or change the water
top tank temp. Sensor
Check or change the
ambient temp. Sensor
Check or change the
pipe temp. Sensor
Check or change the
evaporator temp. Sensor
Check high pressure switch
and cooling return circuit
Check low pressure switch and
cooling return circuit
water,Check the flow volume
pump is failure or not
water,Check the flow volume
system is jammed or not
water,Check the flow volume
system is jammed or not
The a Sensor
is open or short circuit
nti-freeze temp.
Check or change the
a Sensornti-freeze temp.
Inspection of the Magnesuim Anode and Draining the unit
Check the Magnesuim rod every 6 months by unscrewing the rod out of its connection. If
the diameter is less than 5mm and/or the length is less than 200mm replace with a new rod.
Refill the unit as per installation instructions on page 13.
Turn off the power to the unit and close the cold water inlet valve to the heater.
Open the drain plug on the bottom of the heater and drain the unit of water. A hot water tap
may need to be opened in the house to allow drainage.