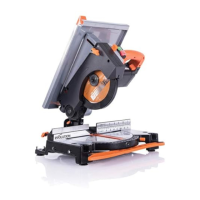
10. Cutting Bowed Material (Fig 15)
Before cutting any workpiece, check to see if it is bowed. If it is
bowed the workpiece must be positioned and cut as shown.
Do not position the workpiece incorrectly or cut the workpiece
without the support of the fence.
11. Clearing Jammed Material
• Turn mitre saw “OFF” and allow the blade to come to a
complete halt.
• If possible allow the Cutting Head to rise to its upper position.
• Unplug the Mitre Saw from the mains supply.
• Carefully remove any jammed material from the machine.
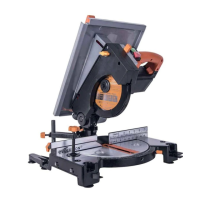
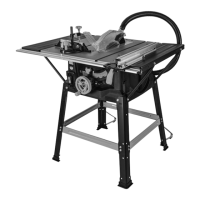
TO CONFIGURE THE R210MTS
FOR USE AS A TABLE SAW
WARNING: Do not cut metal or metallic materials when the
machine is configured as a Table Saw.
WARNING: Only carry out this procedure with the machine
disconnected from the power supply.
Caution: The R210MTS has many built in safety features and
safety interlocks. It is important that the following instructions,
and those found on the label attached to the machine table
are read, understood and acted upon. Failure to carry out the
configuration procedure could result in damage to the machine
and/or injury to the operator.
• Ensure that the Rotary Table is set at 0˚ Mitre angle and the
Cutting Head is set at 0˚ Bevel angle.
• Position the Auxiliary Lower Blade Guard on the Rotary Table
over the table insert and straddling the Fence. (Fig. 16)
• Lower the Cutting Head to the fully down position, ‘capturing’
the Lower Auxiliary Blade Guard. Push the Cutting Head
Latching Pin into its socket. (Fig. 17)
• Loosen the Table Height Adjustment Screw (Fig.18) and
lower the table to its lowest position.
• Tighten the Height Adjustment Screw.
The R210MTS is now ready to use as a Table Saw.
Fig. 15
Fig. 17
Fig. 16
Fig. 18