16
the blade.
To install a standard blade:
• Place the new blade on the arbor shaft ( the
teeth must point down toward the front of the
saw to work properly).
• Place the blade washer and the blade nut over
the arbor shaft. Be sure the dome side of the
blade washer faces the blade and that all items
are snug against the arbor housing. Make sure
the blade nut is securely tightened. Do not
overtighten.
• Lock the release lever.
• Rotate the blade by hand to make sure it turns
freely.
• Lower the saw blade and reinstall the table
insert.
NOTE: To replace the blade with an accessory
blade, follow the instructions provided with the
accessory.
9. Using the saw
The operation of power tools involves a certain
amount of hazard for the operator. Before
attempting regular work we recommend you get
the feel of operations using scrap lumber to
check settings. Read entire instructions before
you start to cut workpiece. Always pay attention
to safety precautions to avoid personal injury.
WARNING!
Make sure the blade guard assembly is installed
and working properly to avoid serious possible
injury.
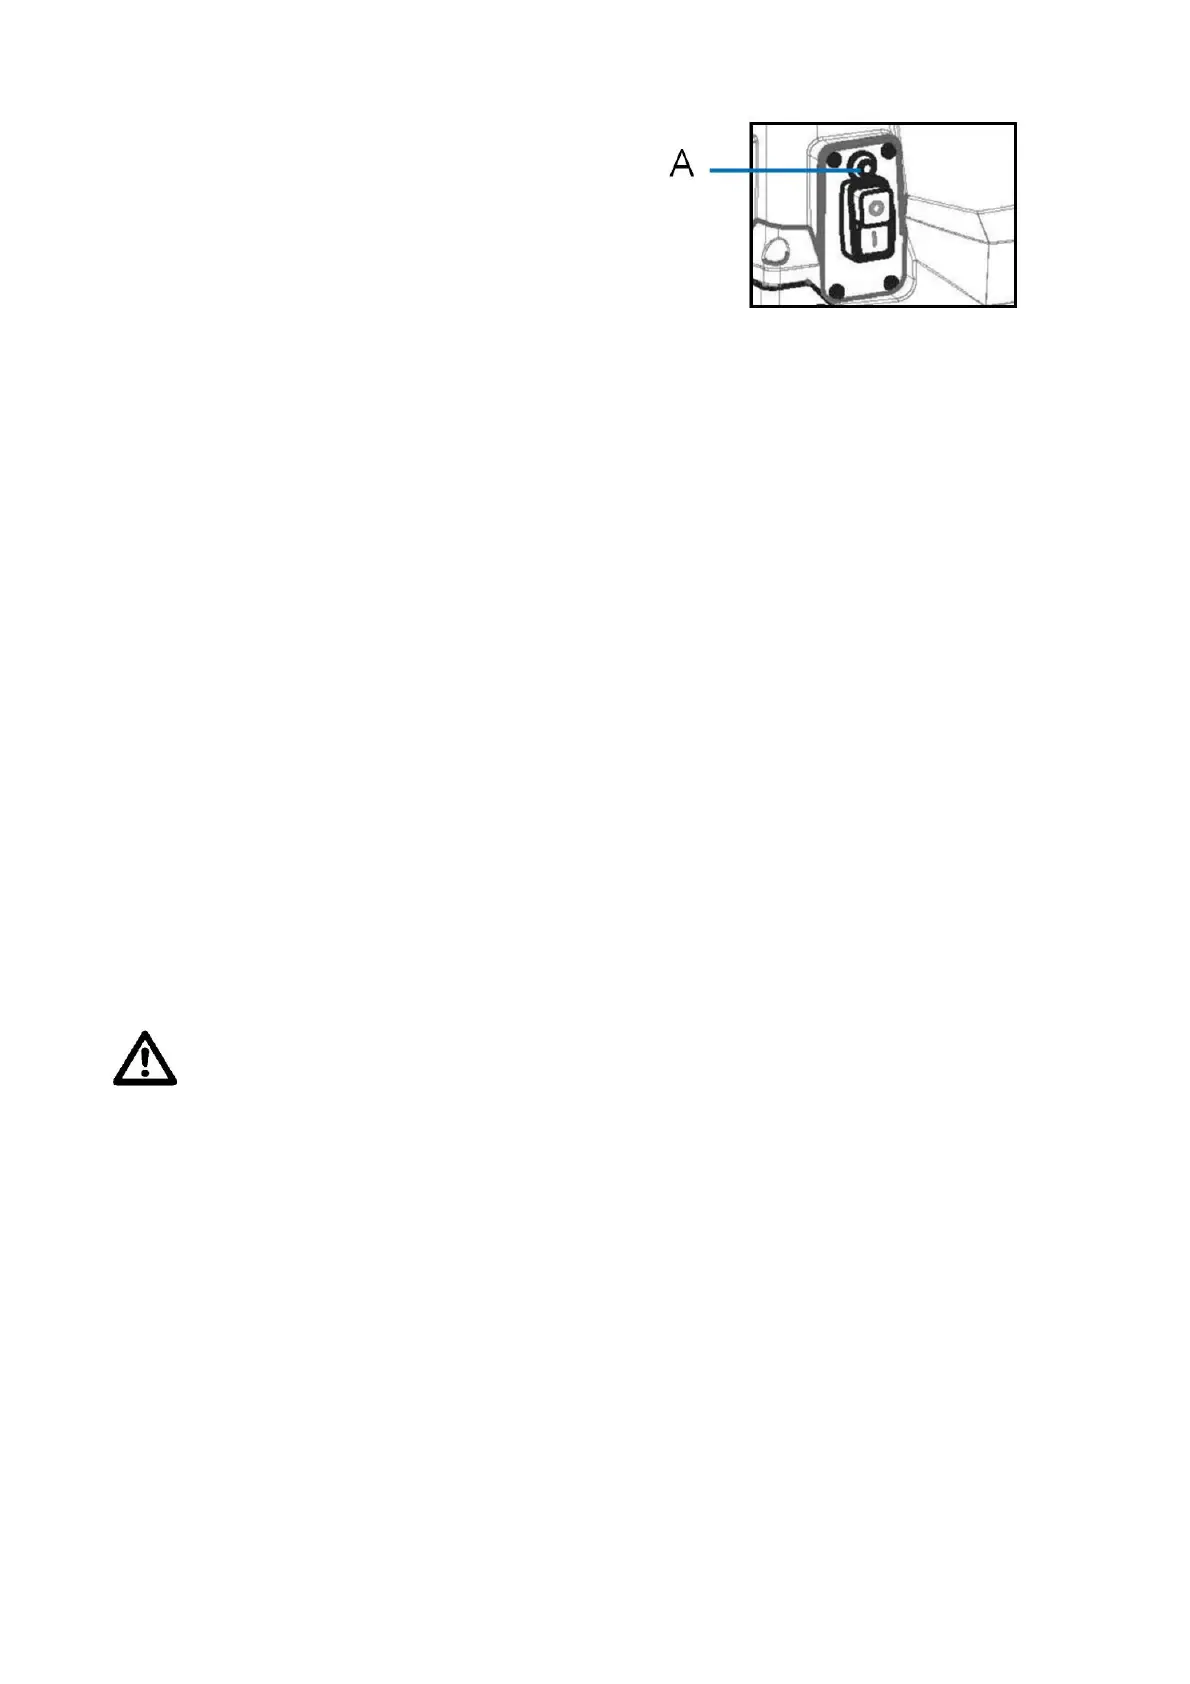
9.1. ON/OFF switch
• To turn the saw on, press the green
button “I”. Wait for the blade to reach its
maximum speed of rotation before commencing
with the cut.
• To turn the machine off again, press the
red button “O”.
9.2. RESET BUTTON (OVERLOAD
PROTECTOR)
This saw comes with an overload reset button,
If the saw motor over loads, a safety
mechanism stops the motor automatically due
to motor over-loading or low voltage. To prevent
motor over-load, reduce load on motor or check
voltage.
Allow motor to cool down, then press the reset
button and restart the saw. If the saw does not
restart, wait an additional 5 minutes before
restarting.
9.3. Cutting aids
Push sticks are devices that may be used for
pushing a workpiece through the blade in any
rip cut. When making non-through cuts or
ripping narrow stock, always use a push stick,
push block, and/or feather- board so your hands
do not come within 3 inches of the saw blade.
They can be made in various sizes and shapes
from scrap wood and used in a specific project.
The stick must be narrower than the workpiece,
with a 90˚ notch in one end and shaping for a
grip on the other end.
A push block has a handle fastened by
recessed screws from the underside. Use push
blocks for narrow cuts and all non-through cuts.
NOTICE: Be sure the screws in a push block
are recessed to avoid damaging the saw or
workpiece.
9.4. To use the miter gauge The miter gauge
provides greater accuracy in angled cuts. For
very close tolerances, test cuts are
recommended. There are two miter gauge
grooves, one on either side of the blade. When
making a 90° cross cut, you can use either miter